
This describes how to create a video in Runthru Instruction.
Although it's not necessary to record audio for each of the steps, this article shows how to do so.
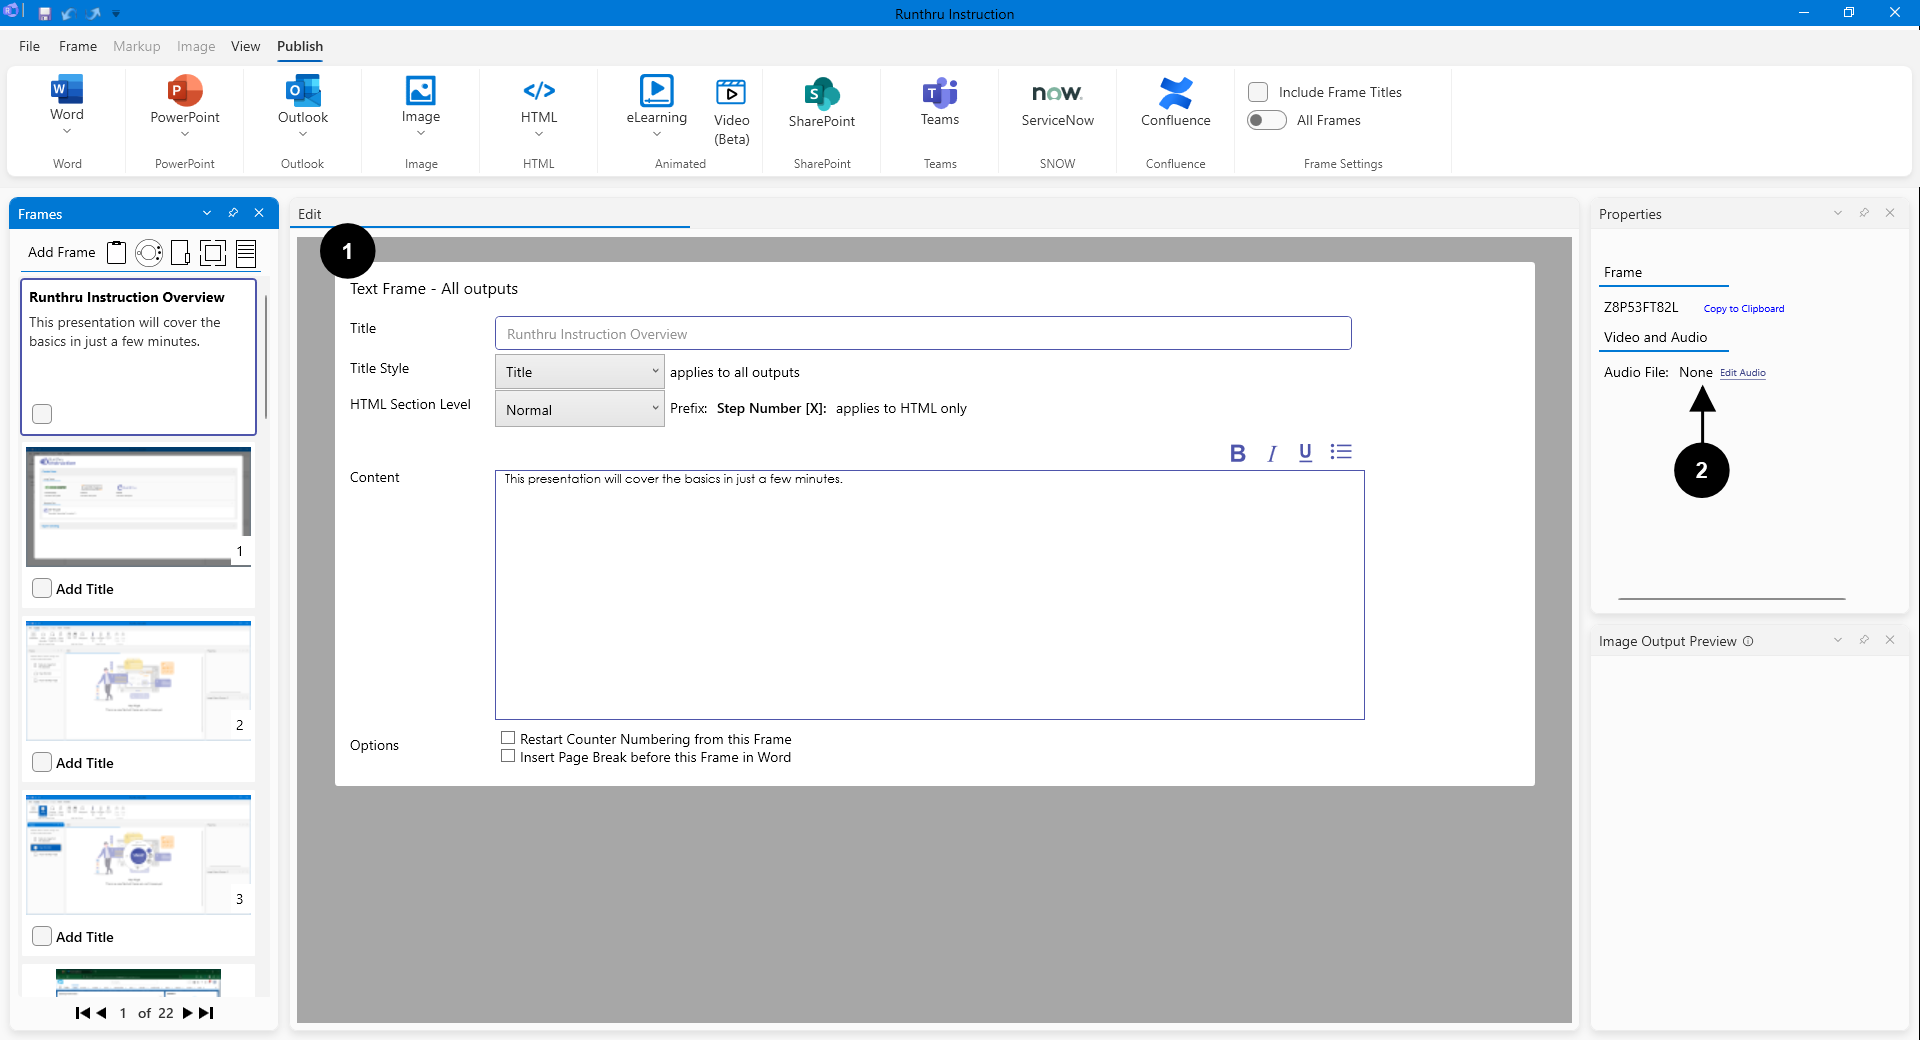

Open or create a Runthru file as normal. In this file, the first frame is a Text Frame. A Text Frame will make a single Scene in the video.
A Scene comprises an image, audio (if available), a duration and a focus area that creates movement and zoom (if desired).

The Properties Panel shows that there is no audio for this Frame. Press Edit Audio to add audio.
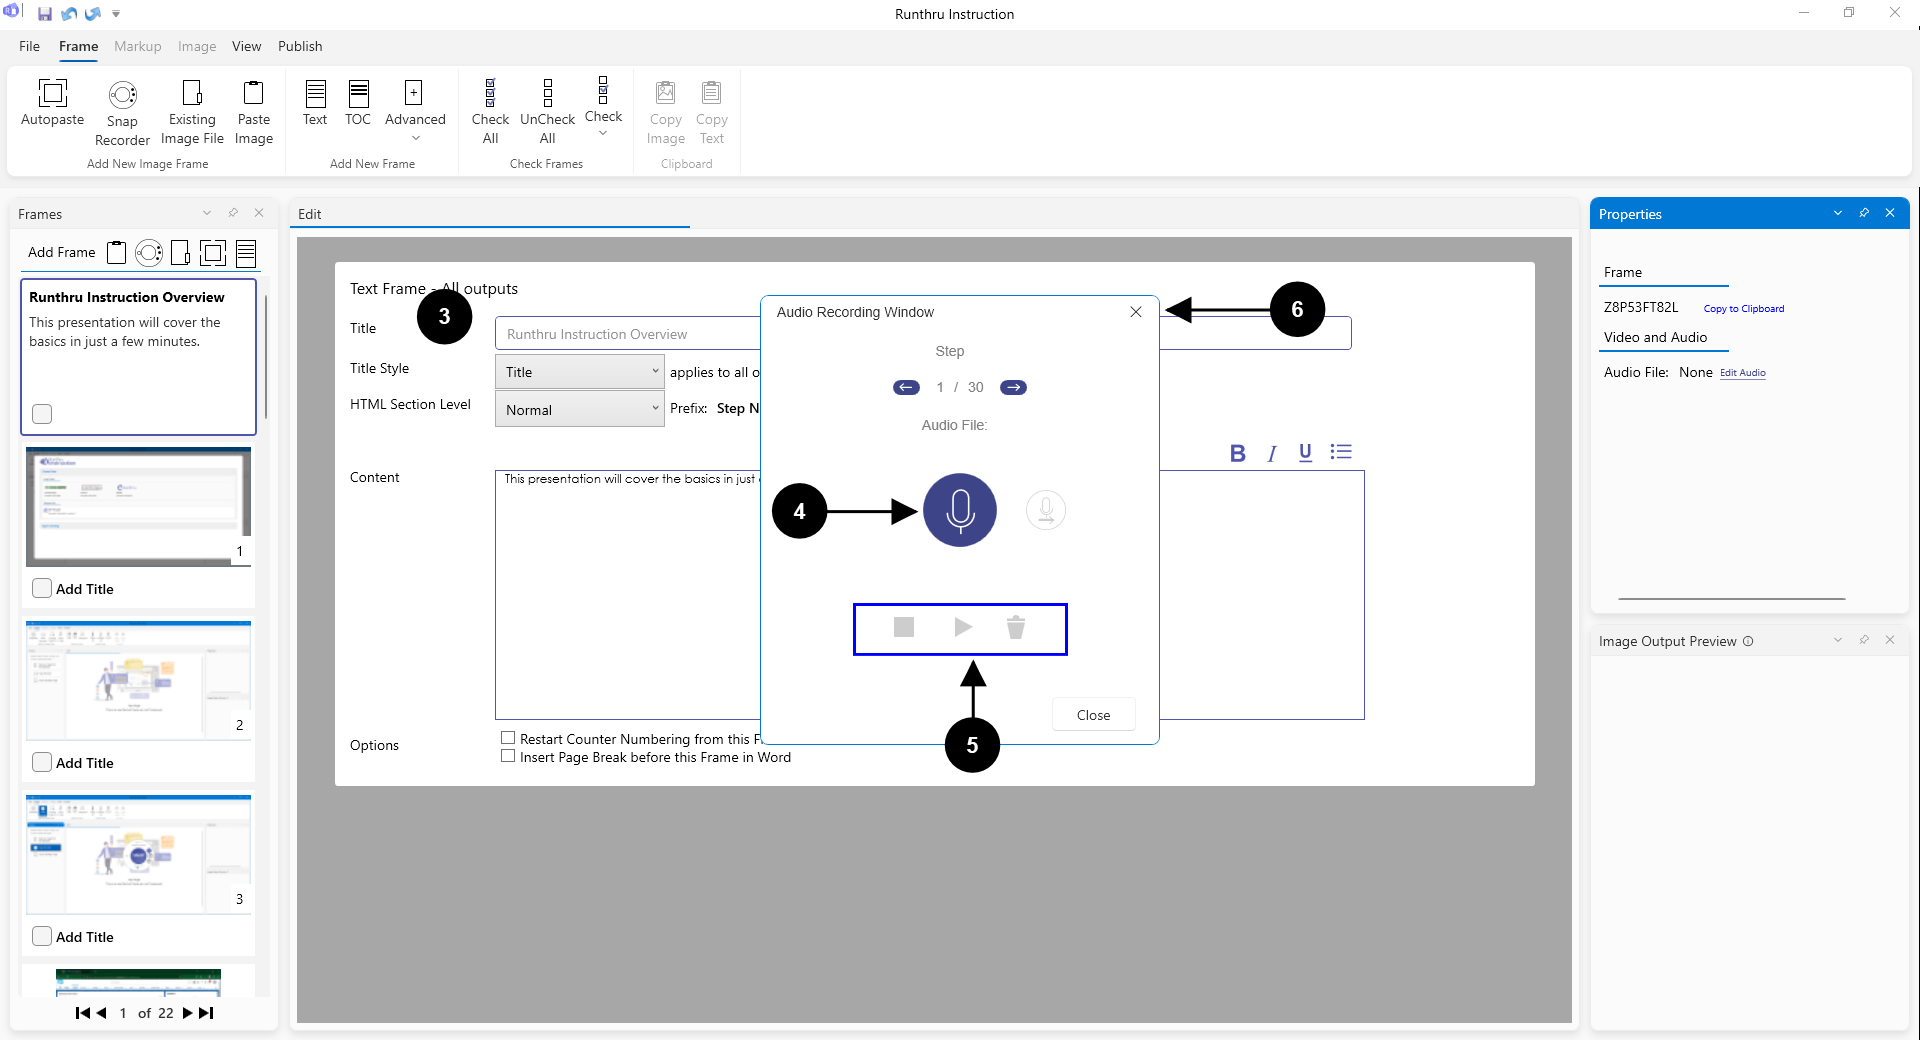

The recording window appears and allows you to record audio for this Frame.

Press this button to start recording, and again to stop and save the audio file.

You can play back your recording, stop the playback, or delete the recording here.

When you have successfully added your audio for this Frame, close this window.
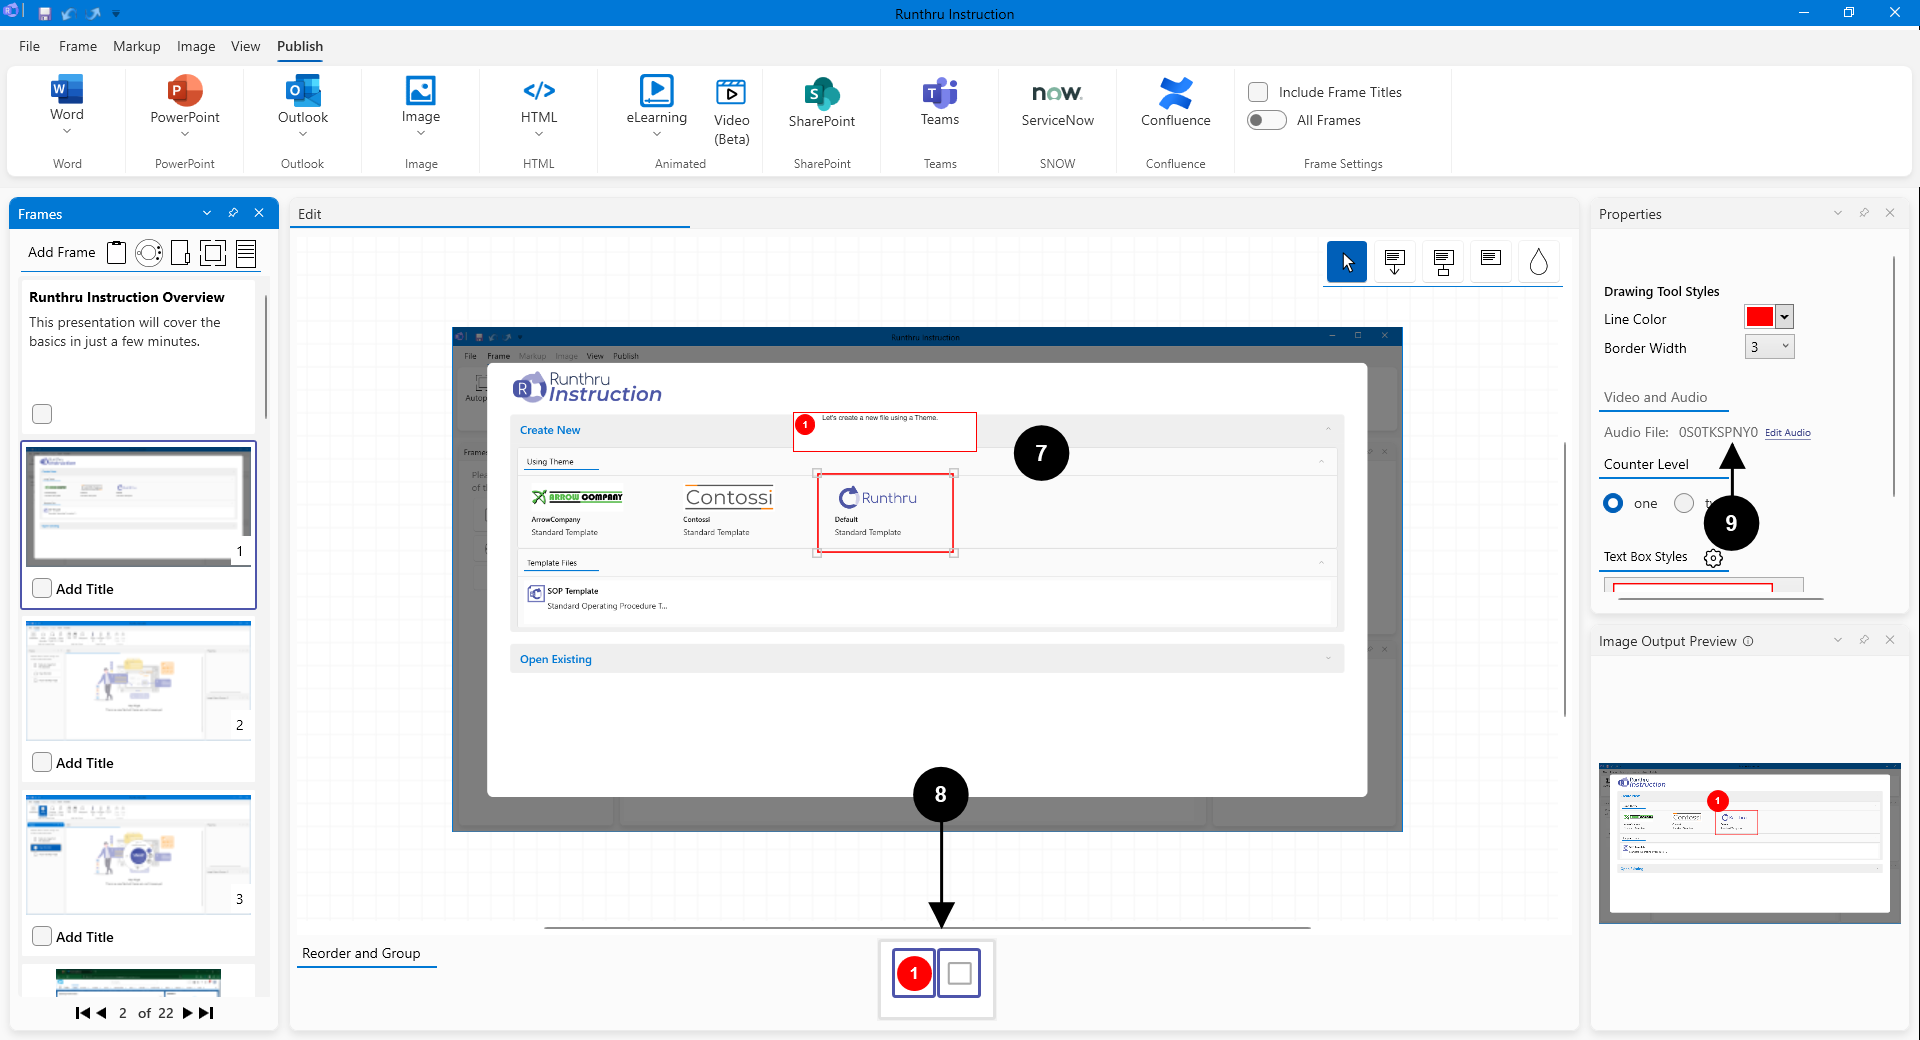

On this Image Frame there are two markup items.

By grouping them together at the bottom of the window they form one Scene for the video.

The audio file belongs to the Scene.
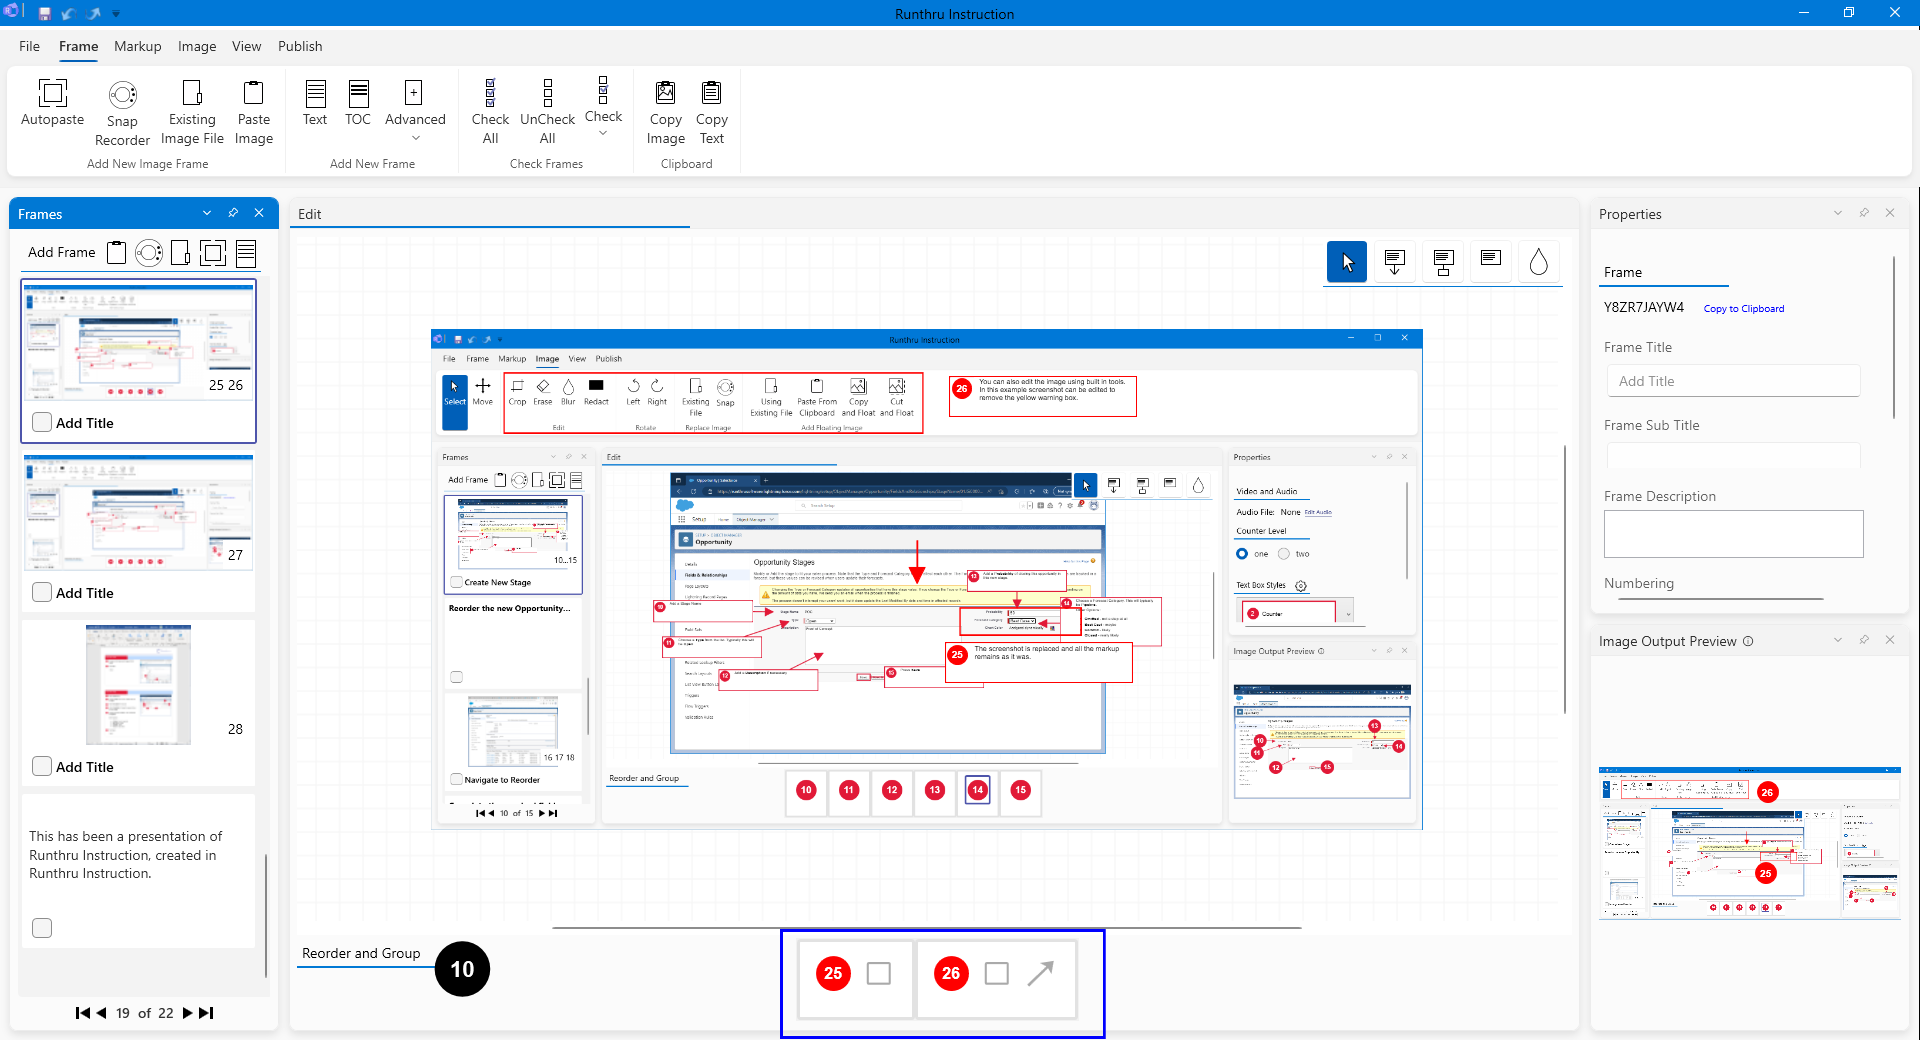

This Image Frame has two Scenes, each with their own audio file.
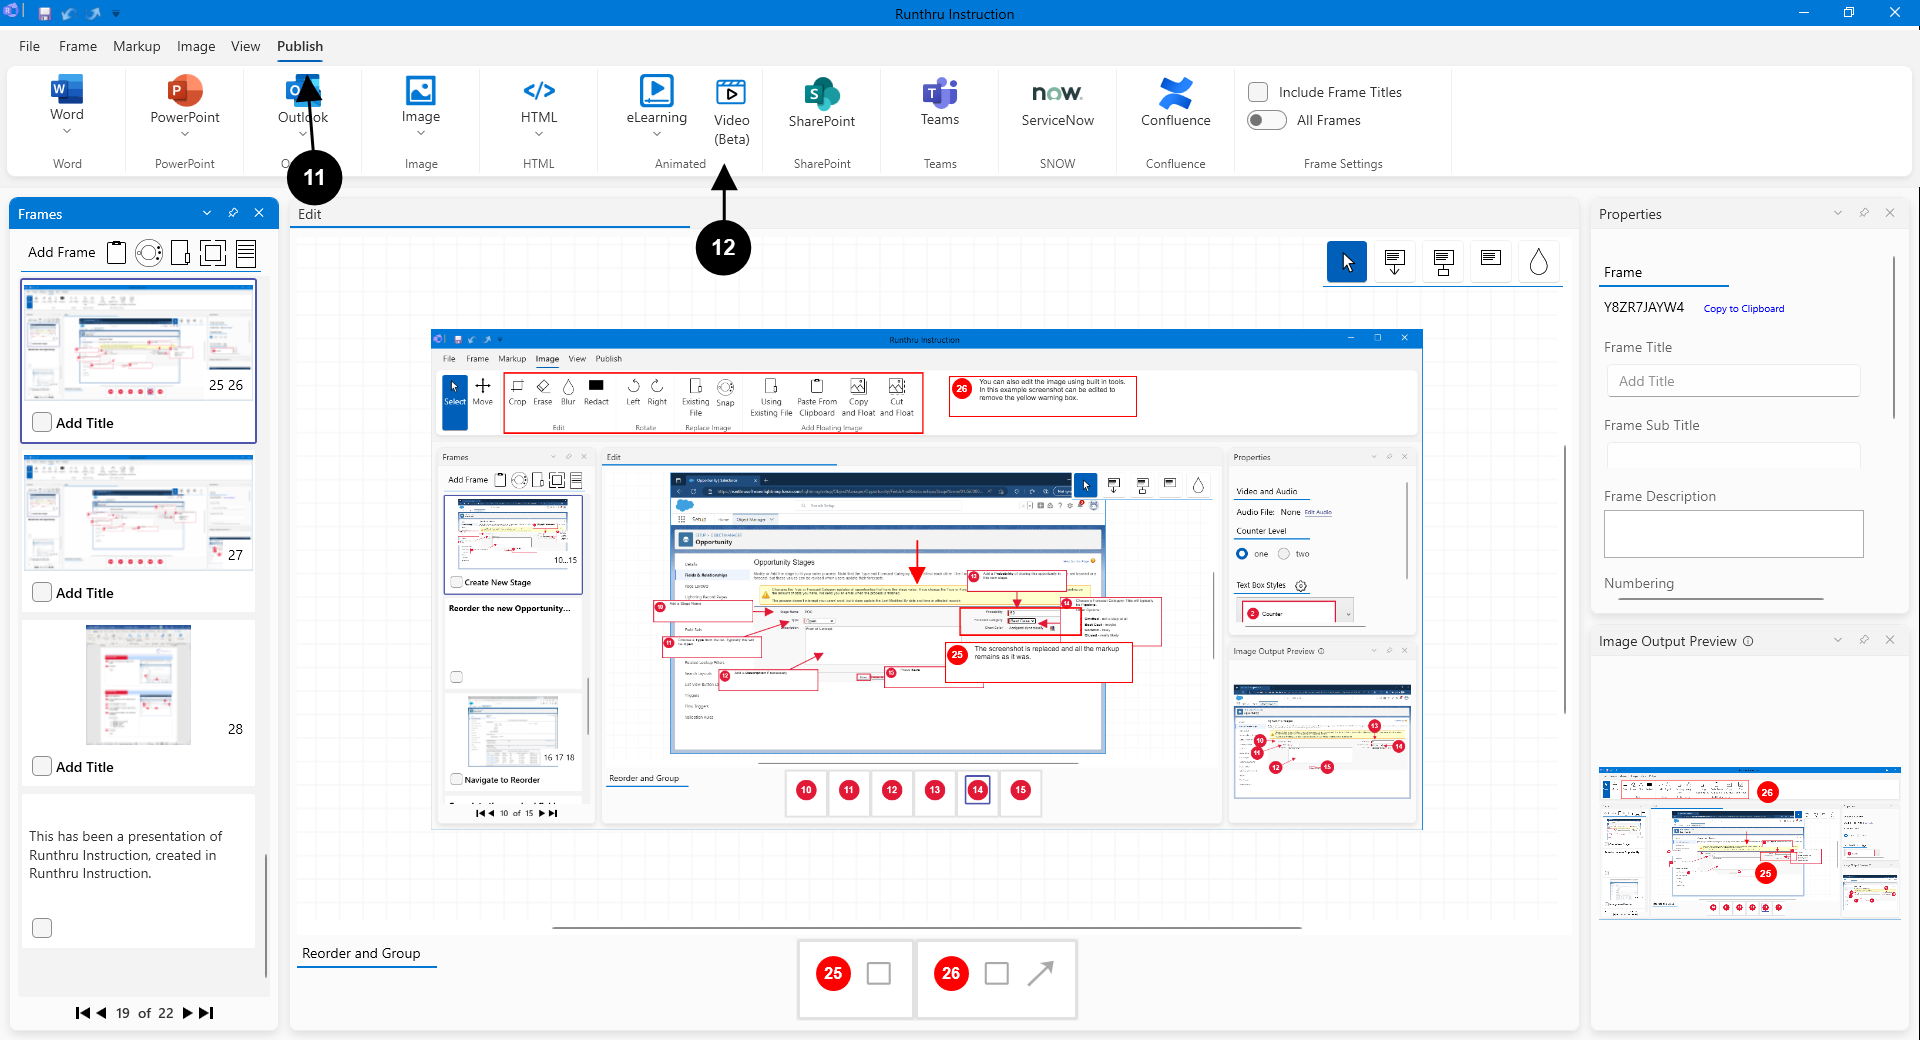

Change to the Publish tab.

Select the Video publish option.
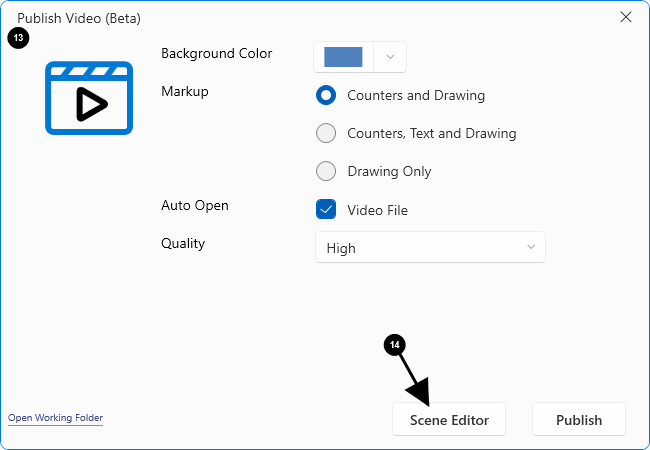

The Video Publishing window appears.

Press the Scene Editor button.
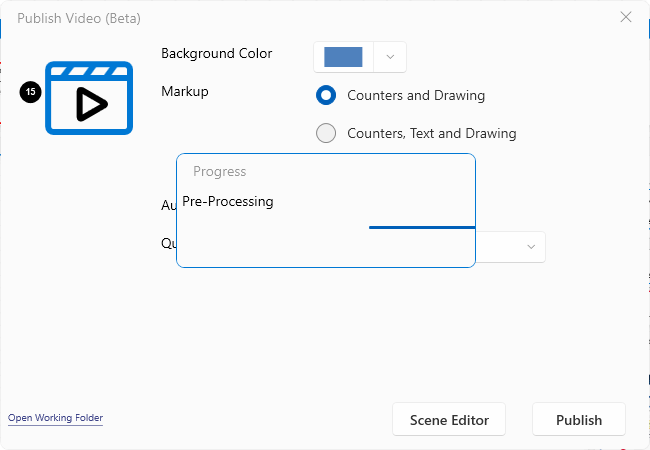

Runthru does the first phase of video preparation. This may take a few minutes depending on the size of the file.
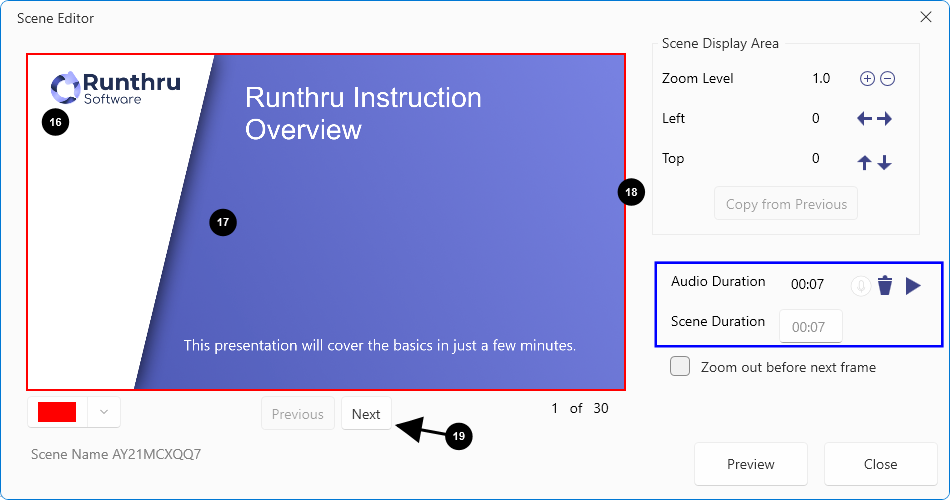

The Scene Editor is now shown. This is the first Frame in the file, a Text Frame. The visual appearance and positioning of elements is controlled by a template.

The image that you see here is a preview of what will be shown in the video for this Scene.

You can edit the audio for this scene here, as well as set the time that it displays (as long as it's longer that the audio).
You can also play, delete and re-record your audio.

You can navigate between each of the Scenes here.
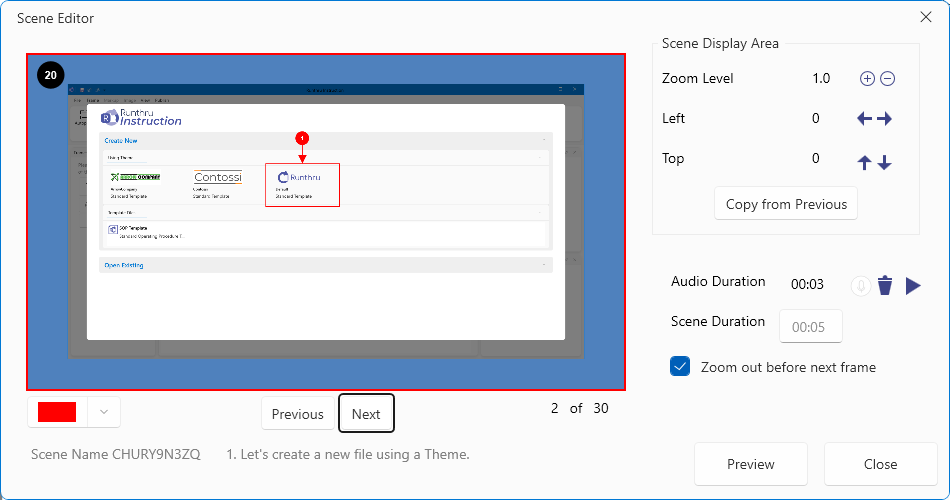

This is an Image Frame. In this example it has a 3 second audio file and a 5 second duration.
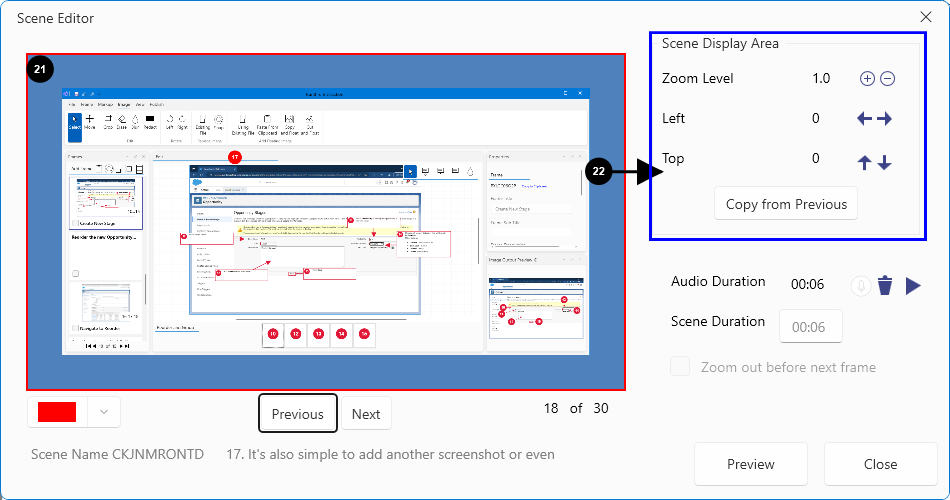

This Frame has 6 seconds of audio and a duration of 6 seconds.

These options are for zoom and pan.
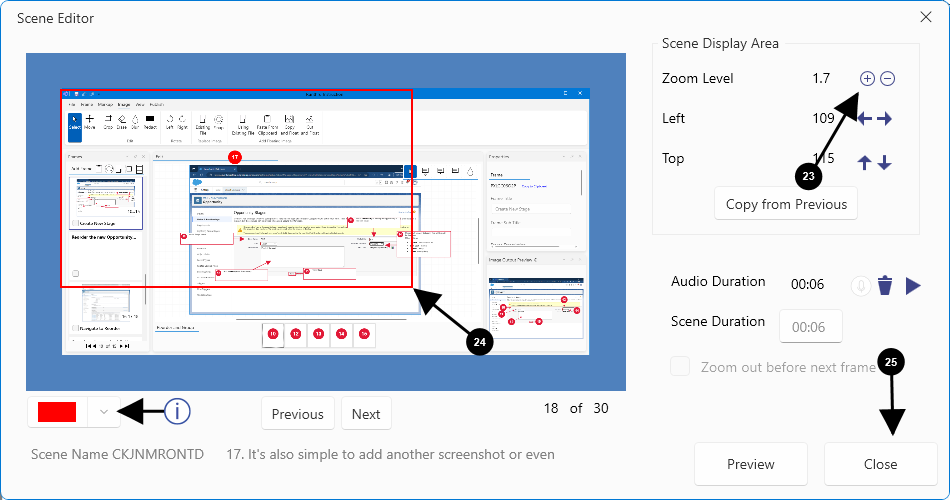

Using the Zoom In (+) Button will zoom in on the desired part of the image in the video.

Grabbing and moving the red rectangle determines the area of the screen that will appear in the video.

The color of the Zoom Region (the red rectangle) can be changed here. It will not appear in the video - it is just for selection of the desired part of the image.

At any point you can close the Scene Editor.
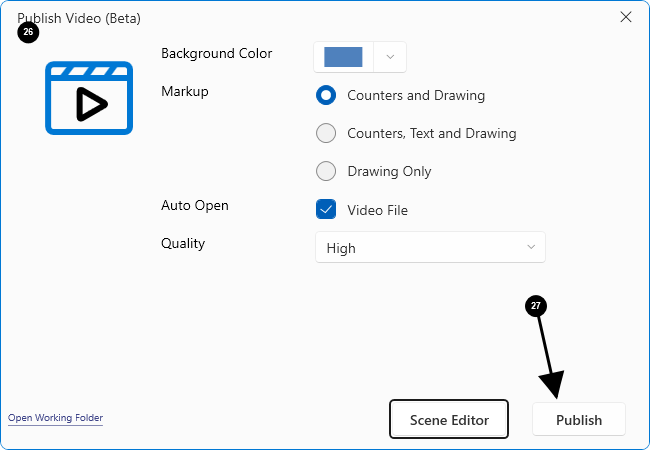

When the Scene Editor is closed. The Publish Video window becomes active.

Pressing the Publish button will create your video.
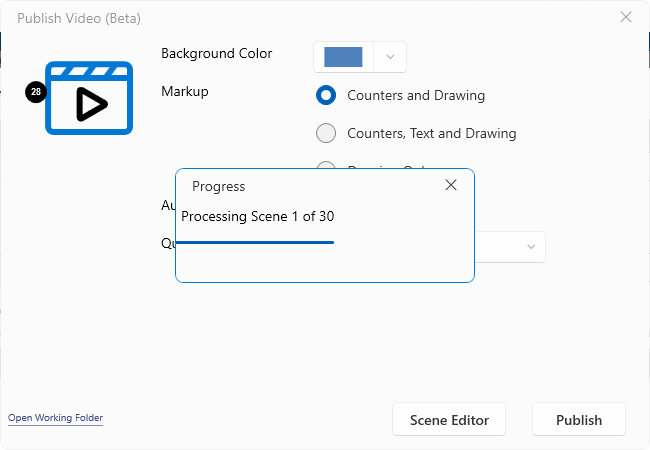

A progress box is displayed. This may take a while the first time you create this video.
Small changes later will mean much faster creation.
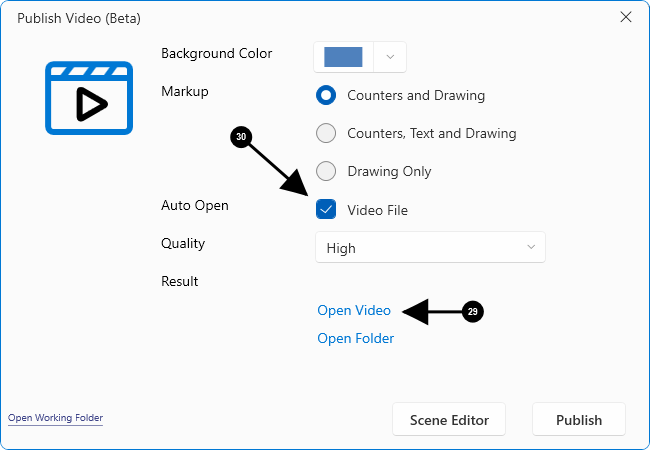

These links allow you to open the video or the containing folder.

If this box is checked the video will automatically run,
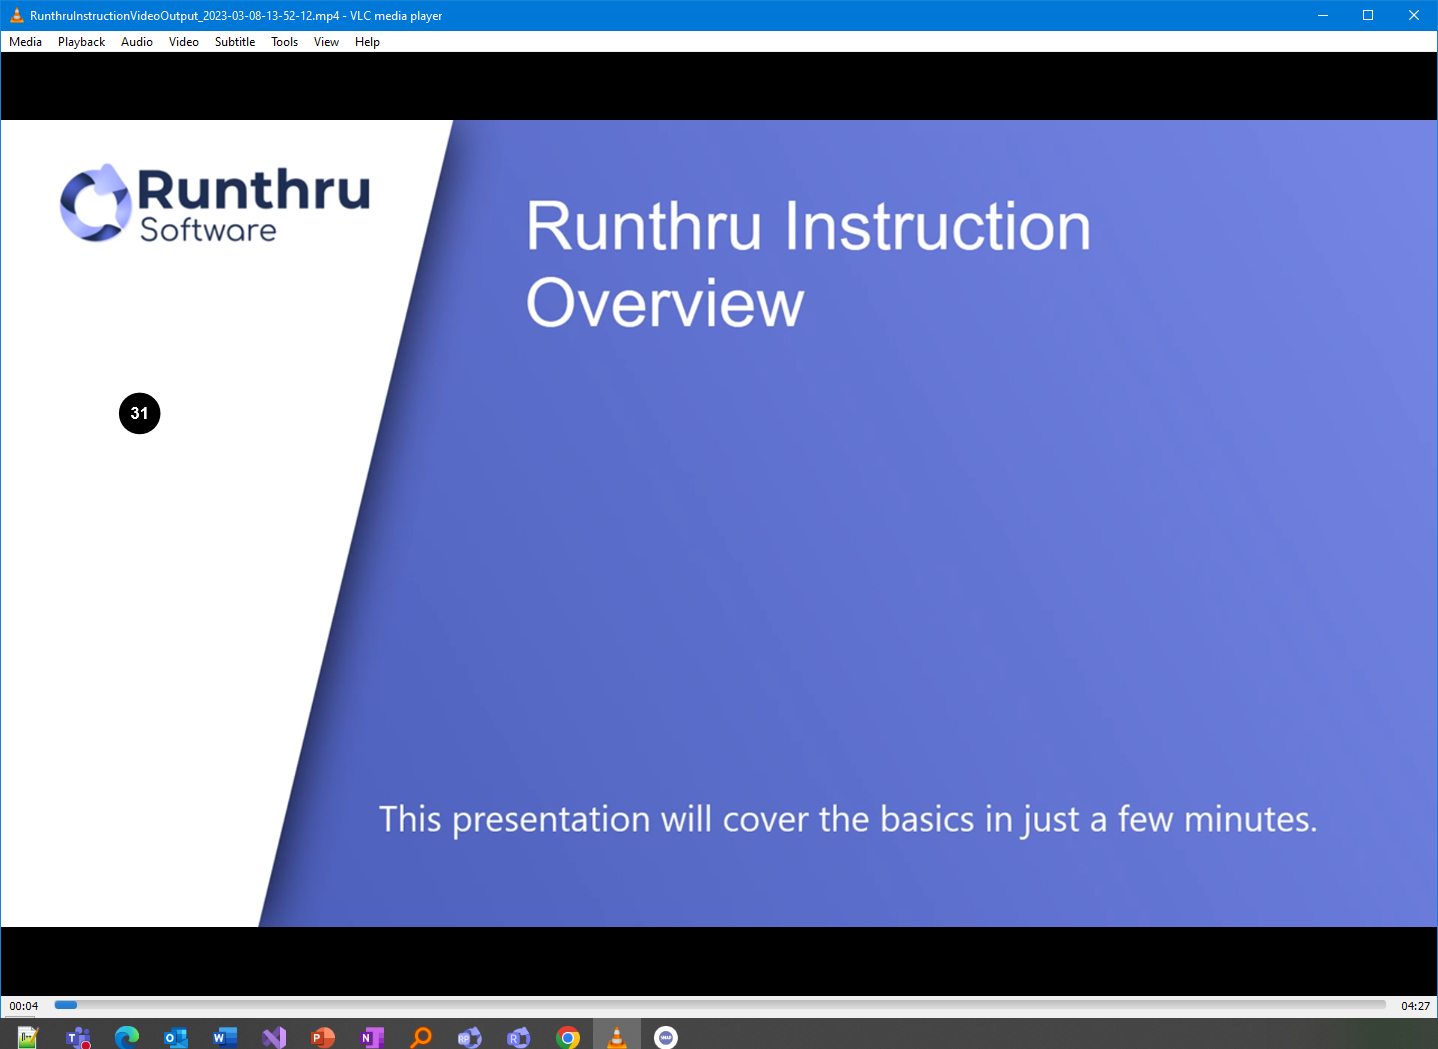

This is the video shown playing in the default video player.
Your video may also have an opening animation as part of the template. Both the opening and closing animations as well as the layout and style of the Text Frames are fully customisable.
Other things
All videos are fixed at 1920 x 1080.
The file format is MP4.
There are other configurations that are not shown in this article.