
This document will show you the basics of how to begin using Runthru Instruction, this includes:
Creating a New File
Using the Snap Tool
Adding Frames
Marking up frames
Publishing
Creating a New File
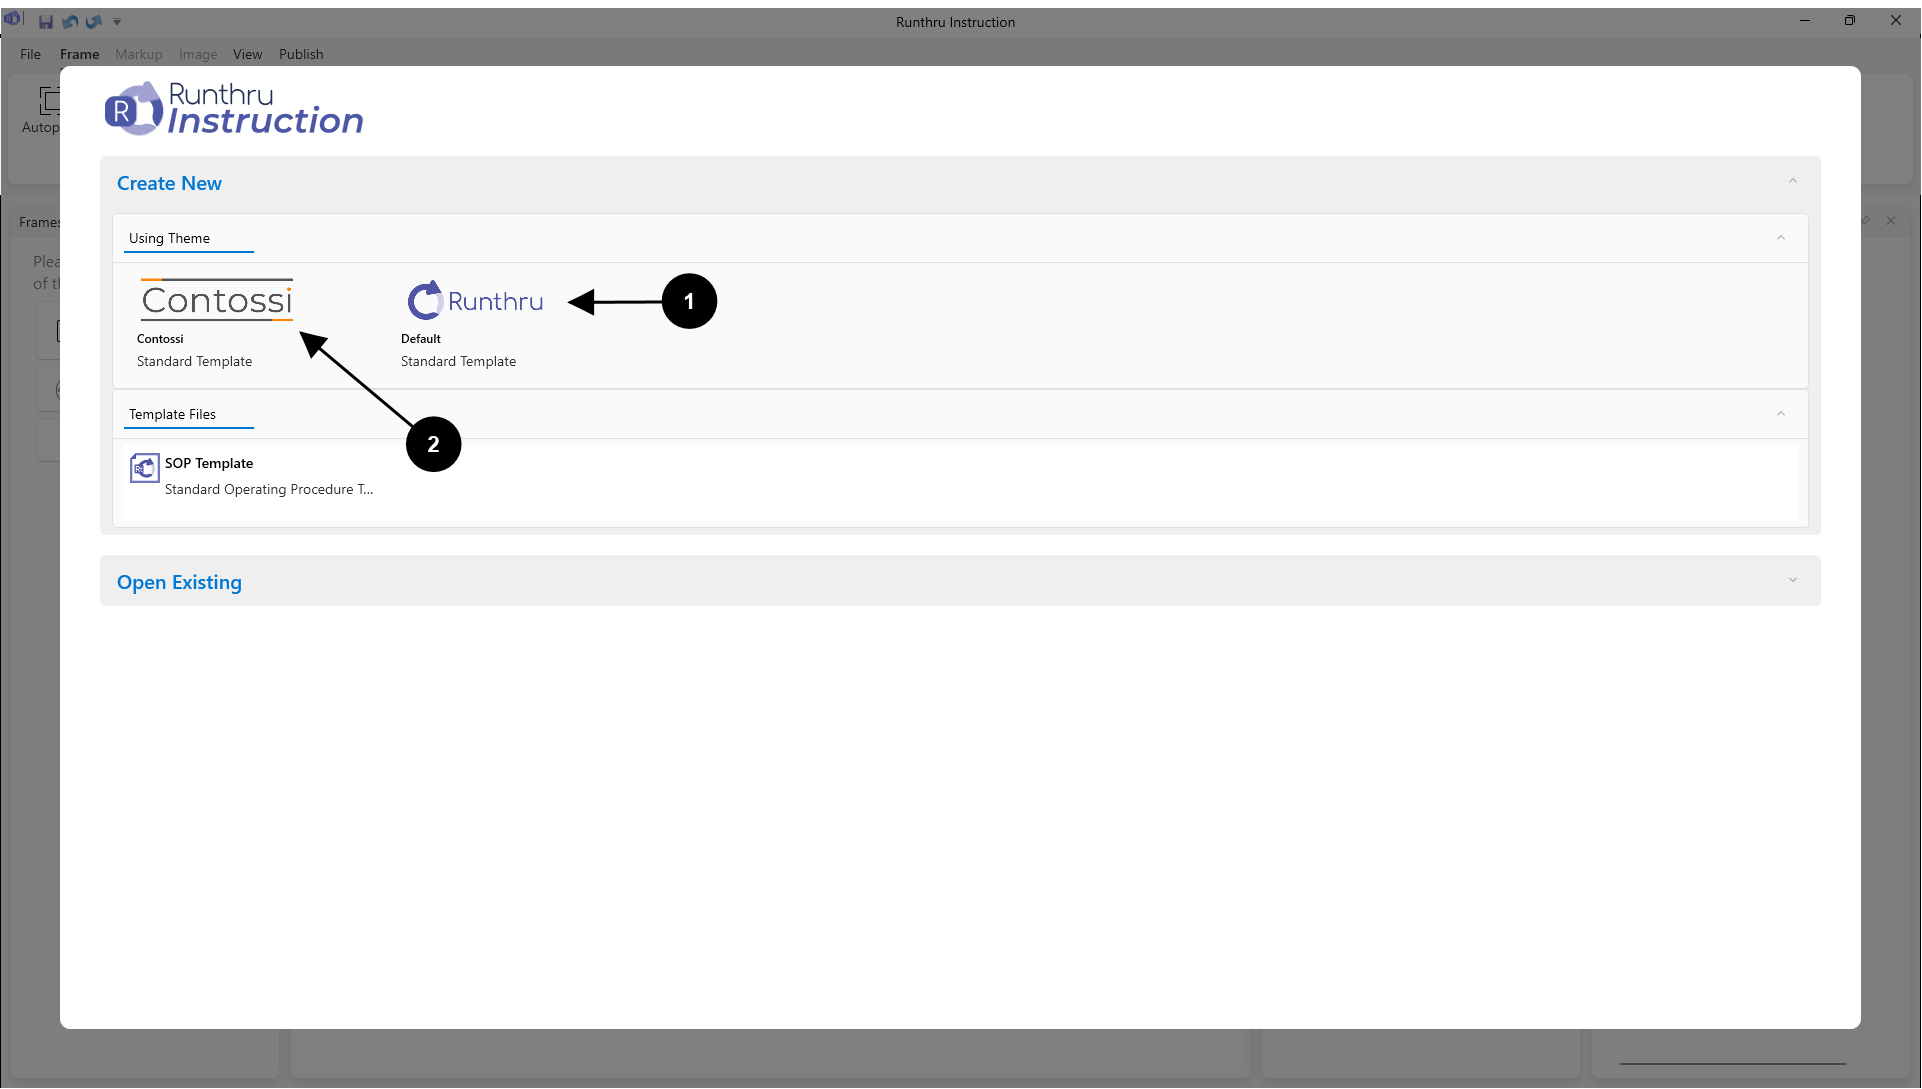

You can choose the default Runthru template. This includes the basic Runthru logo and colors

Or choose your branded template, if available. This includes your company's logos and colors
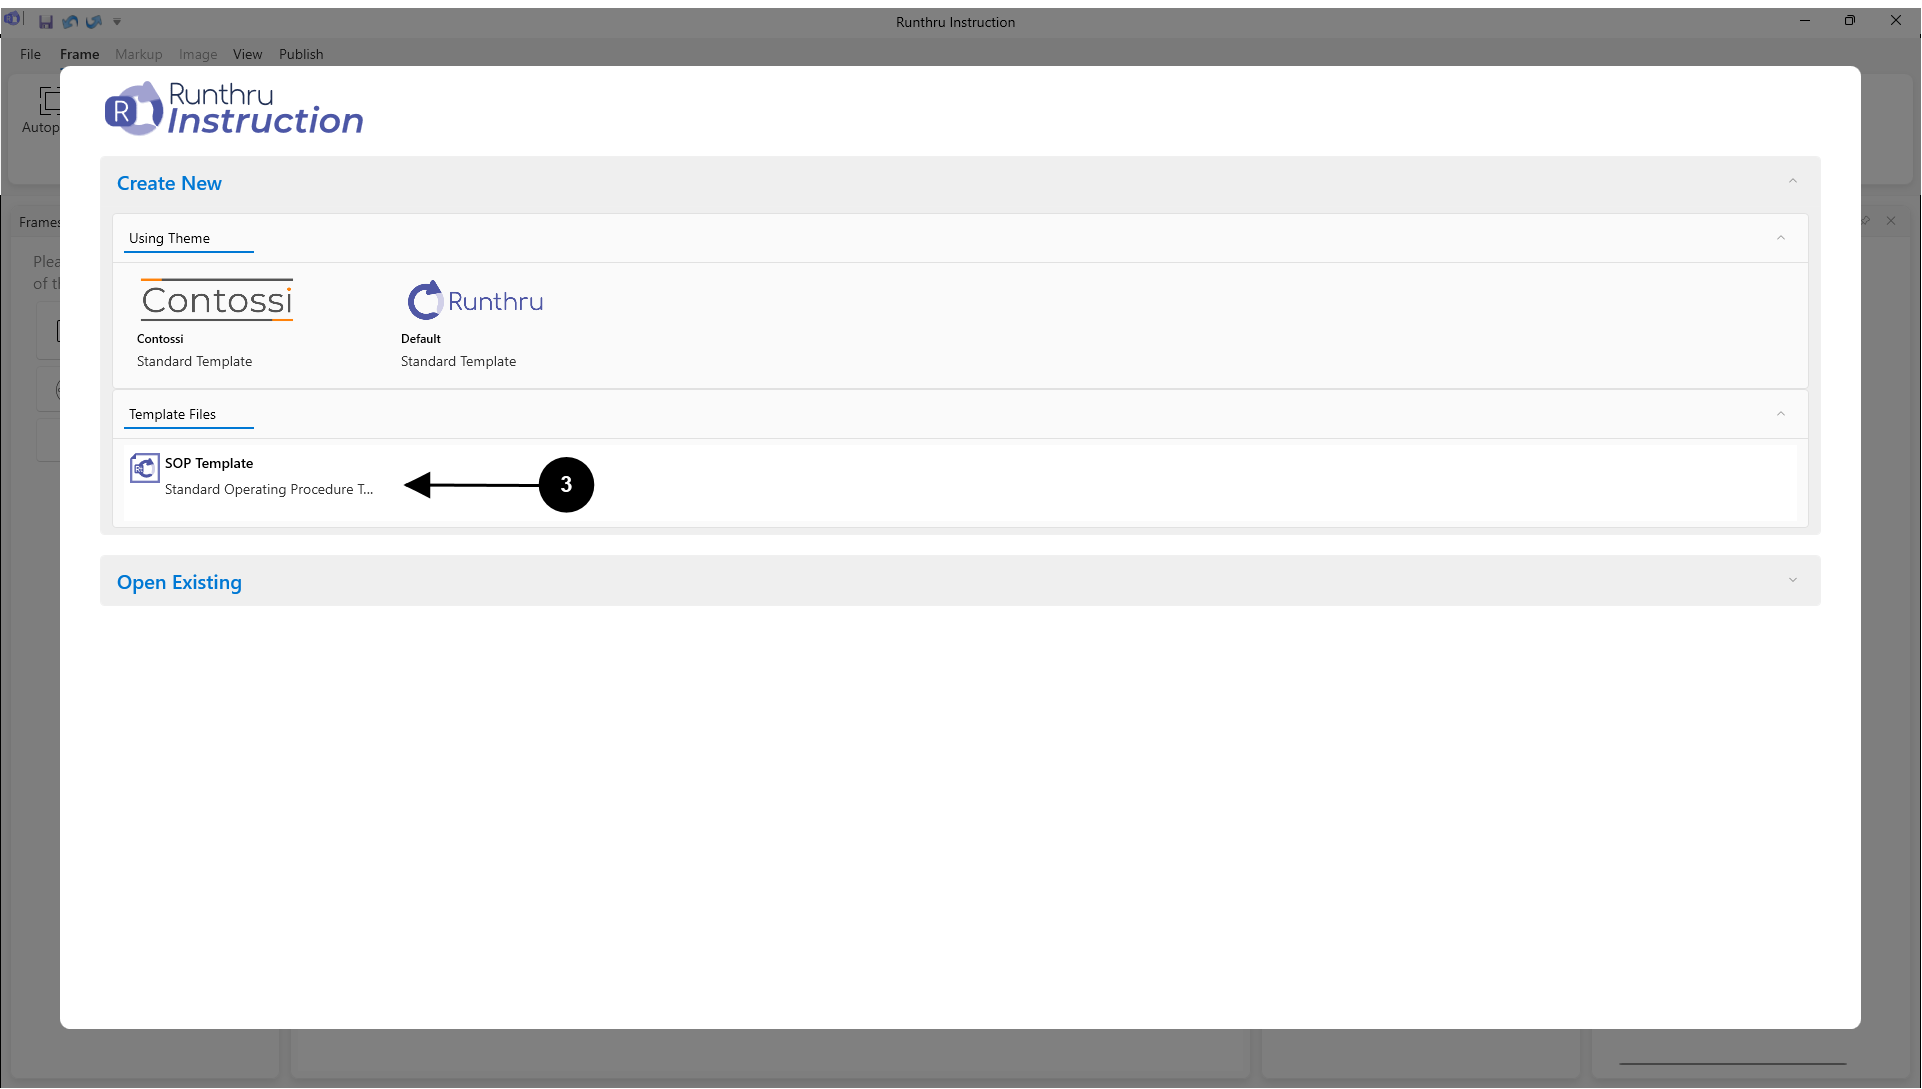

Alternatively you can create a file using a file template. File templates include pre-made frames that your organisation predetermines in the set up process. The example given is a template for a Standard Operating Procedure (SOP)
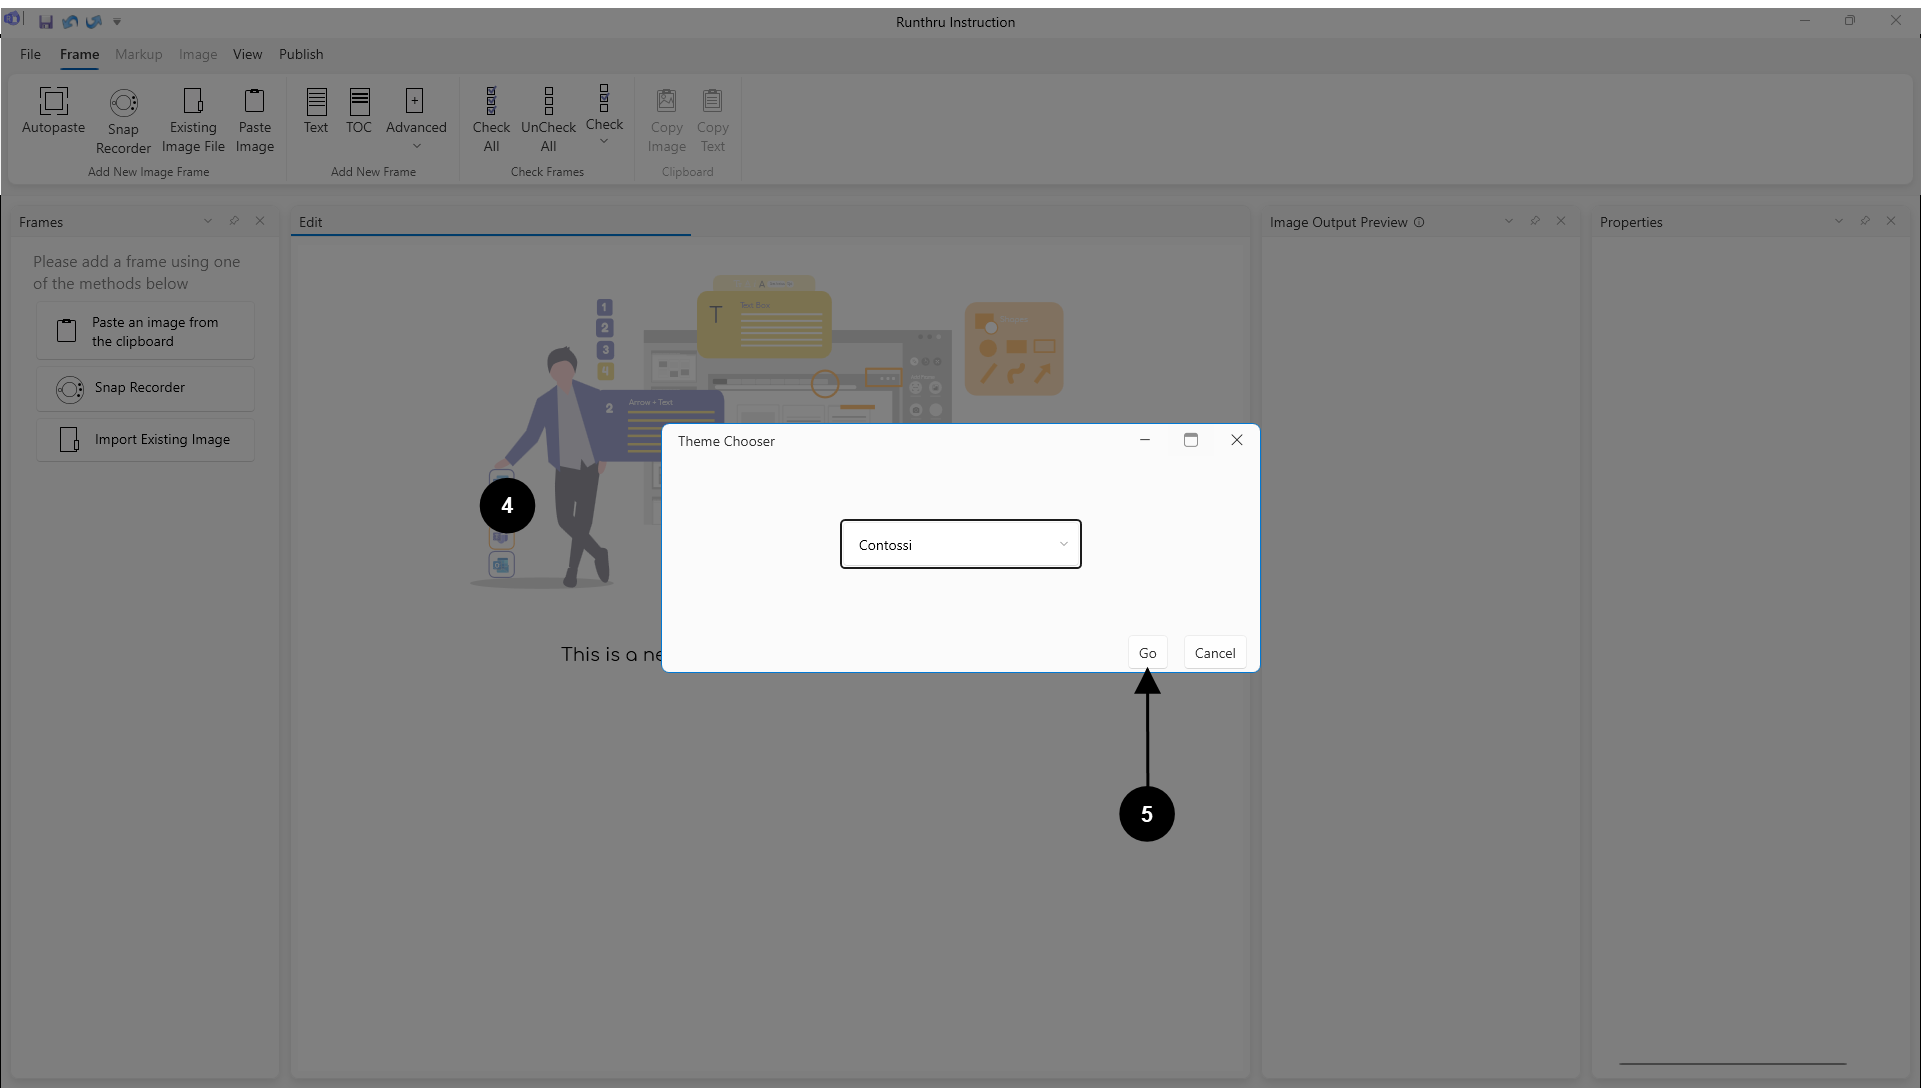

For a file template, select either the default theme or your company's theme using the dropdown bar

Once selected, click Go
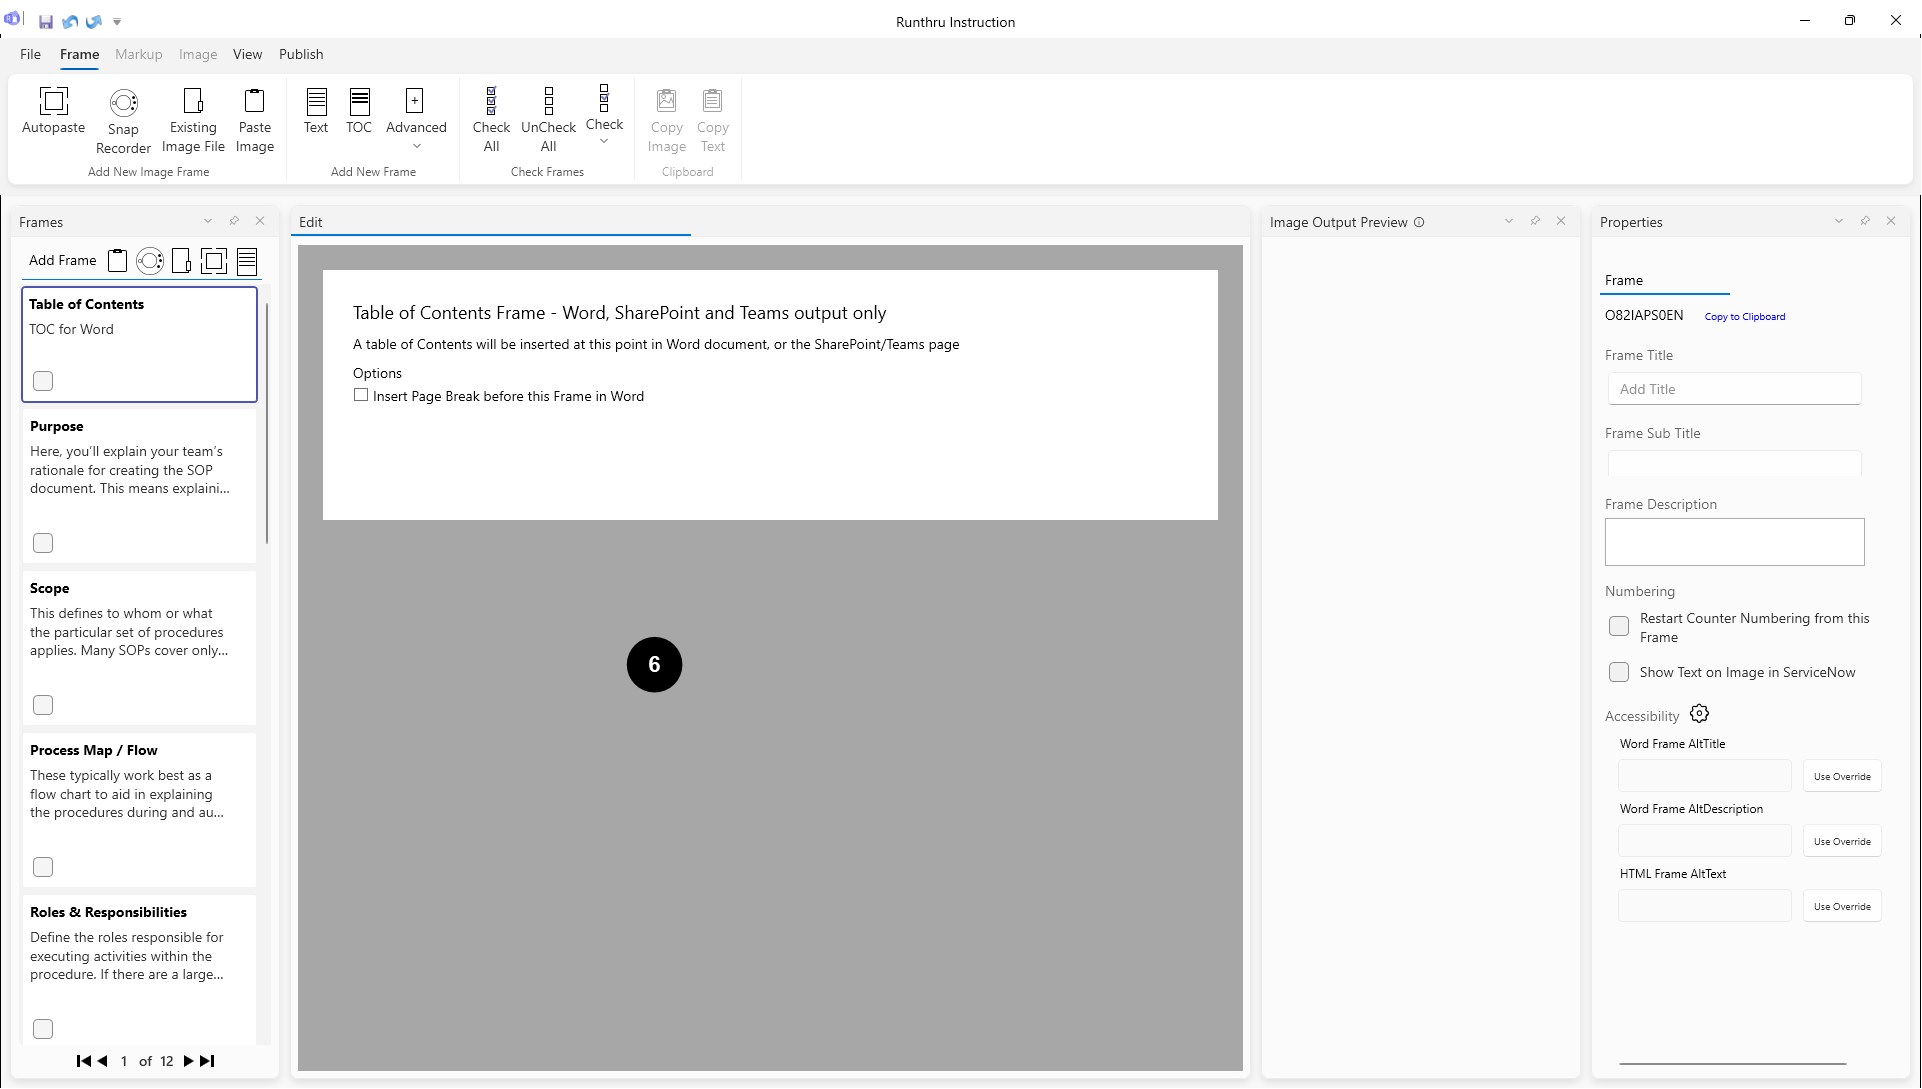

This example is the SOP template which includes many pre-made text, table & image frames.
Bring in screenshots using the Snap Tool
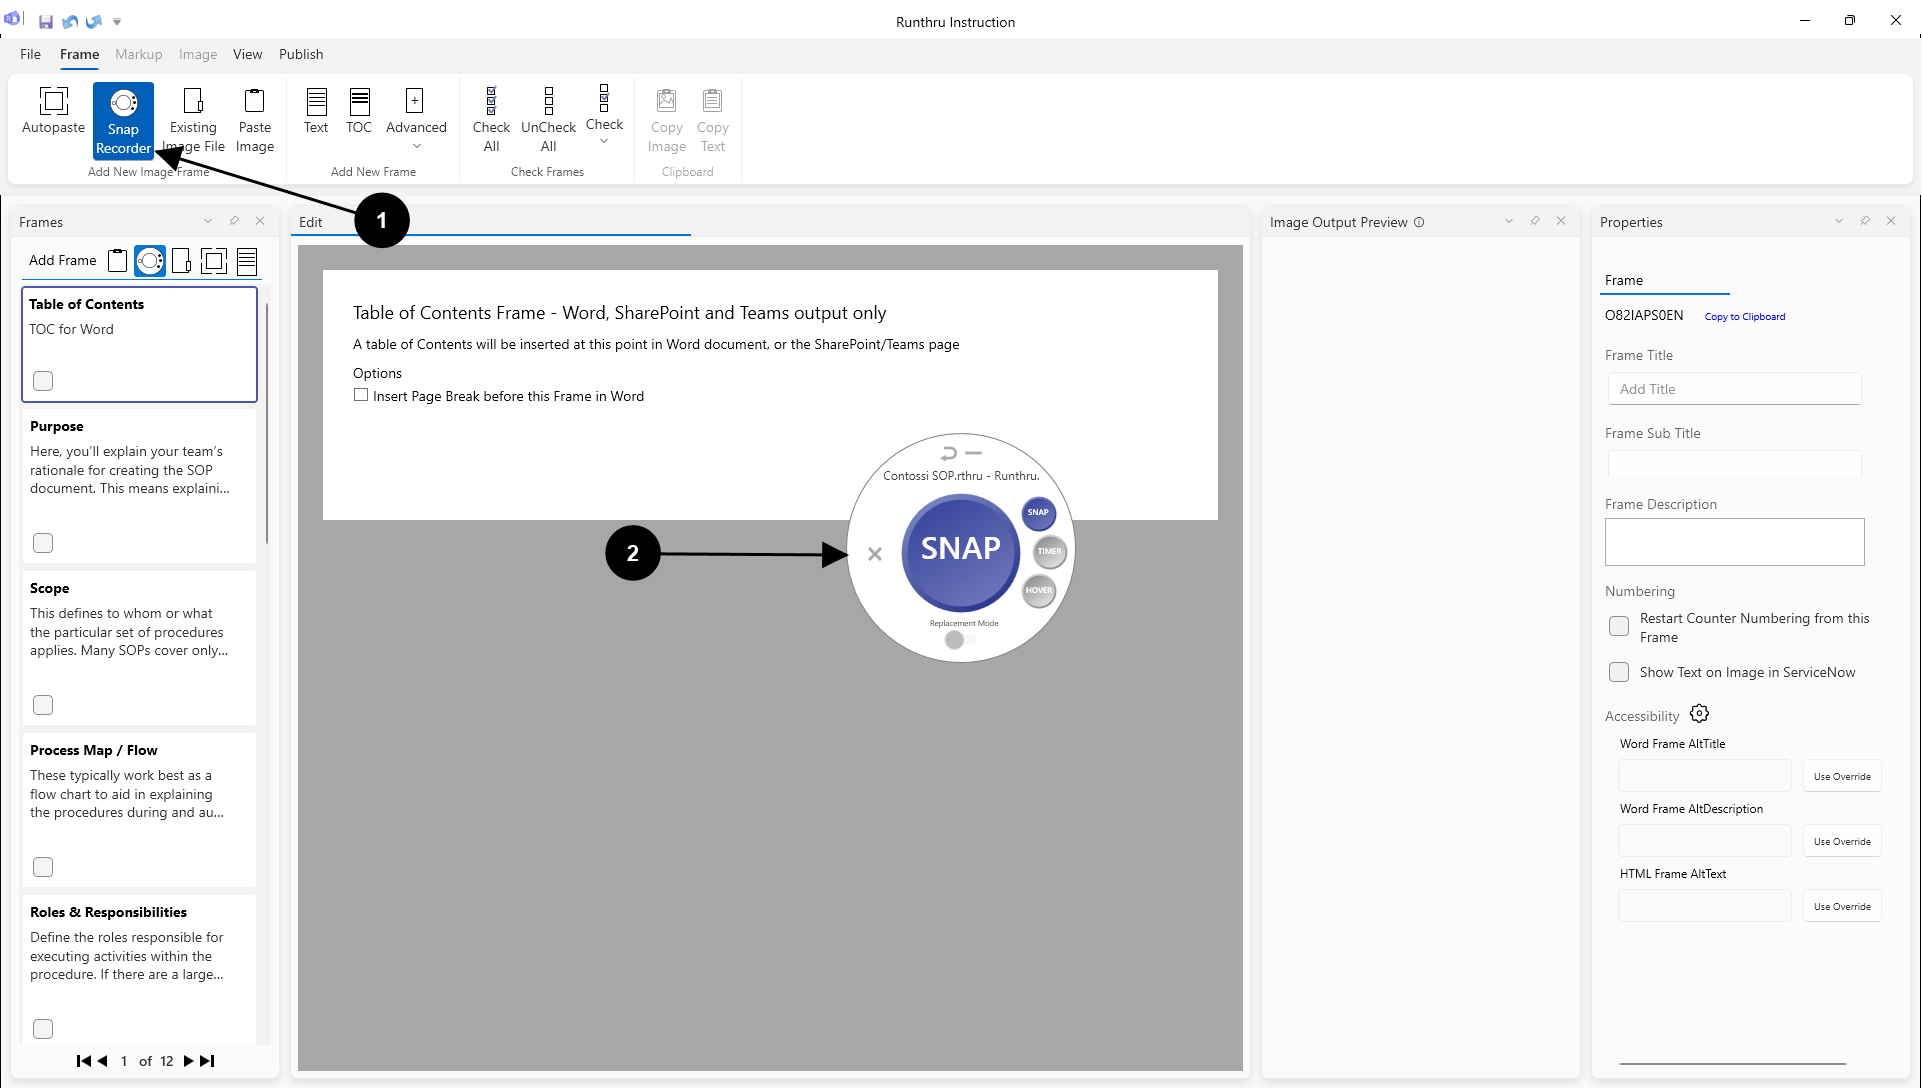
Click on the Snap Recorder button
The Snap Tool can then: Snap (click button, immediate image), Timer (click button, takes image when timer reaches 0), or Hover (place mouse over button, takes image when timer reaches 0). Replacement mode (replaces images already in the Runthru document).
Other ways to add frames
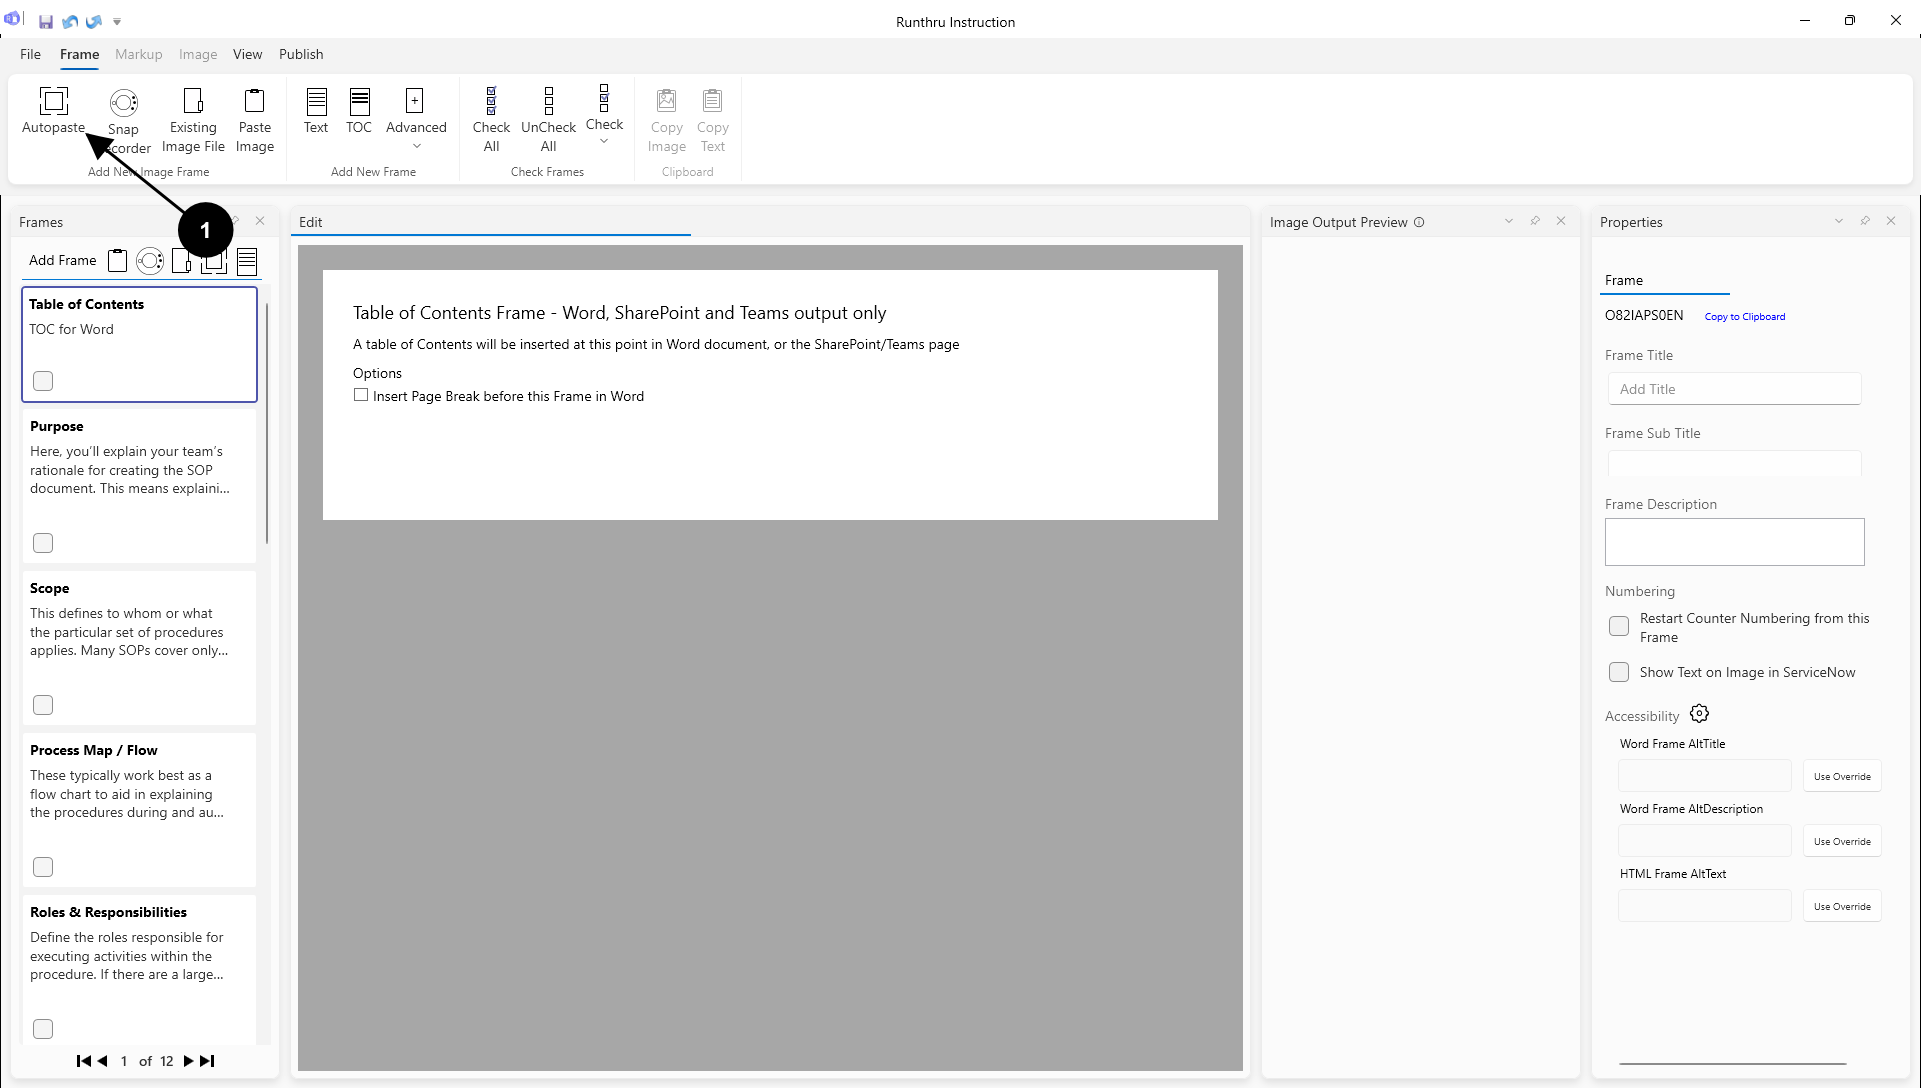
If you click on Autopaste any image that is put on your clipboard will be taken by Runthru Instruction and made into a frame
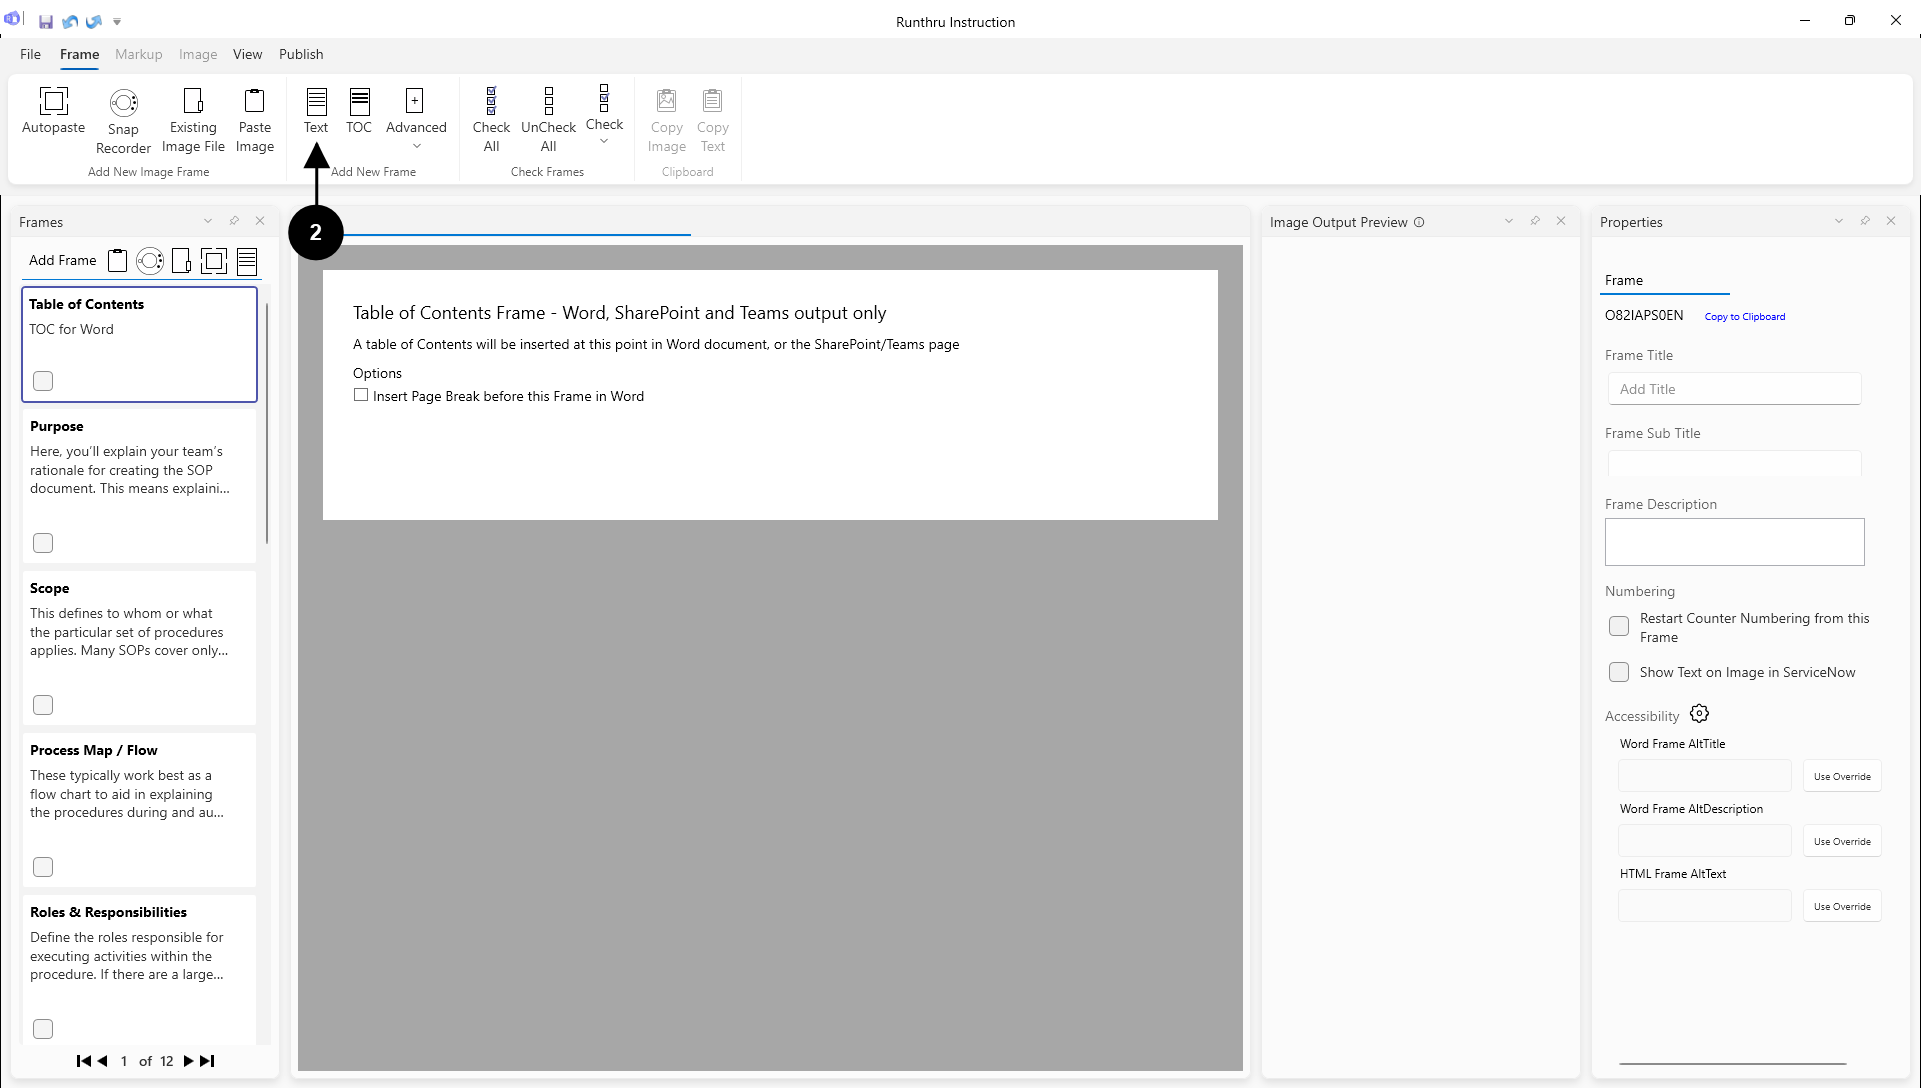
Click on Text to add a text frame to the document
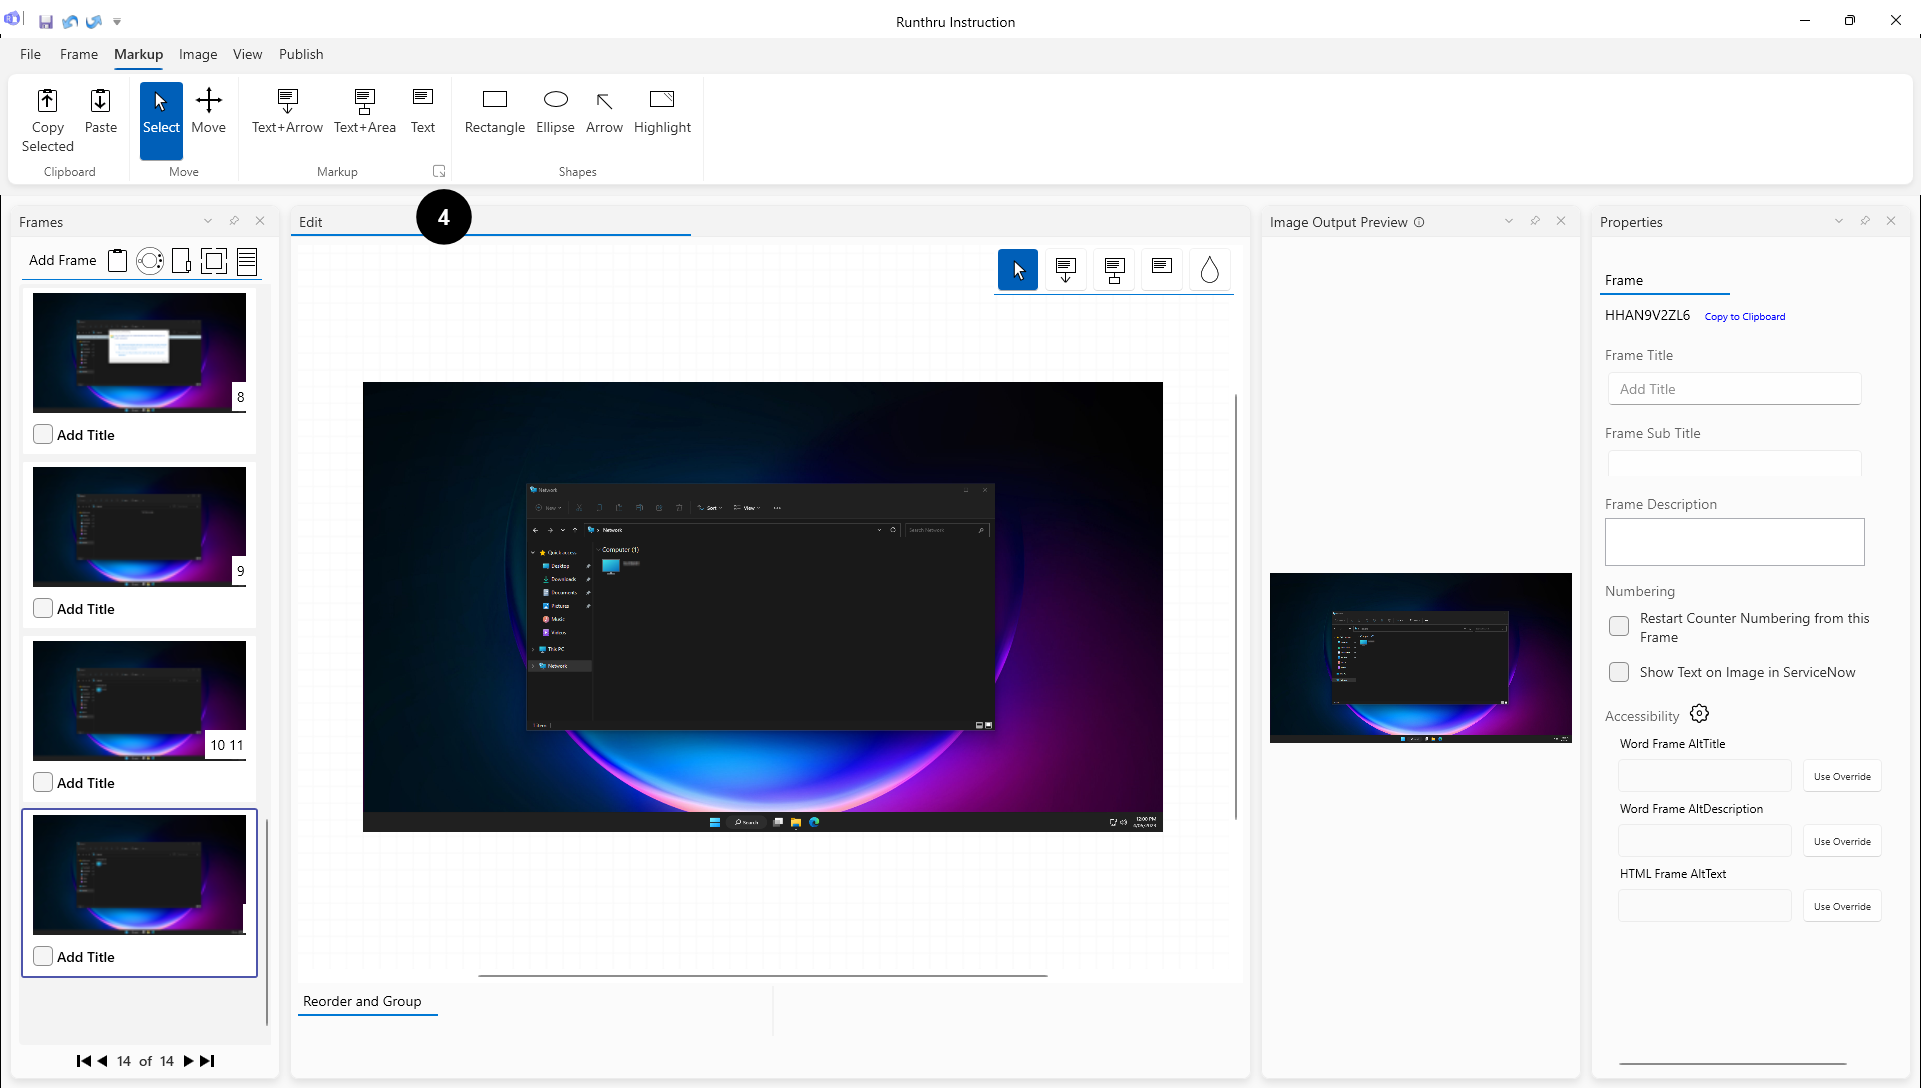
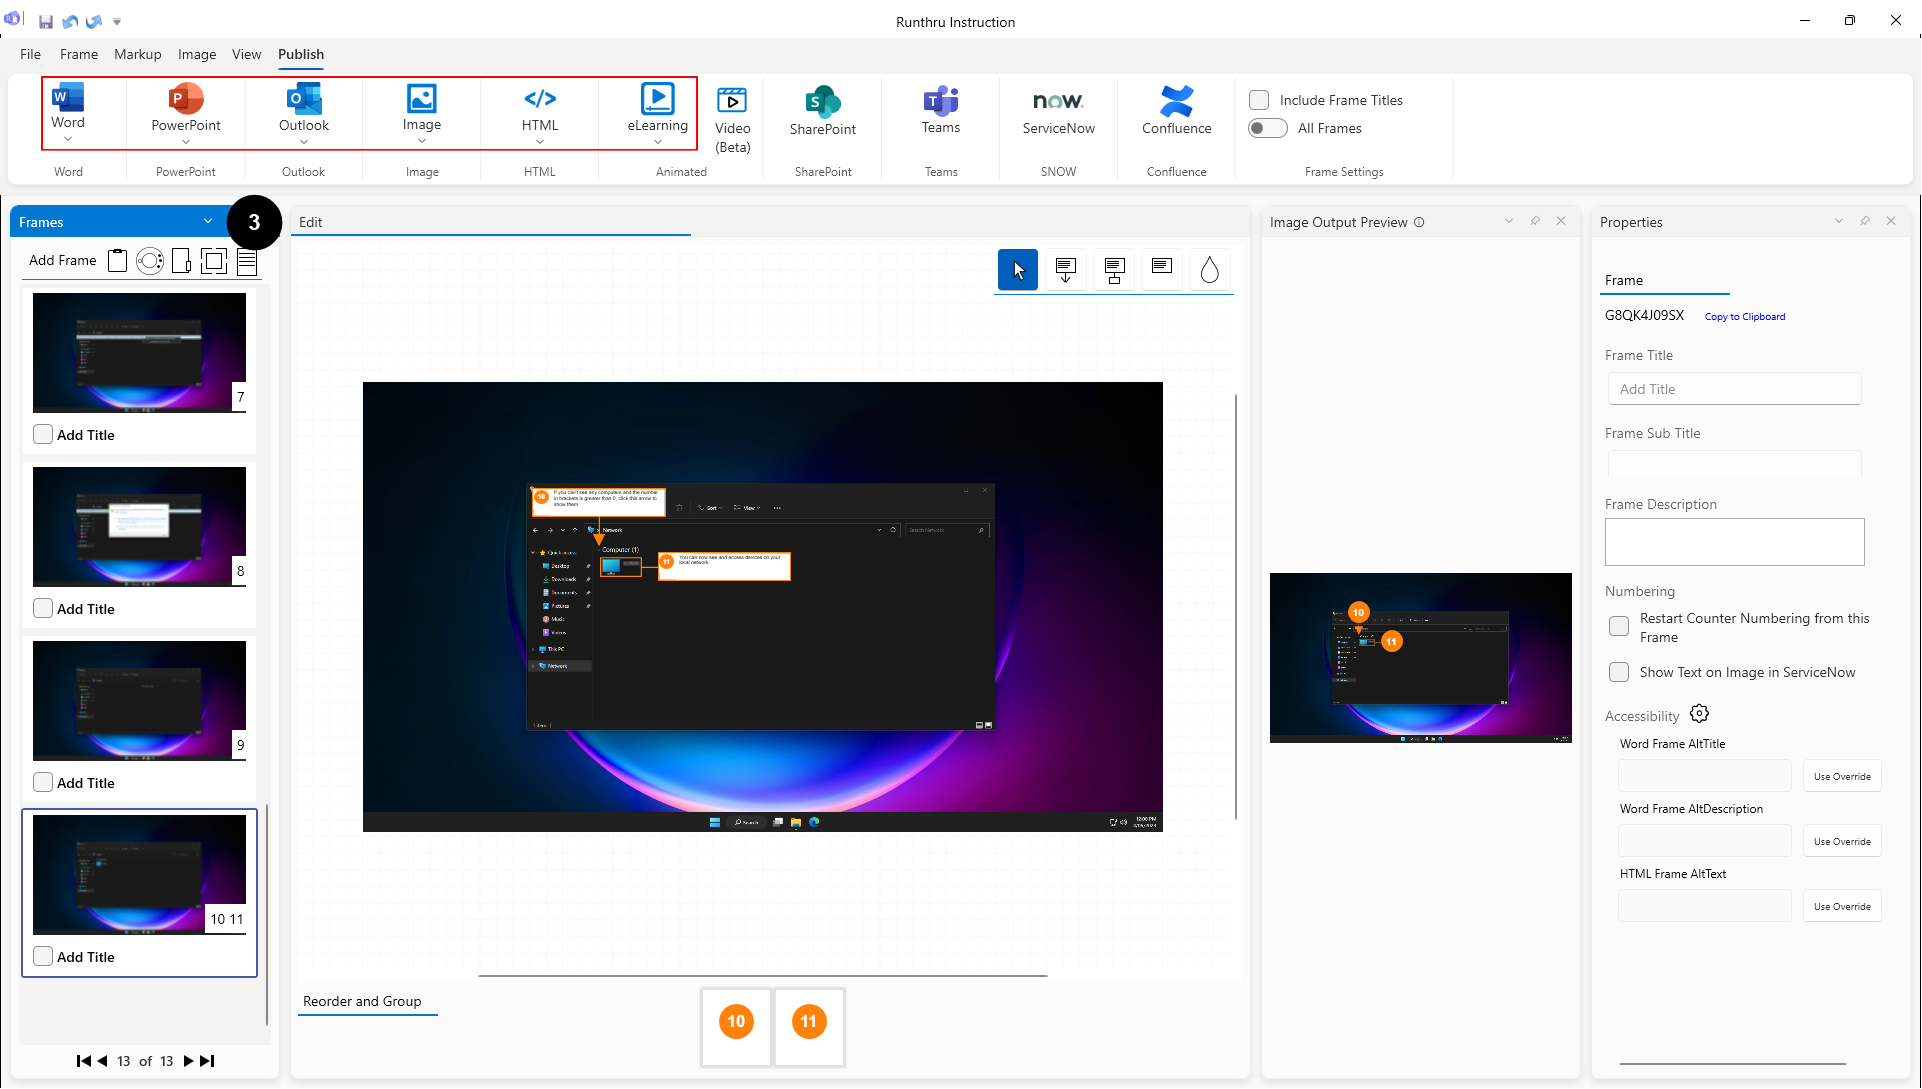
Adding markup to image frames
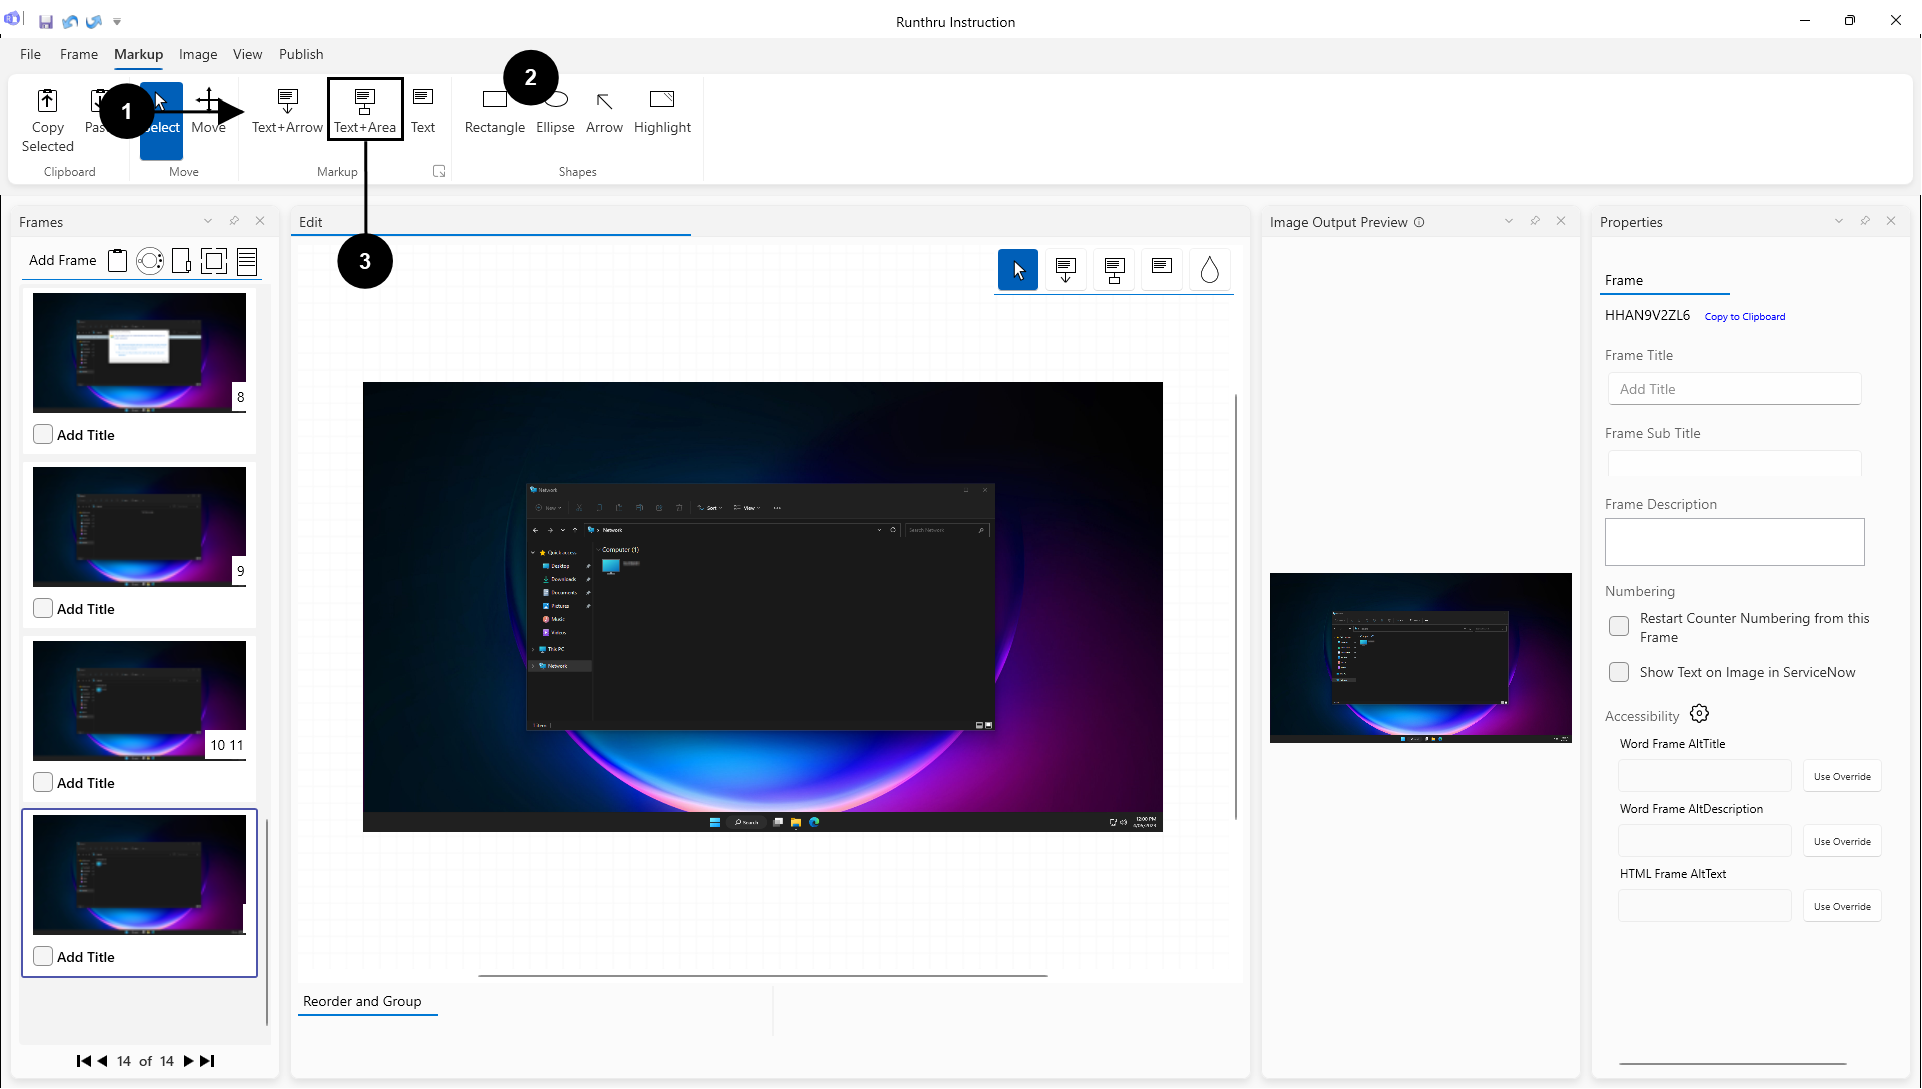
Click on 'Arrow+Text' for a numbered box with an arrow attached to be added.
Click on Text Box to produce a numbered step with just a text box (no attached tool)
Click on Area + Text to highlight small parts of a screen. This will take a snippet of this part of the screen and publish it separately in some outputs

You can also draw shapes on the canvas
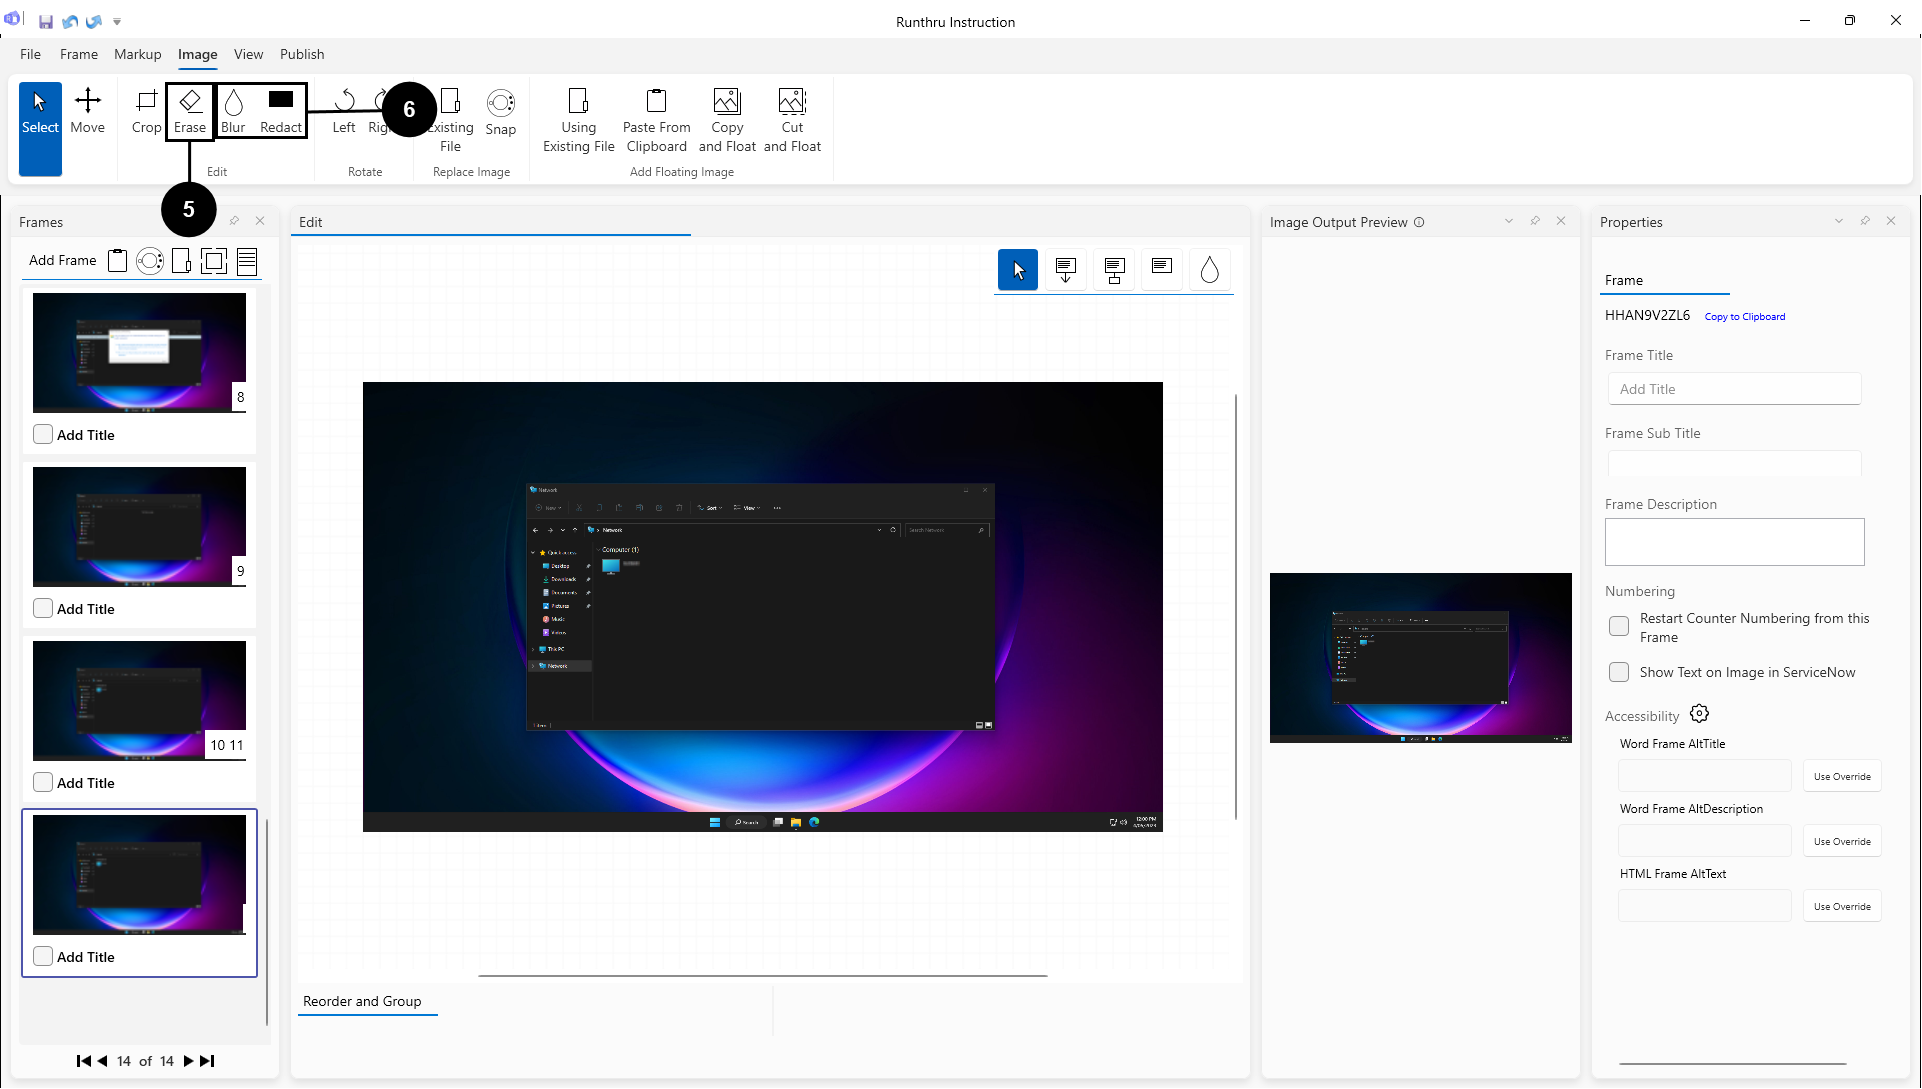
Use the Erase tool which brings the background color forward in order to clean up the image

Use the Blur and Redact tools for sensitive text and images


You can adjust the properties of the currently selected item in this panel
Publishing
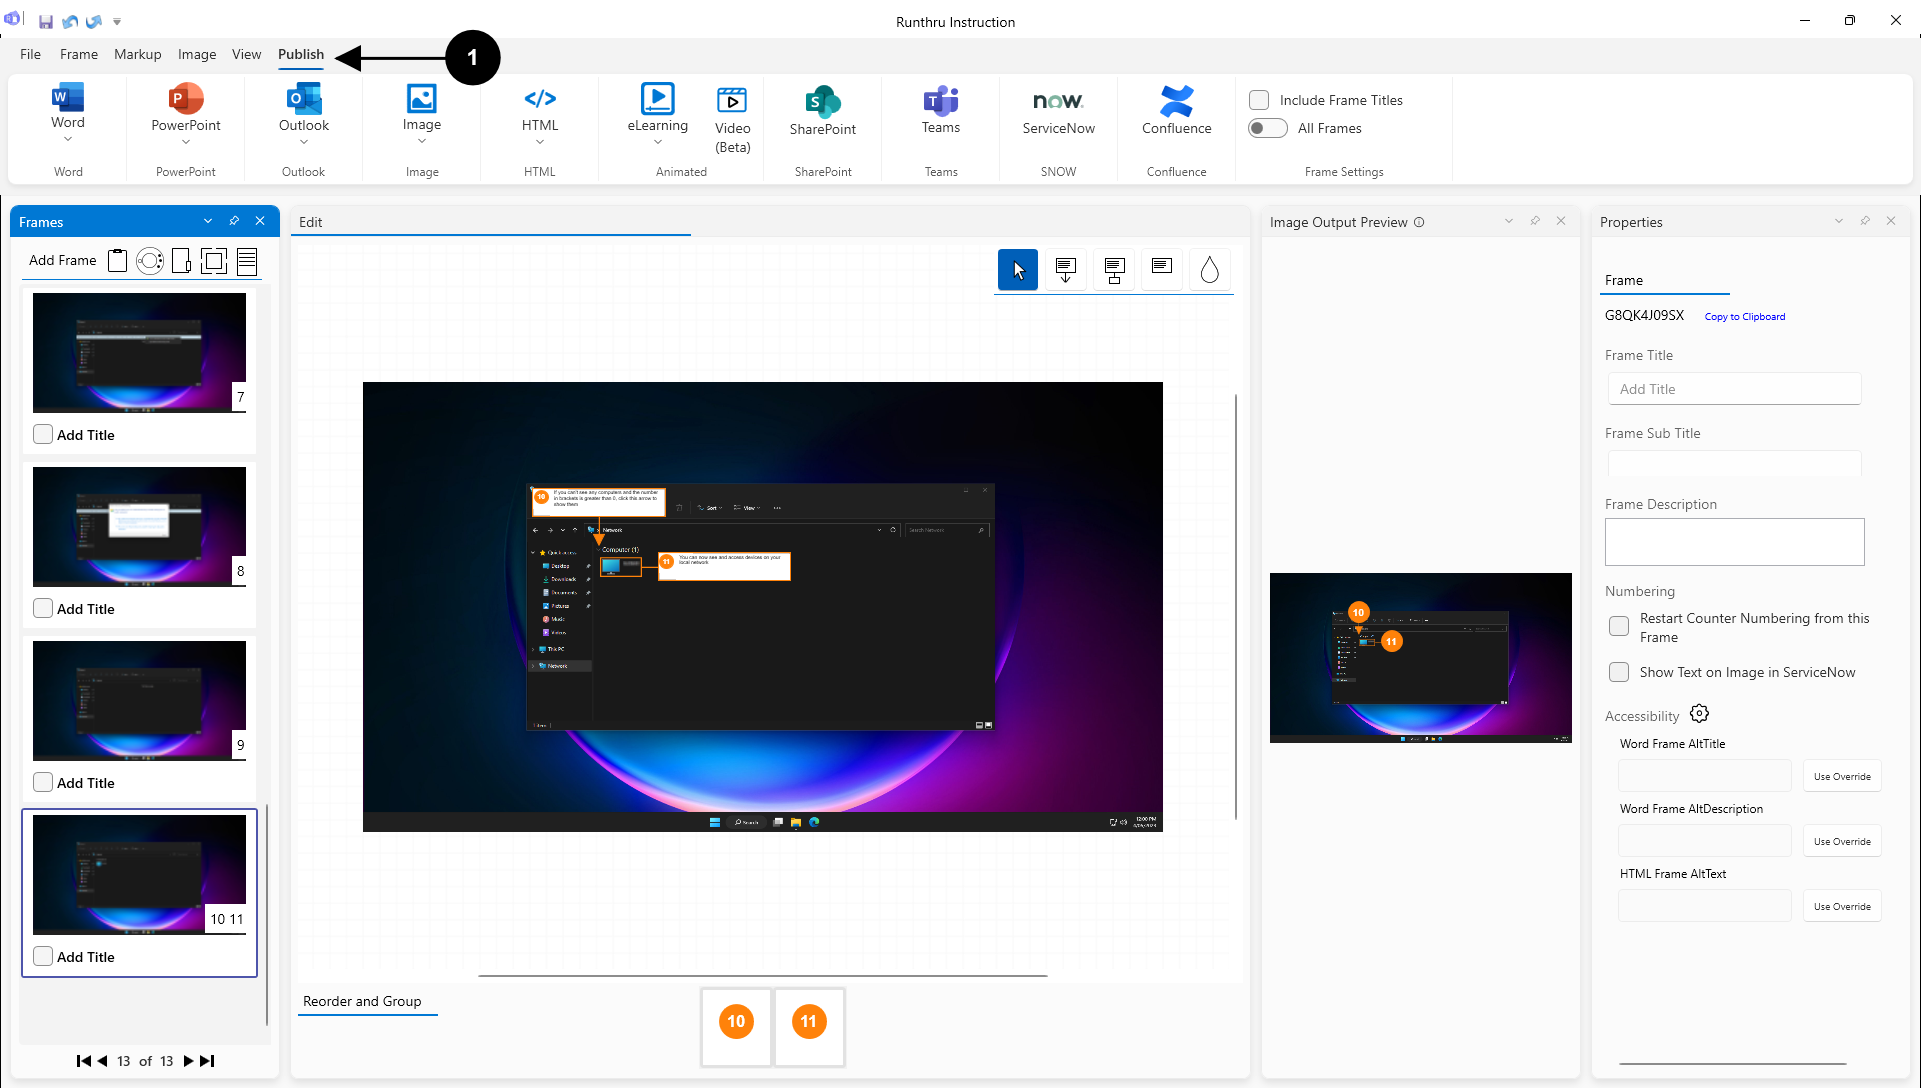
Go to the Publish tab when you're ready
Publish to your desired format
These are Split Buttons, clicking the top half will immediately publish the file with the last settings you chose. Clicking the bottom half will show other options