
Gather Screenshots by using the inbuilt Snap Recorder
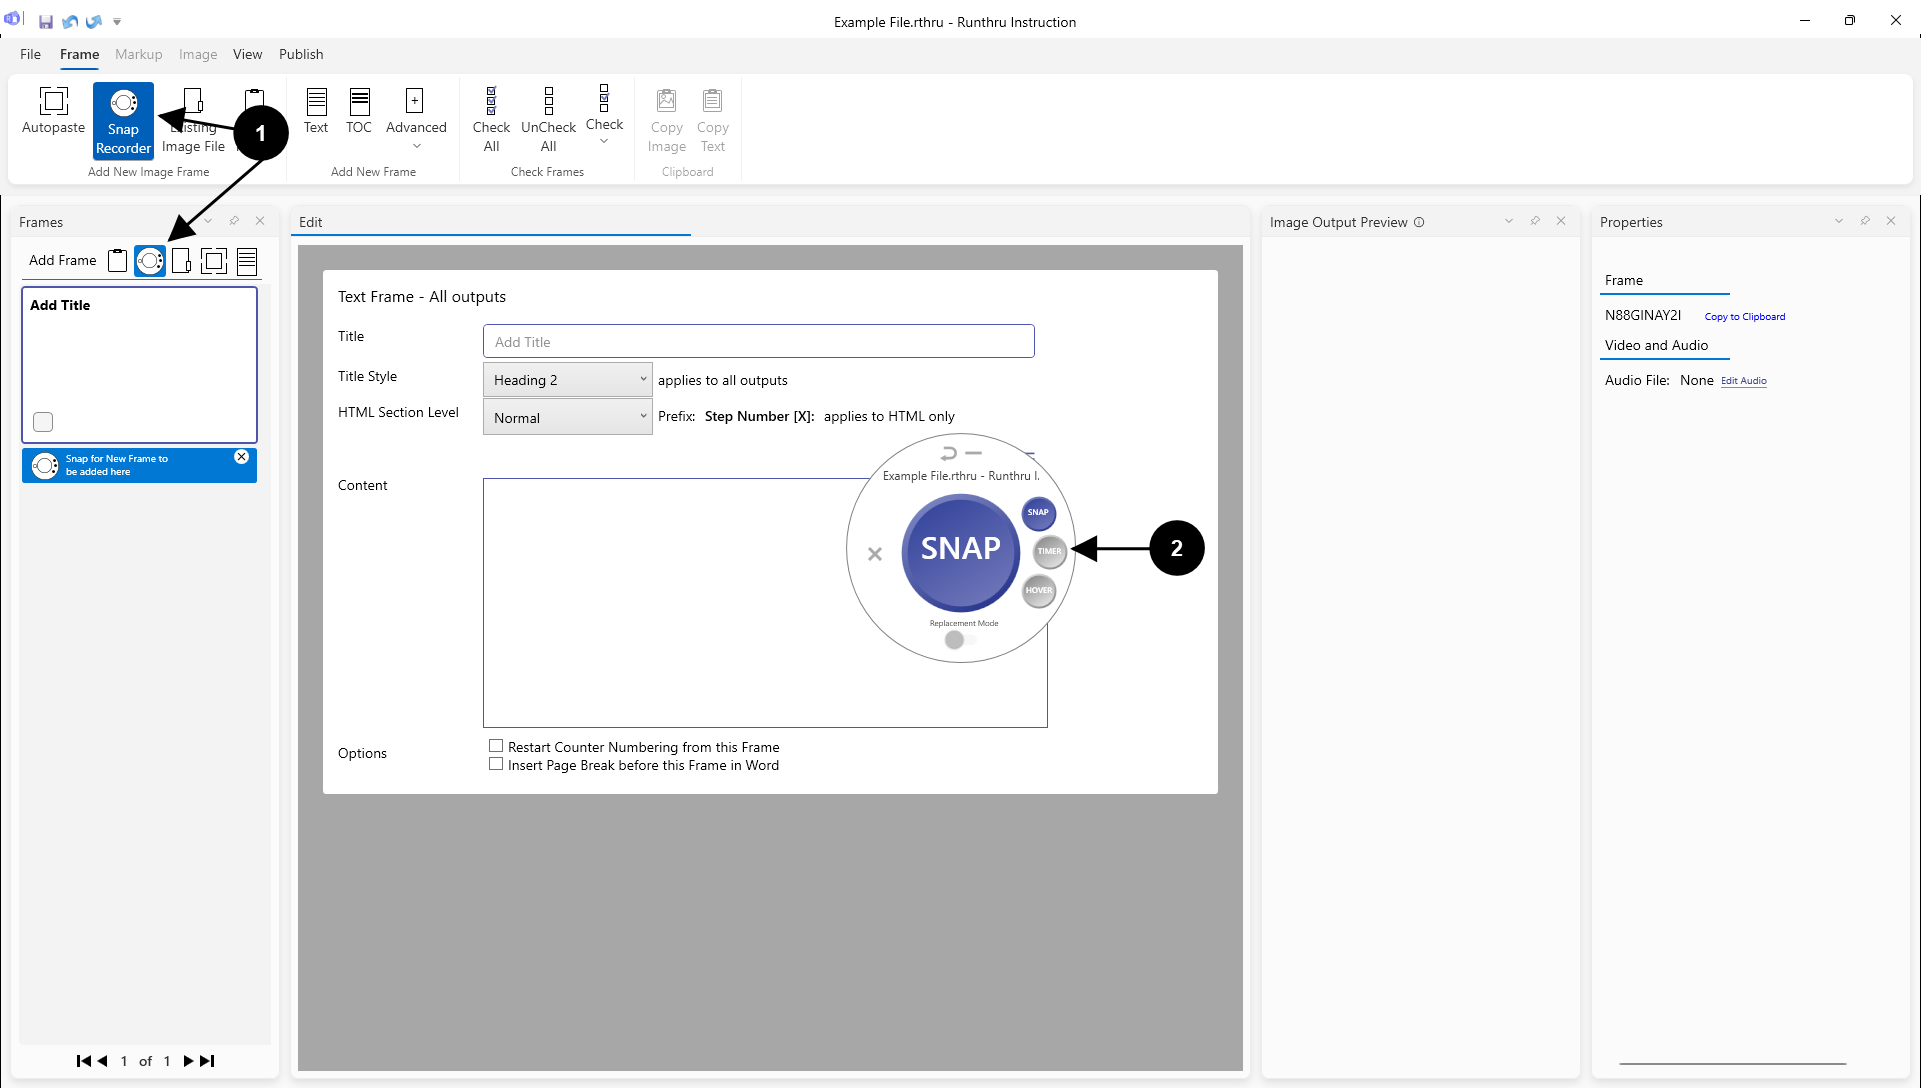

Click on the Snap Recorder button in the frame tab or at the top of the frame list

The Snap Recorder appears. This tool will allow you to capture screenshots easily
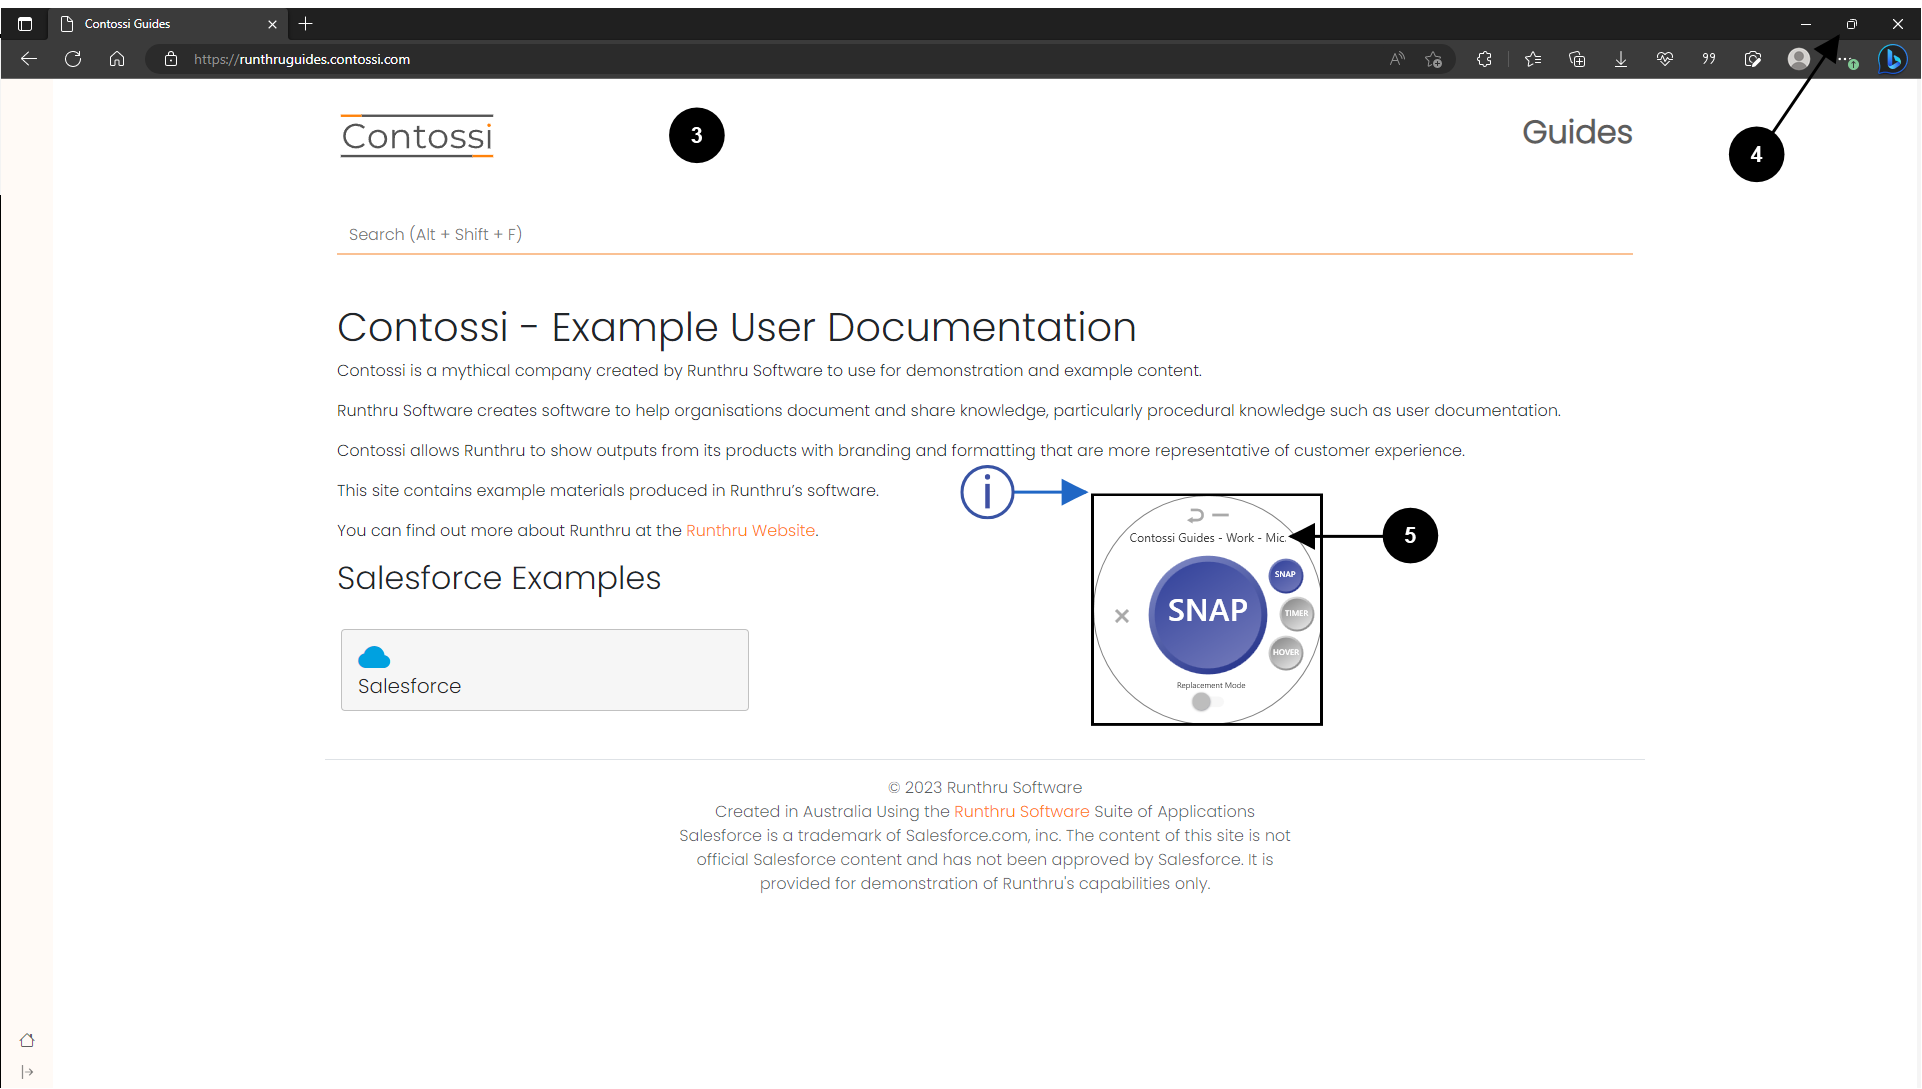

Bring the window that you would like to screenshot into the foreground

Now that you have your target window ready, you may need to resize it. In most cases, you will take the image out of full screen mode and reduce the image size, but ensure you keep all the necessary items in view.

Drag the Snap Recorder and position it over the target window. The Snap Tool will display the title of the window it will capture

The snap tool picks the window sitting under the top left corner
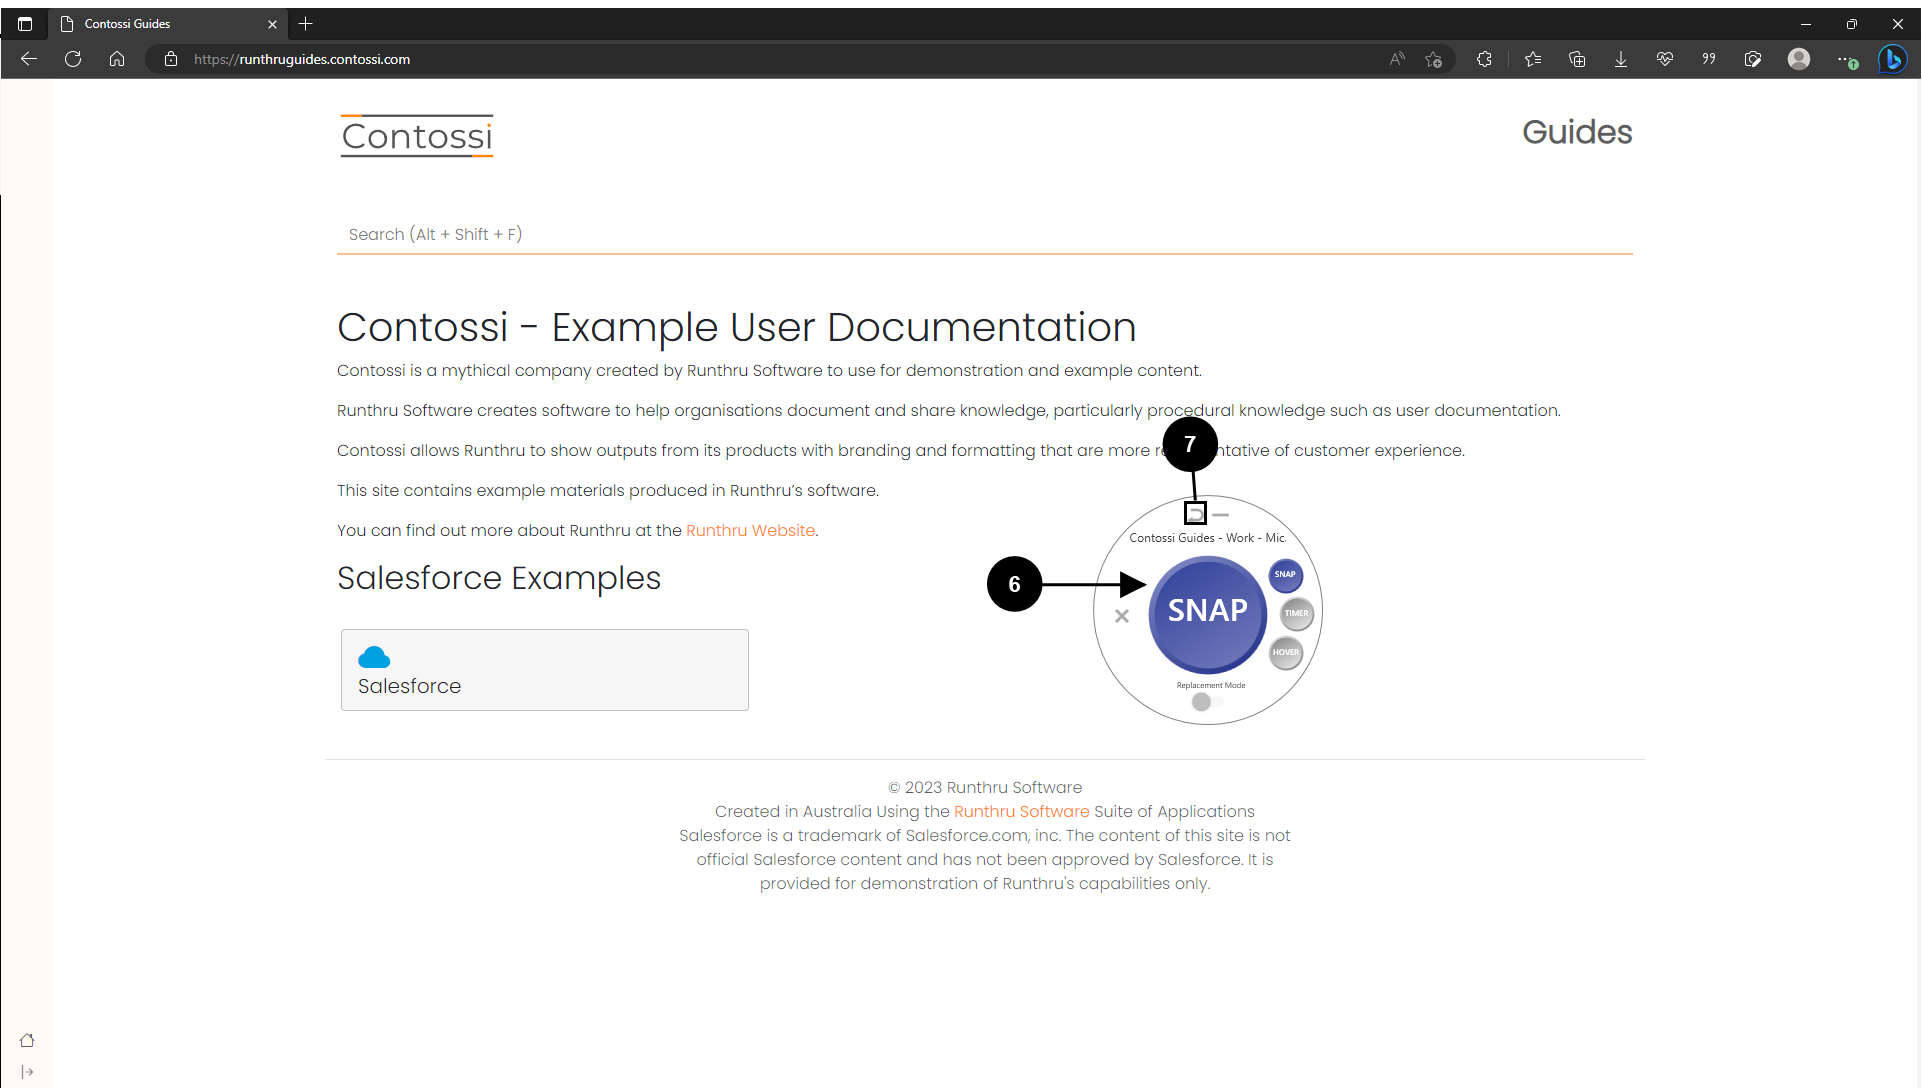

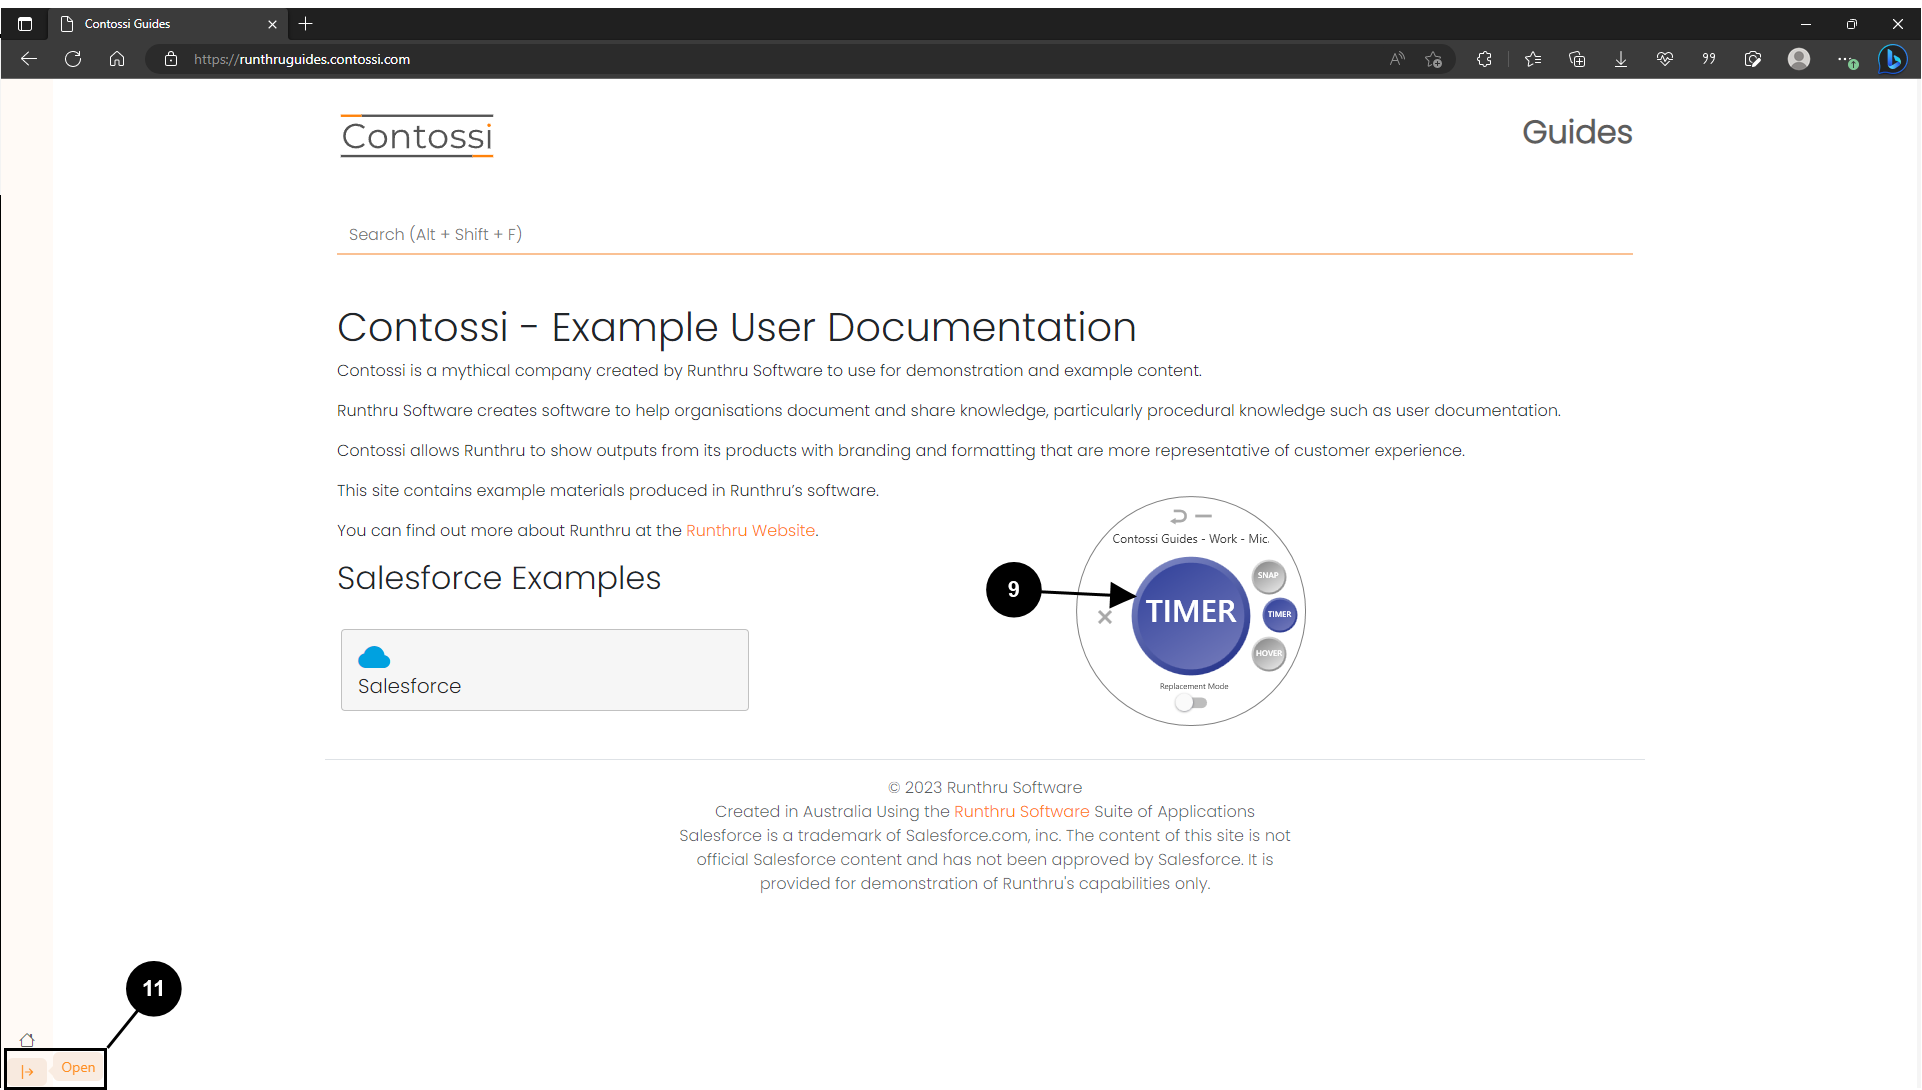
Press the SNAP when you are ready to take a screenshot

Now go back to Runthru Instruction so you can see your image. You can use the return button to bring Runthru Instruction into view

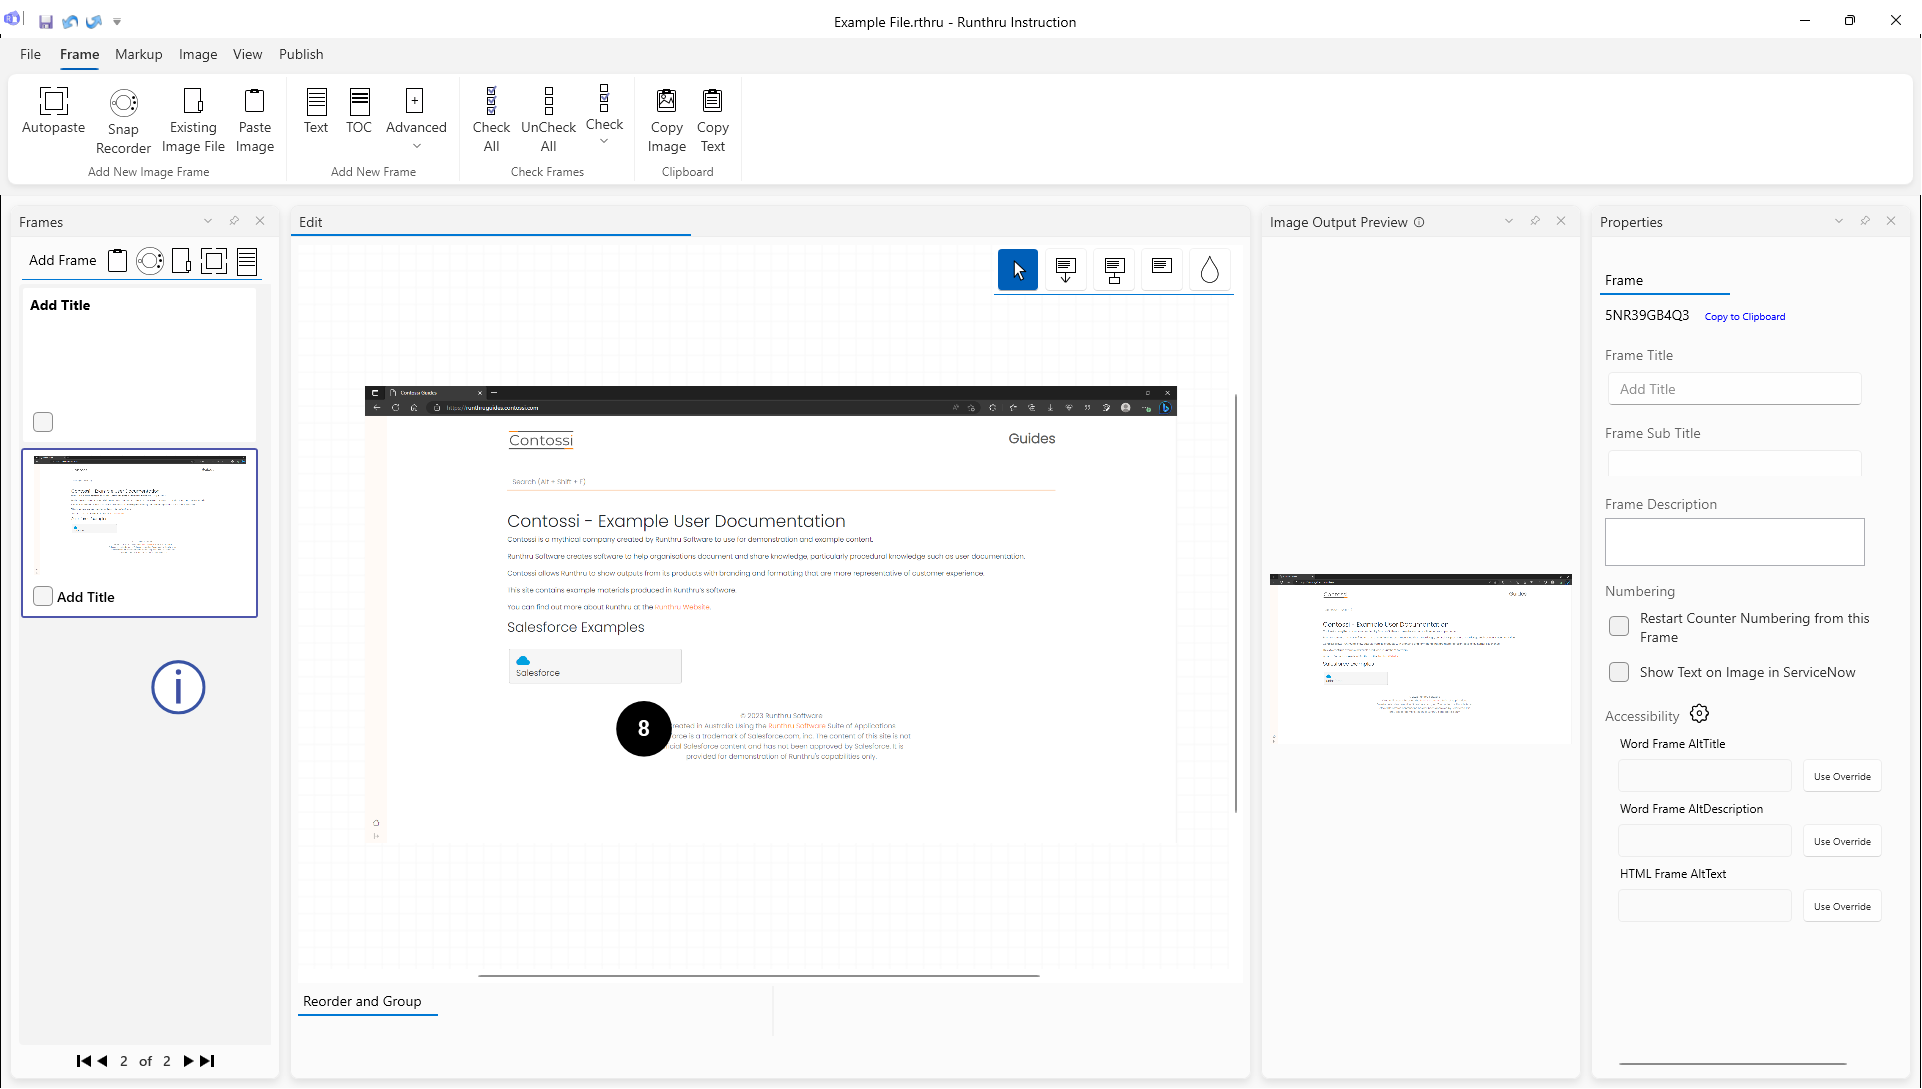
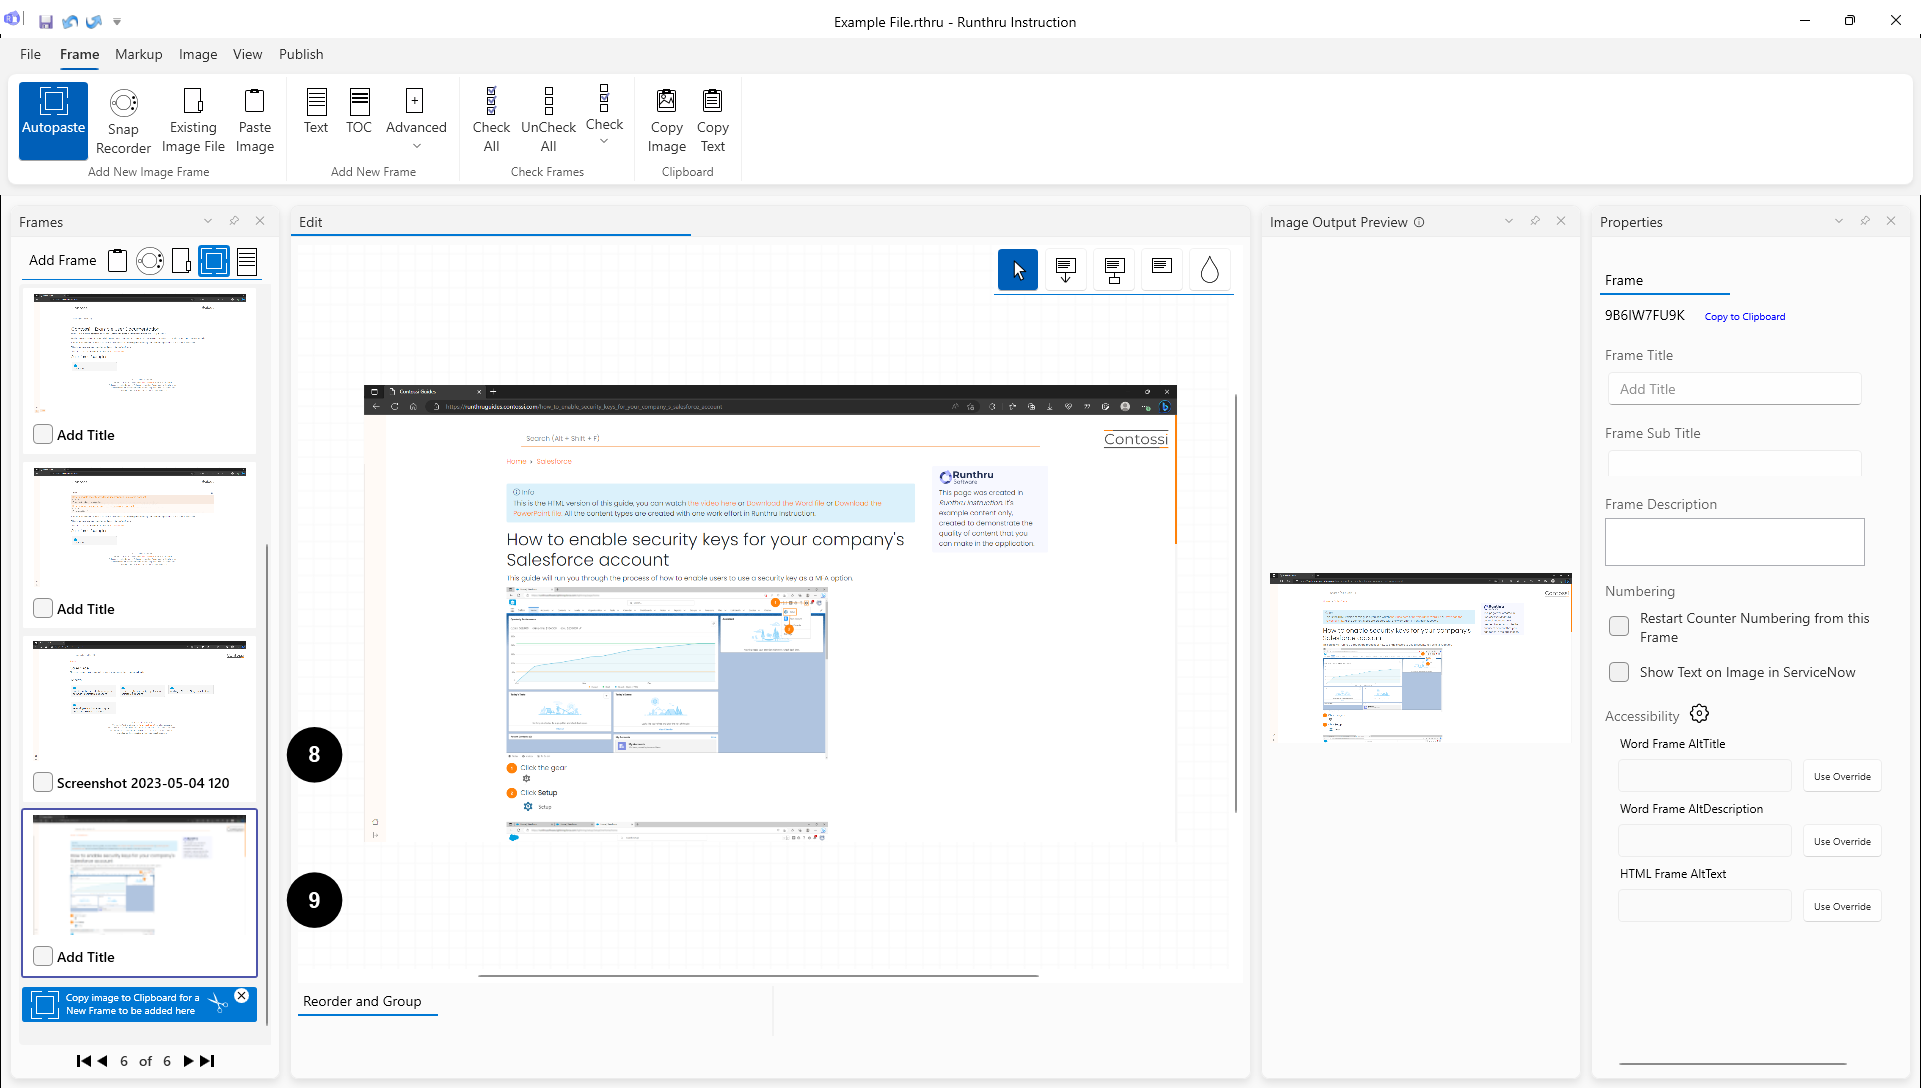
The captured screenshot is now a frame

Now go back to your target application to try another way of gathering images
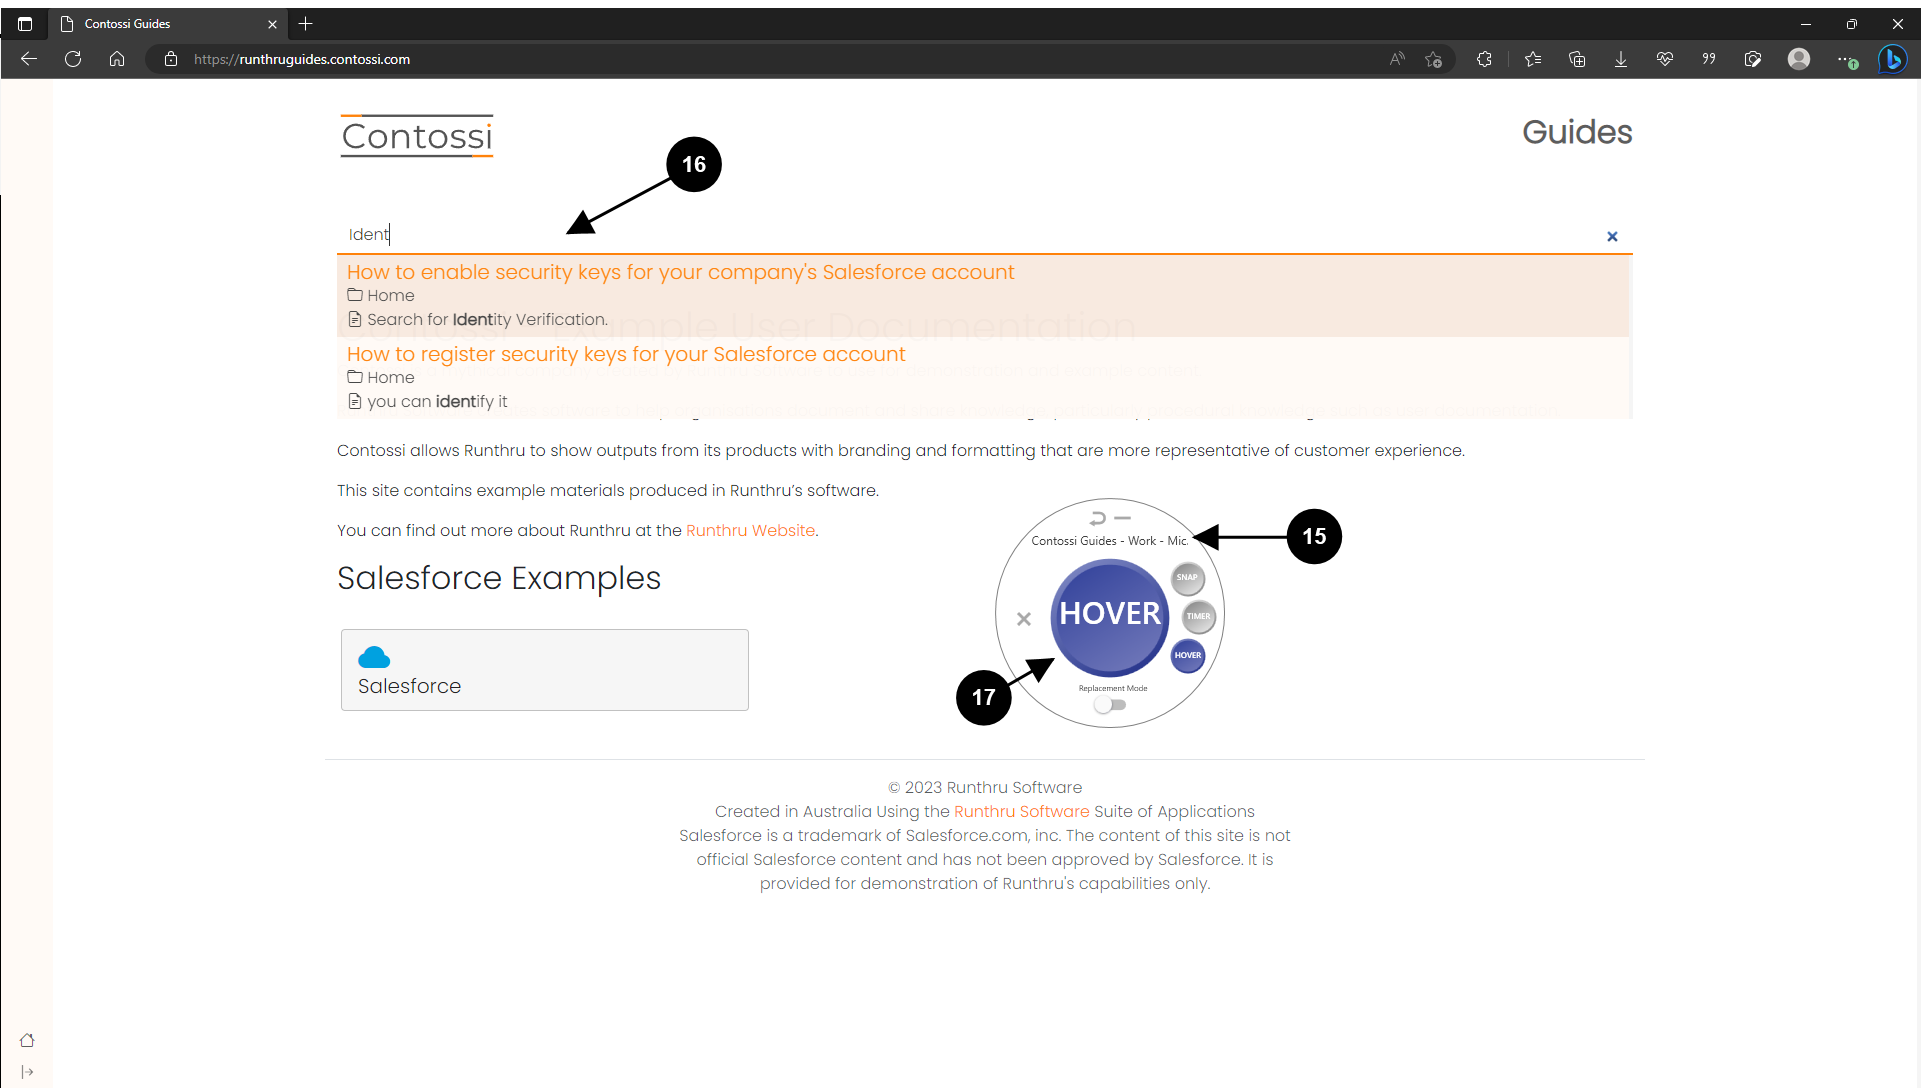
Timer takes a delayed screenshot of 5 seconds. The time can be changed in settings

Click on Timer and within 5 seconds place the mouse over your target. E.g Dropdown menu, or item with tooltip

Now go back again to Runthru Instruction where you can see your new screenshot

In those few seconds, you can go and open a popup menu or tooltip
E.g. Within 5 seconds, position your mouse over the arrow to show the open tooltip

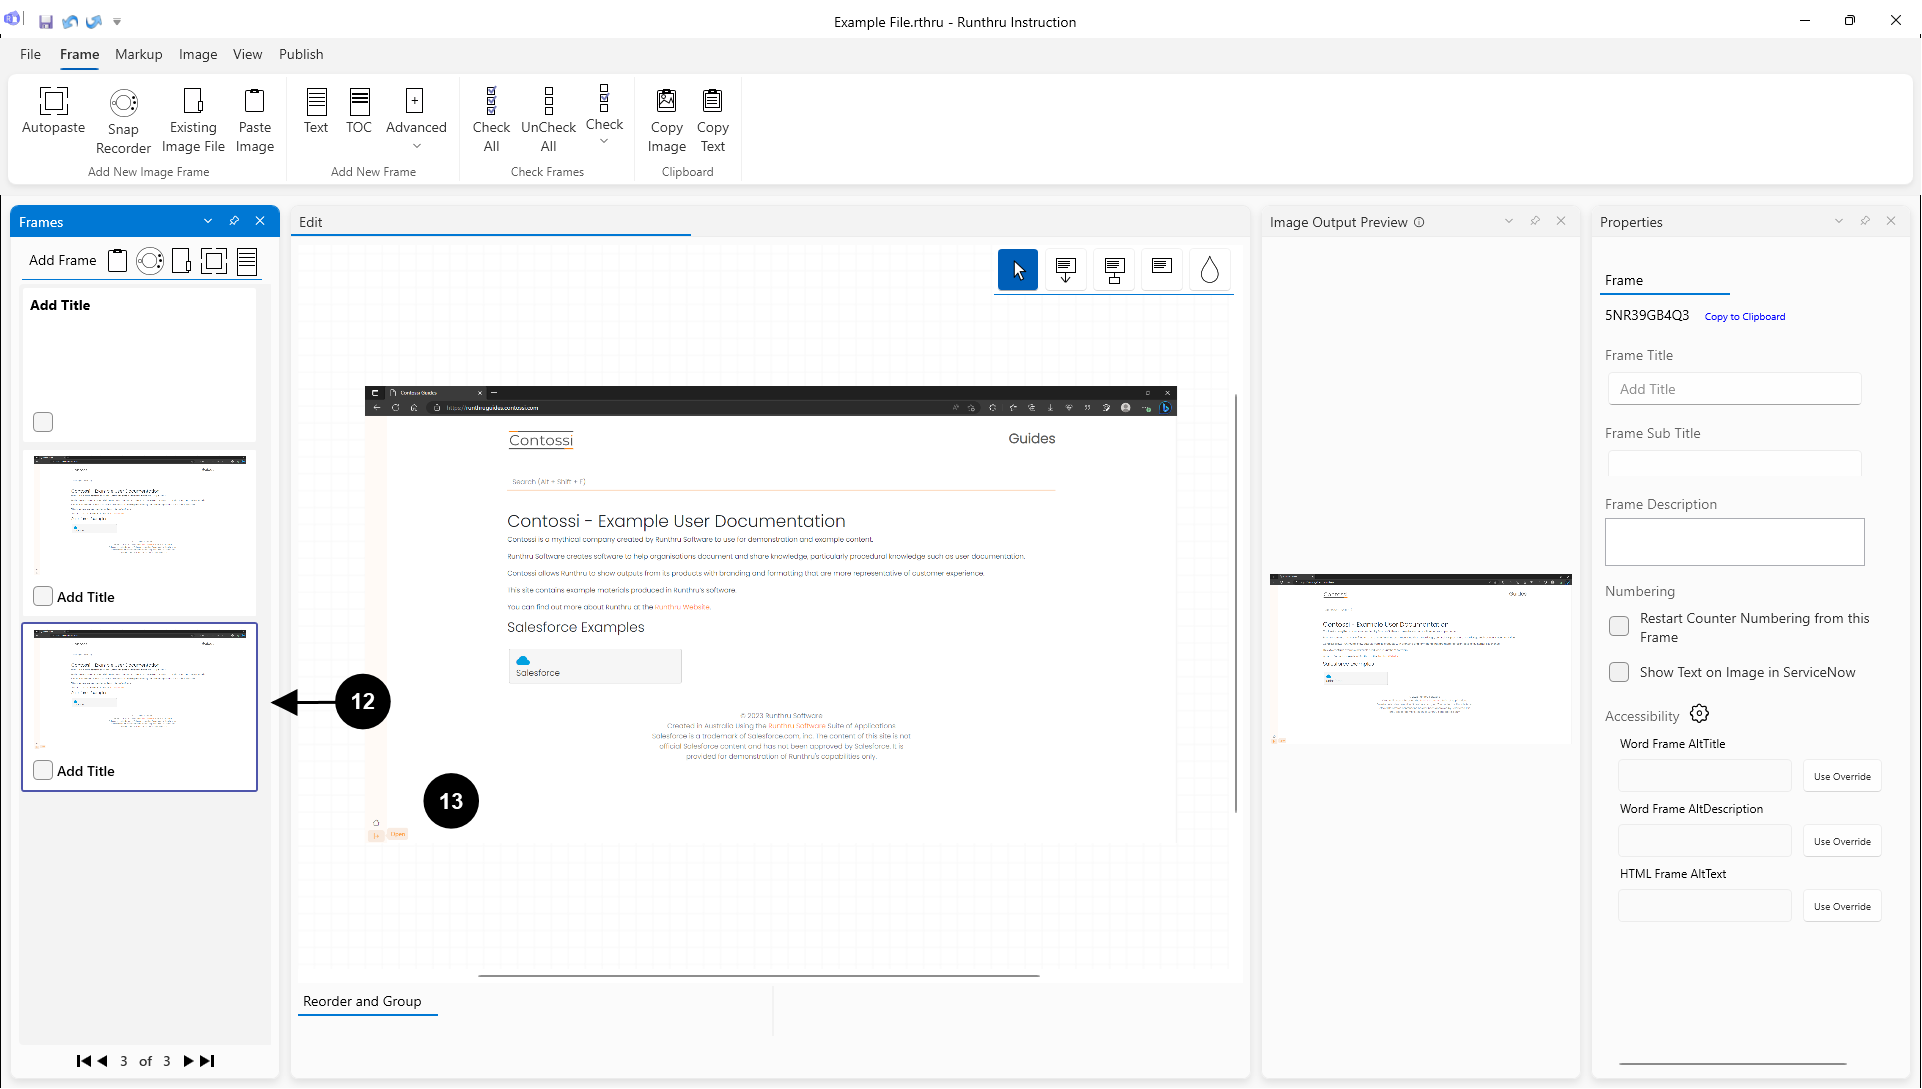

As you can see, the image appeared below the previous one, and it's also been selected

See the result

Now go back to your target application to try another way of gathering images

Make sure the Snap Recorder is over your target application

Open a menu or similar that disappears when your target window looses focus (when you click on another application or window)

Hover your mouse in order to screenshot the active application without having to click the button
Place and hold the mouse over the Hover button and wait for 3 seconds to take a screenshot. The time can be changed in settings
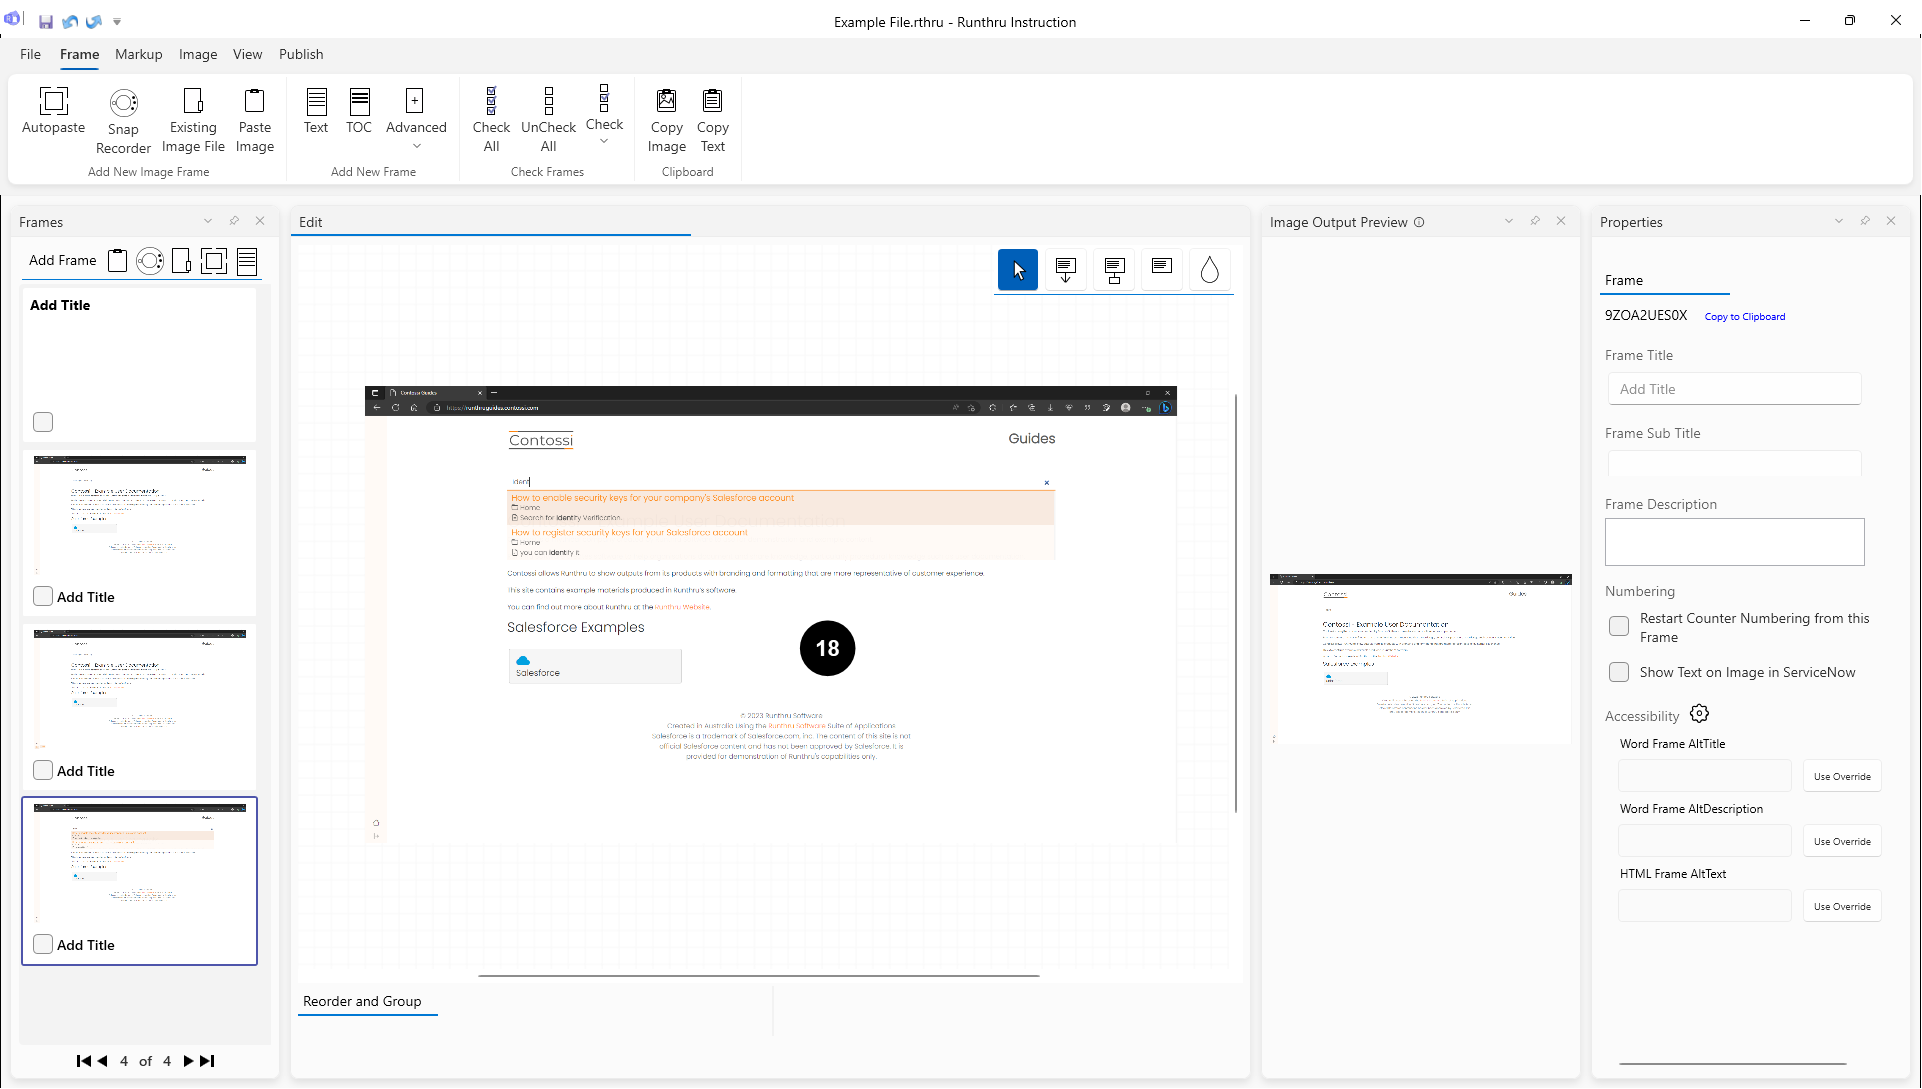

As you can see, it has captured a target application with an active opened Menu
Gather Screenshots by importing an image from the computer's drive
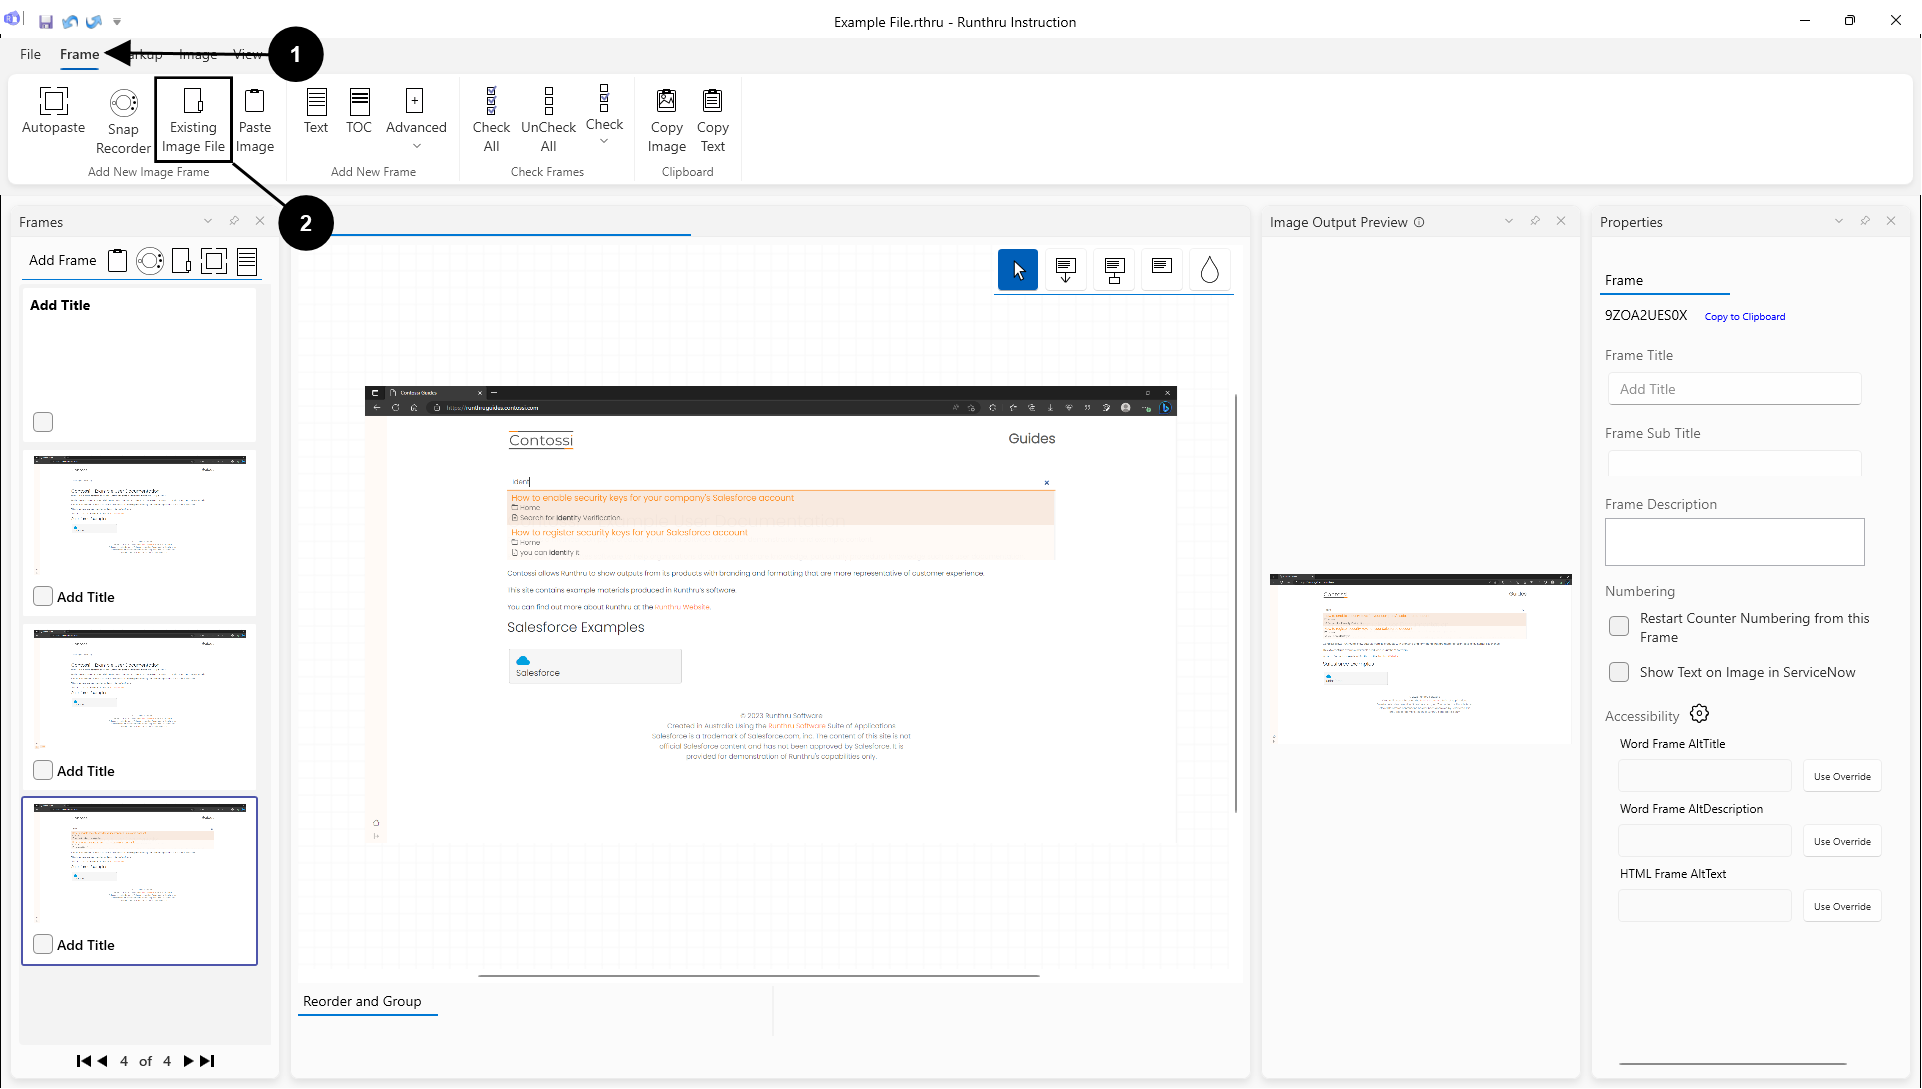
Go to the Frame tab
Choose Existing Image File

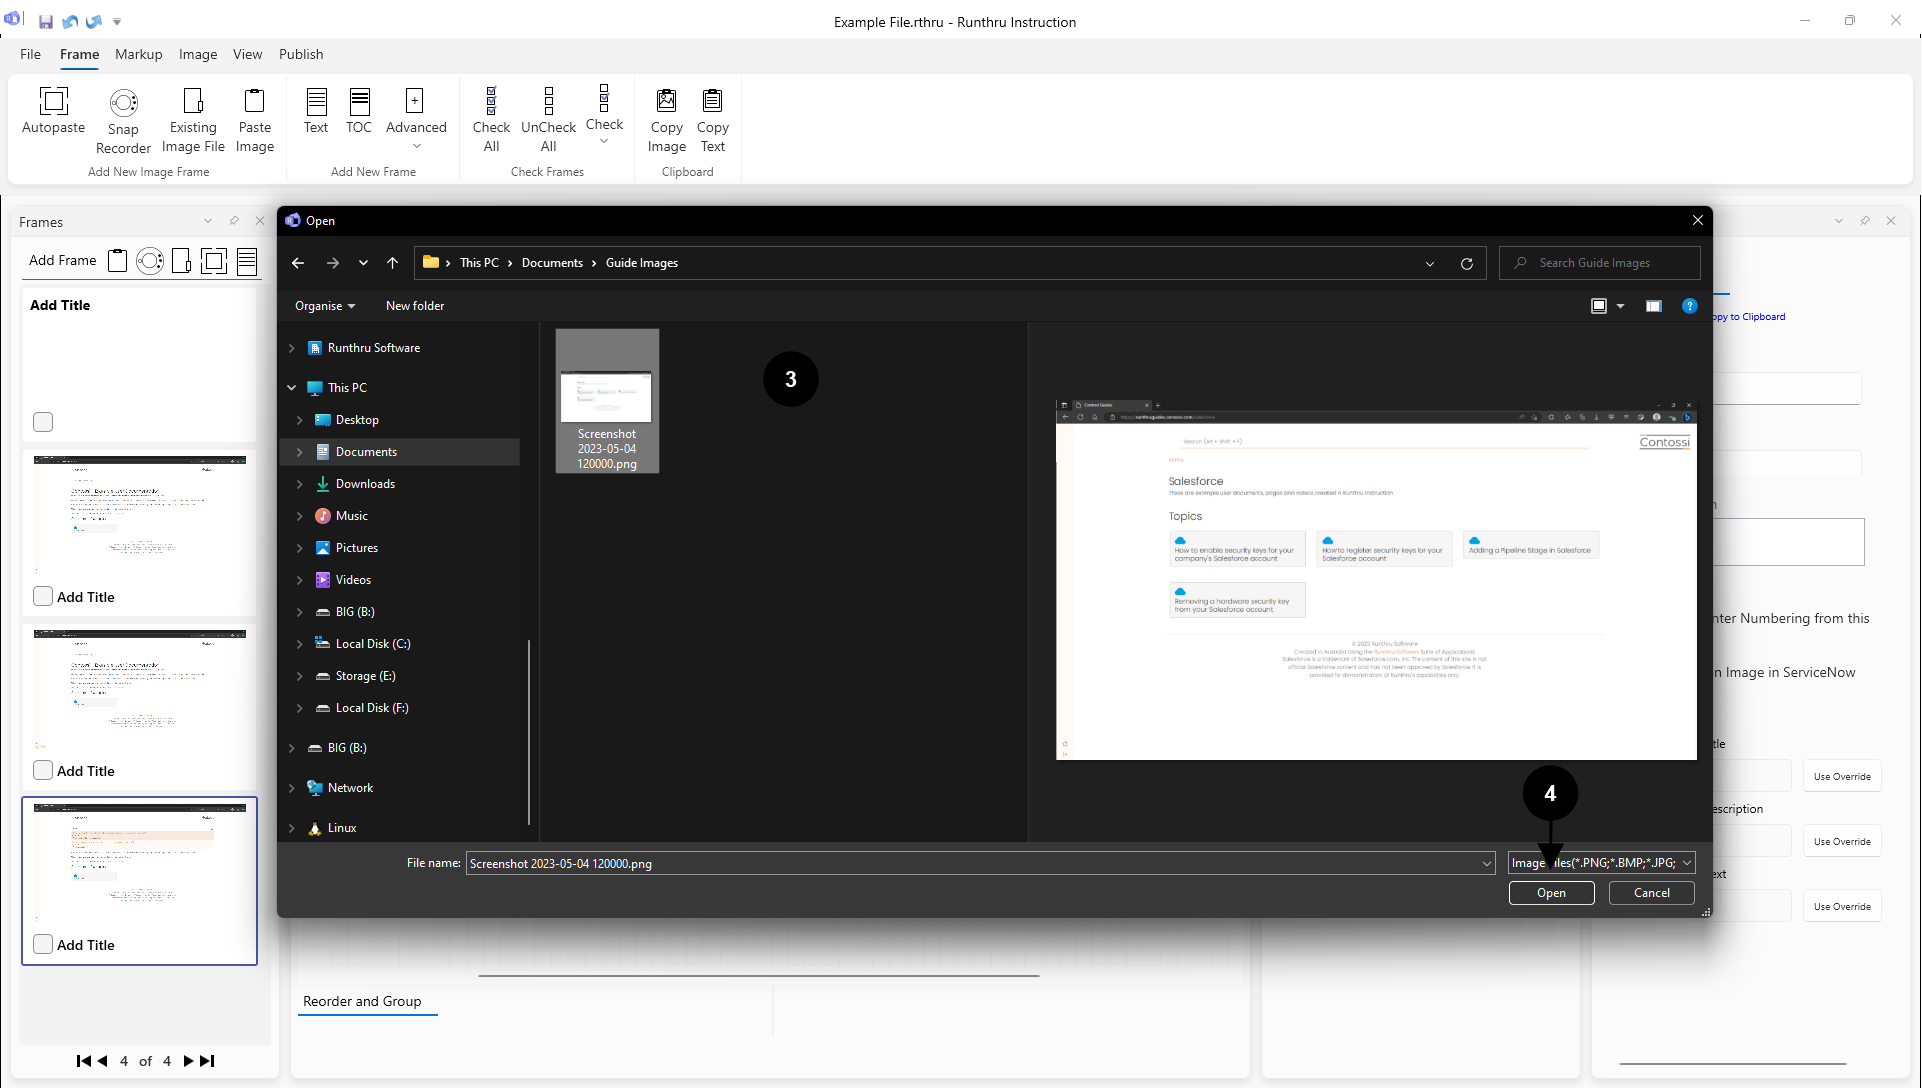
A windows open file dialog box will launch and you choose one or more images to import as frames
Click Open to import the images into Runthru Instruction
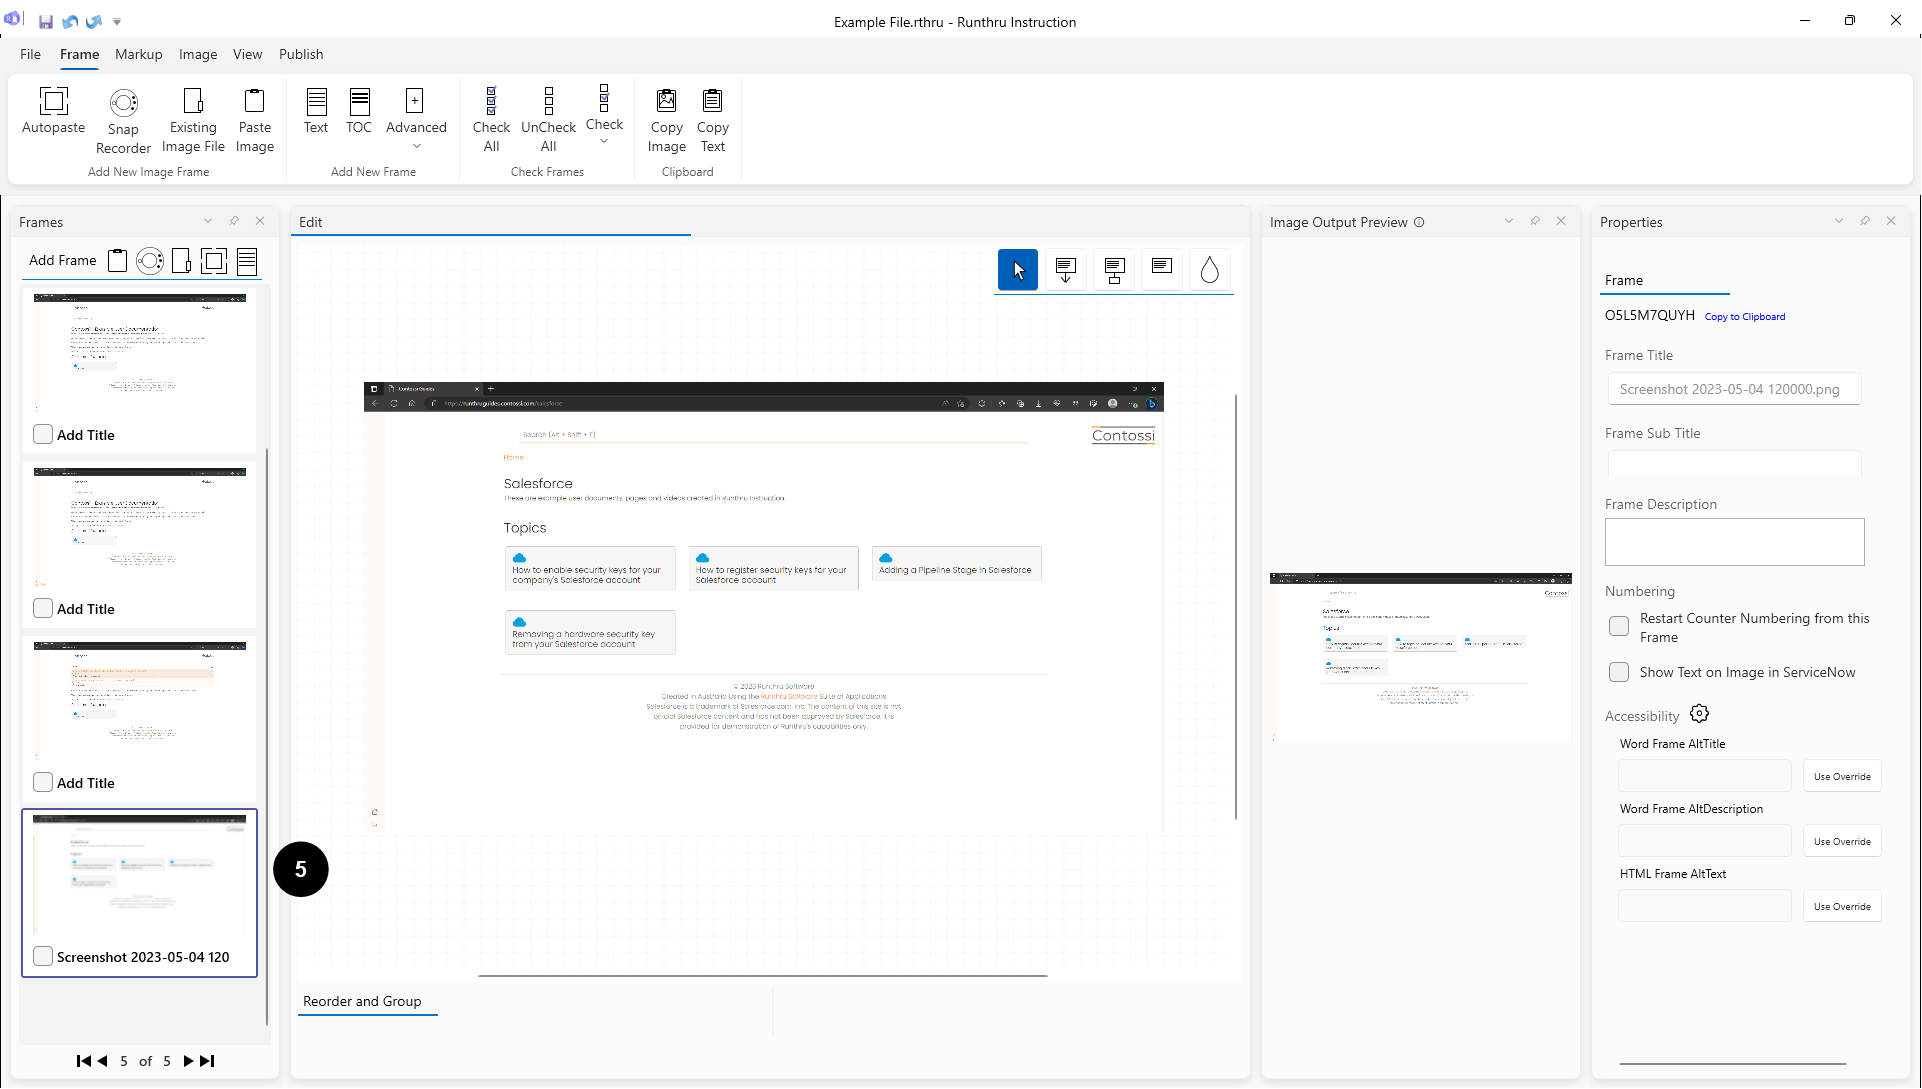
The image or images you selected are added to the frame list
Gather Screenshots by using the Clipboard
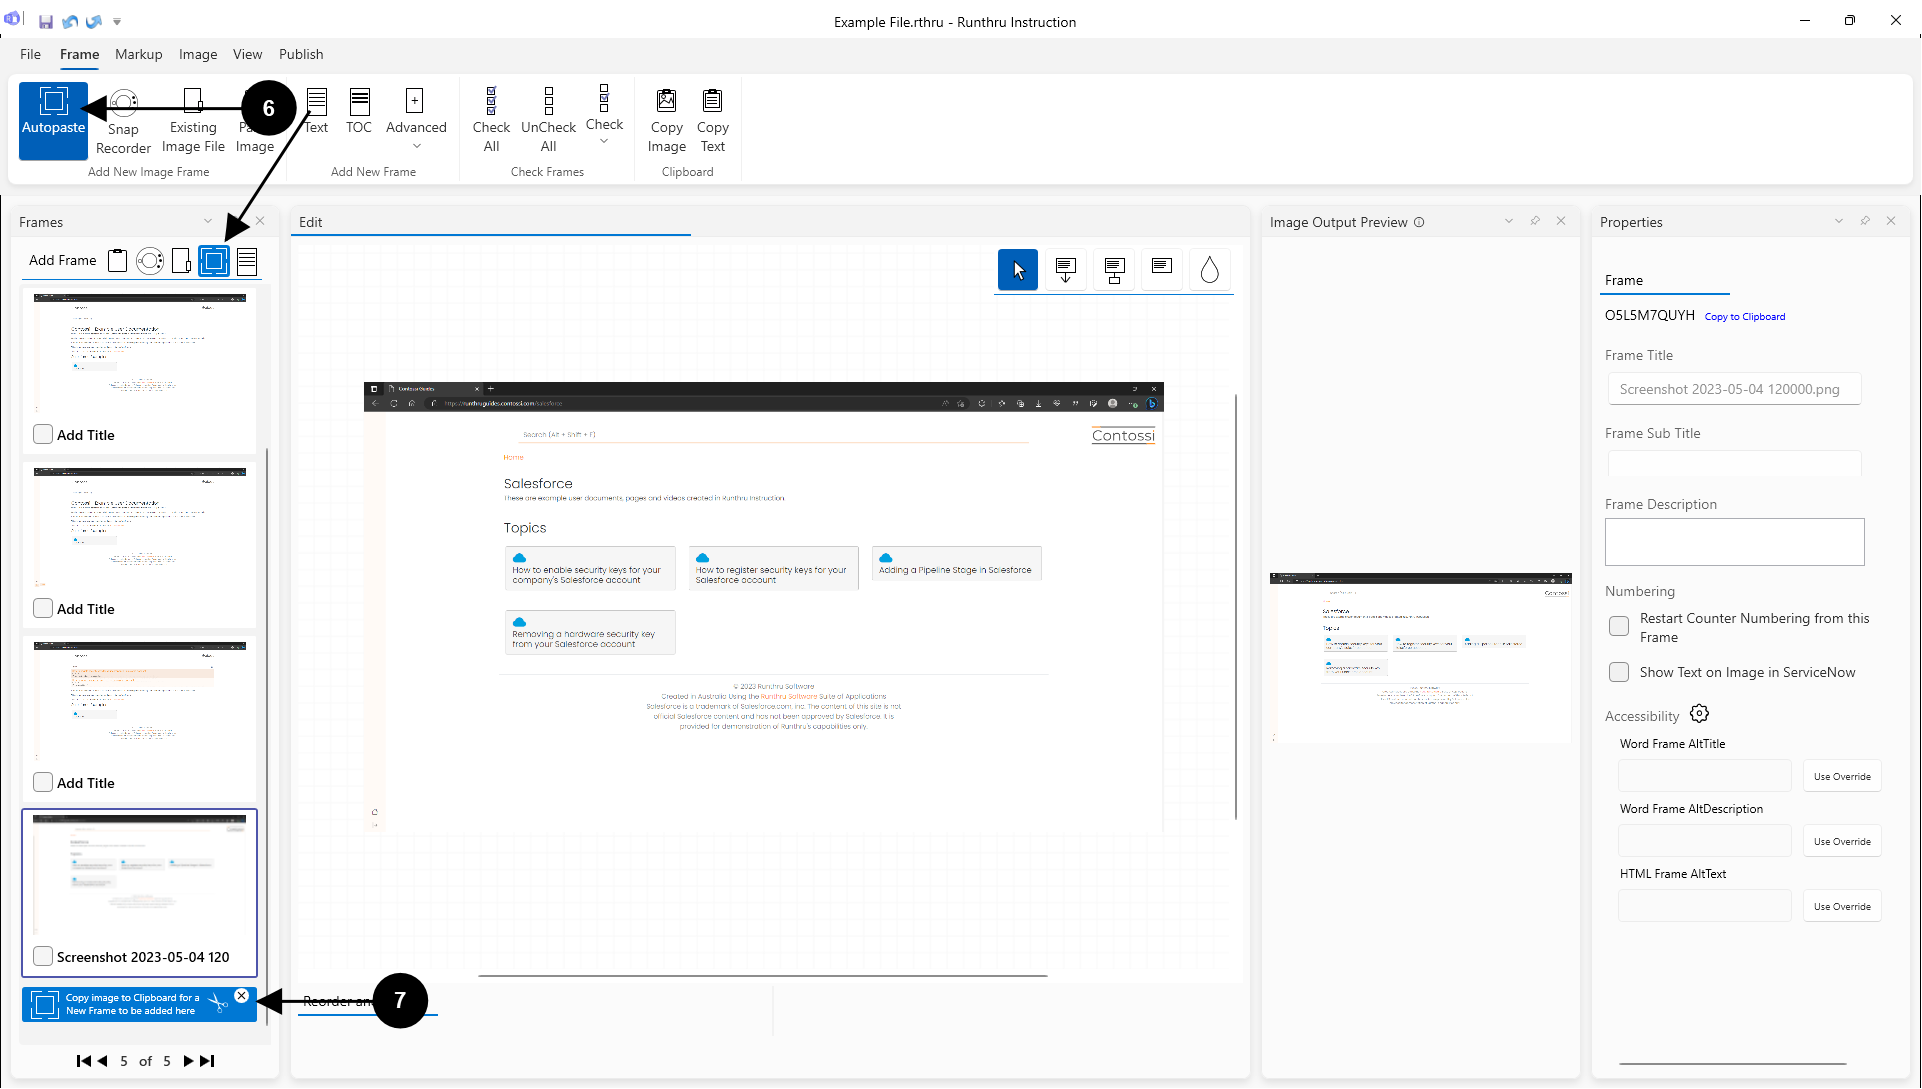
Autopaste watches your clipboard for screenshots and images and when it sees one it will take it and create a new frame from it in the frame list
Click either of these buttons to turn Autopaste on
When Autopaste is on this notification will be visible
You can use any method of capturing screenshots that puts images on the clipboard e.g. Alt+PrtScreen, PrtScreen or Windows Key+Shift+S
As soon as the image is put onto your clipboard Runthru Instruction will capture it and create a frame from it