
This is the web version of this guide, you can watch this guide as a video if you prefer here
Creating your ServiceNow OAuth Client ID
You will need to have ServiceNow administrator privileges to complete this task
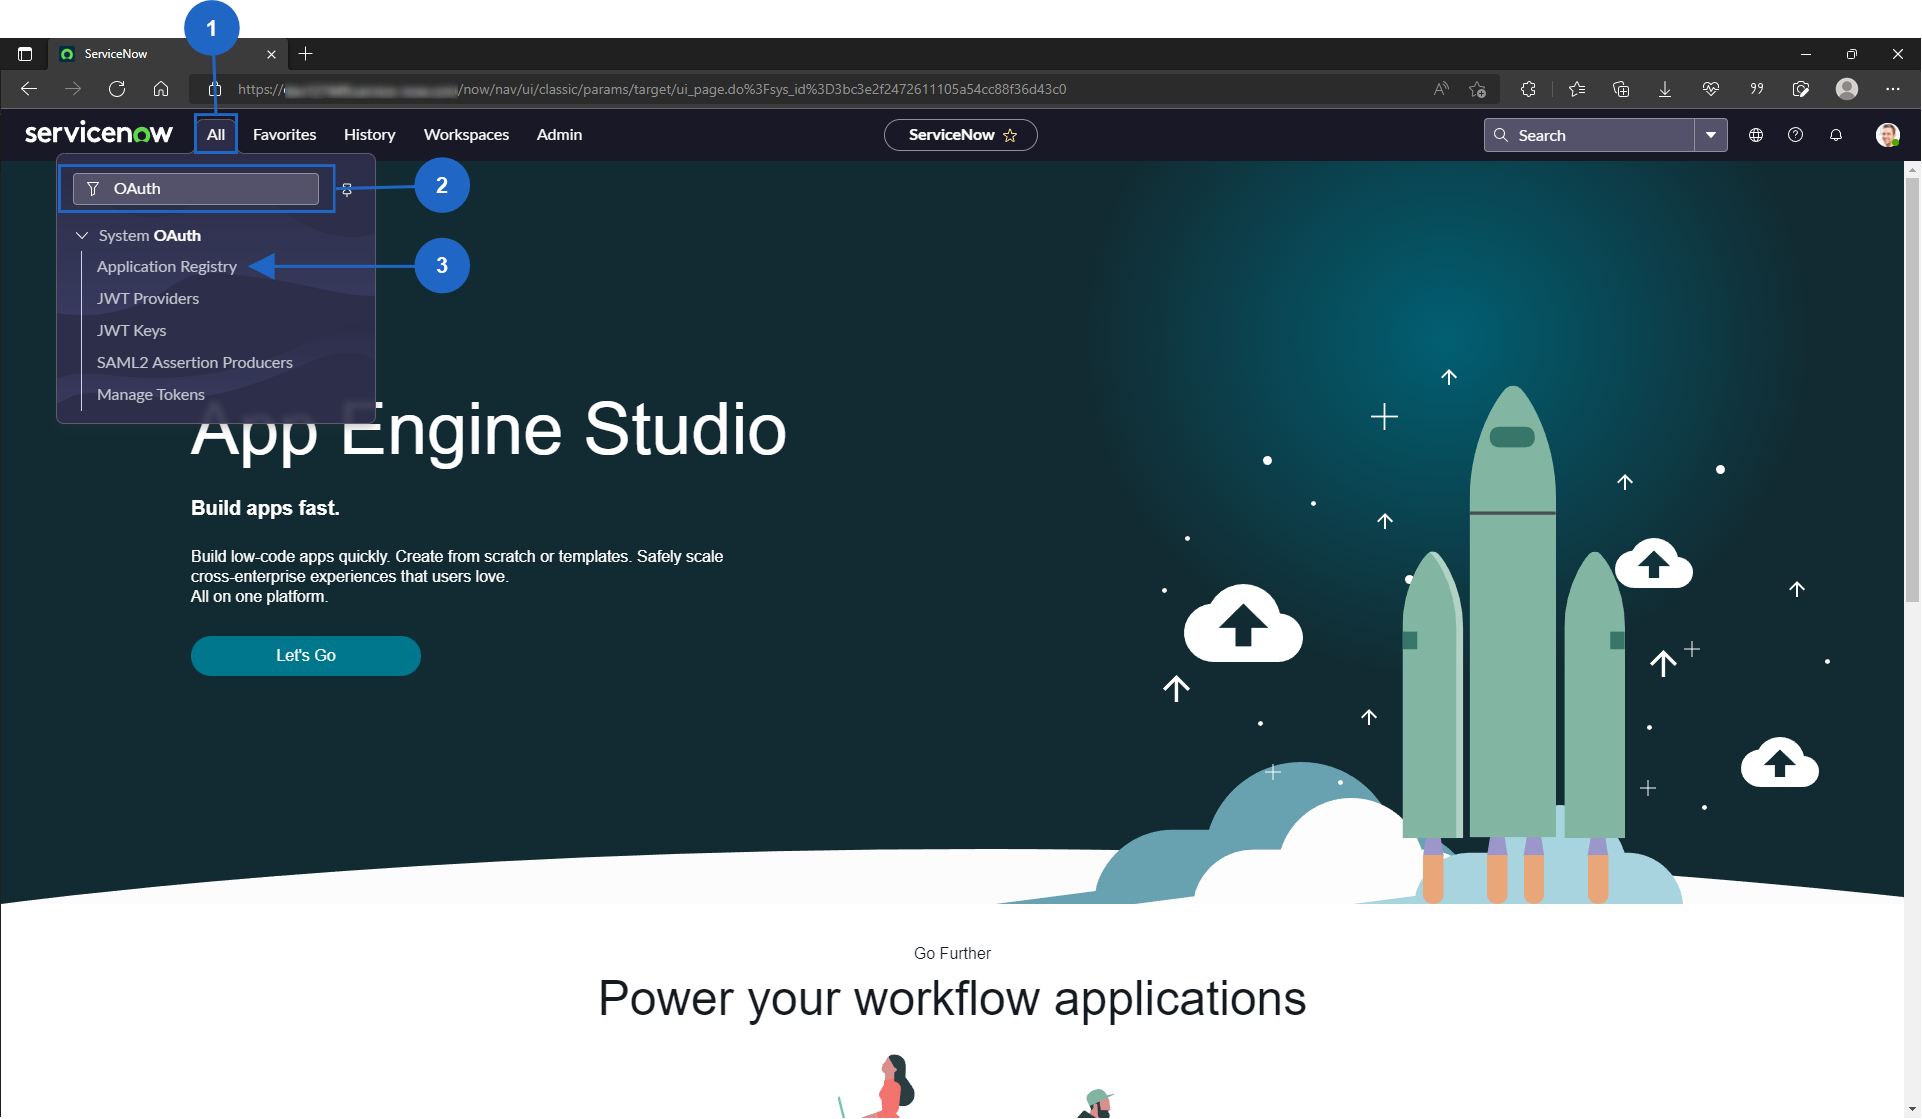

Open the All menu


Search for OAuth


Click Application Registry


Click New

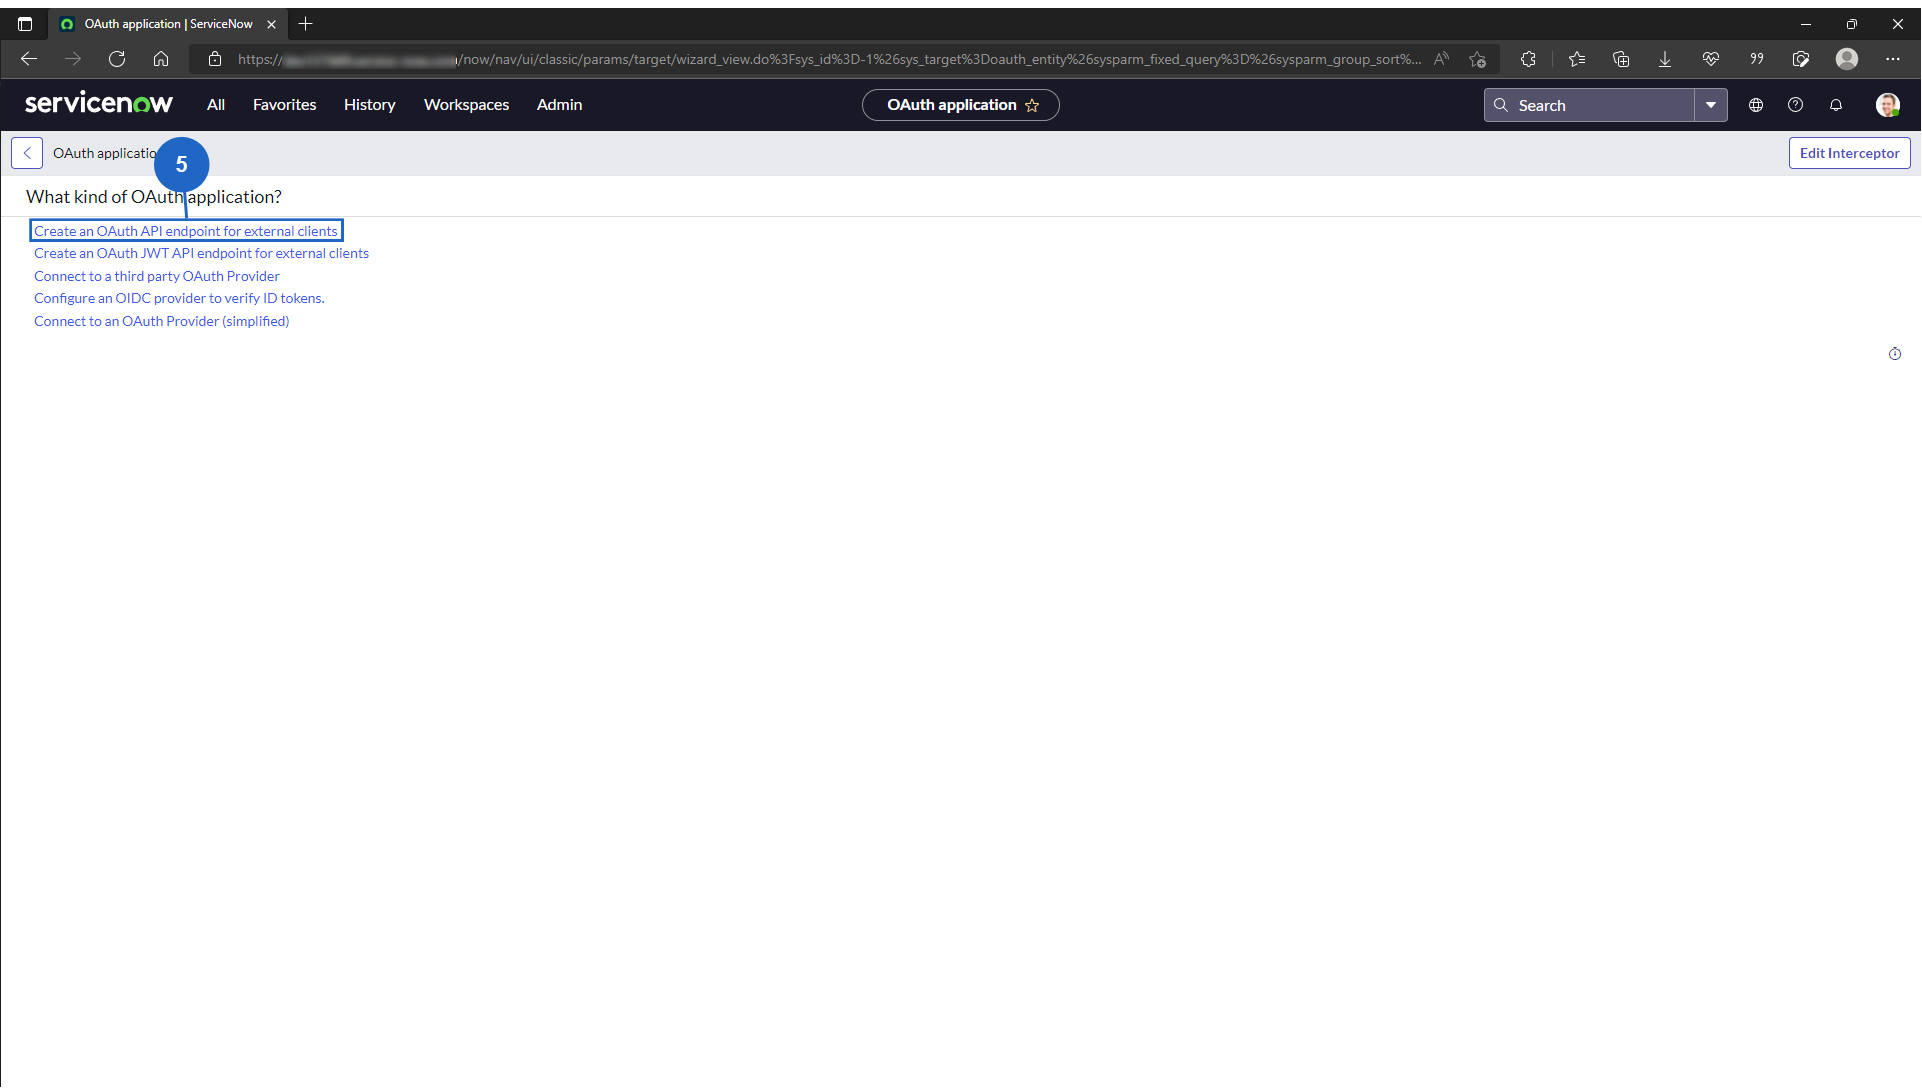

Click Create an OAuth API endpoint for external clients

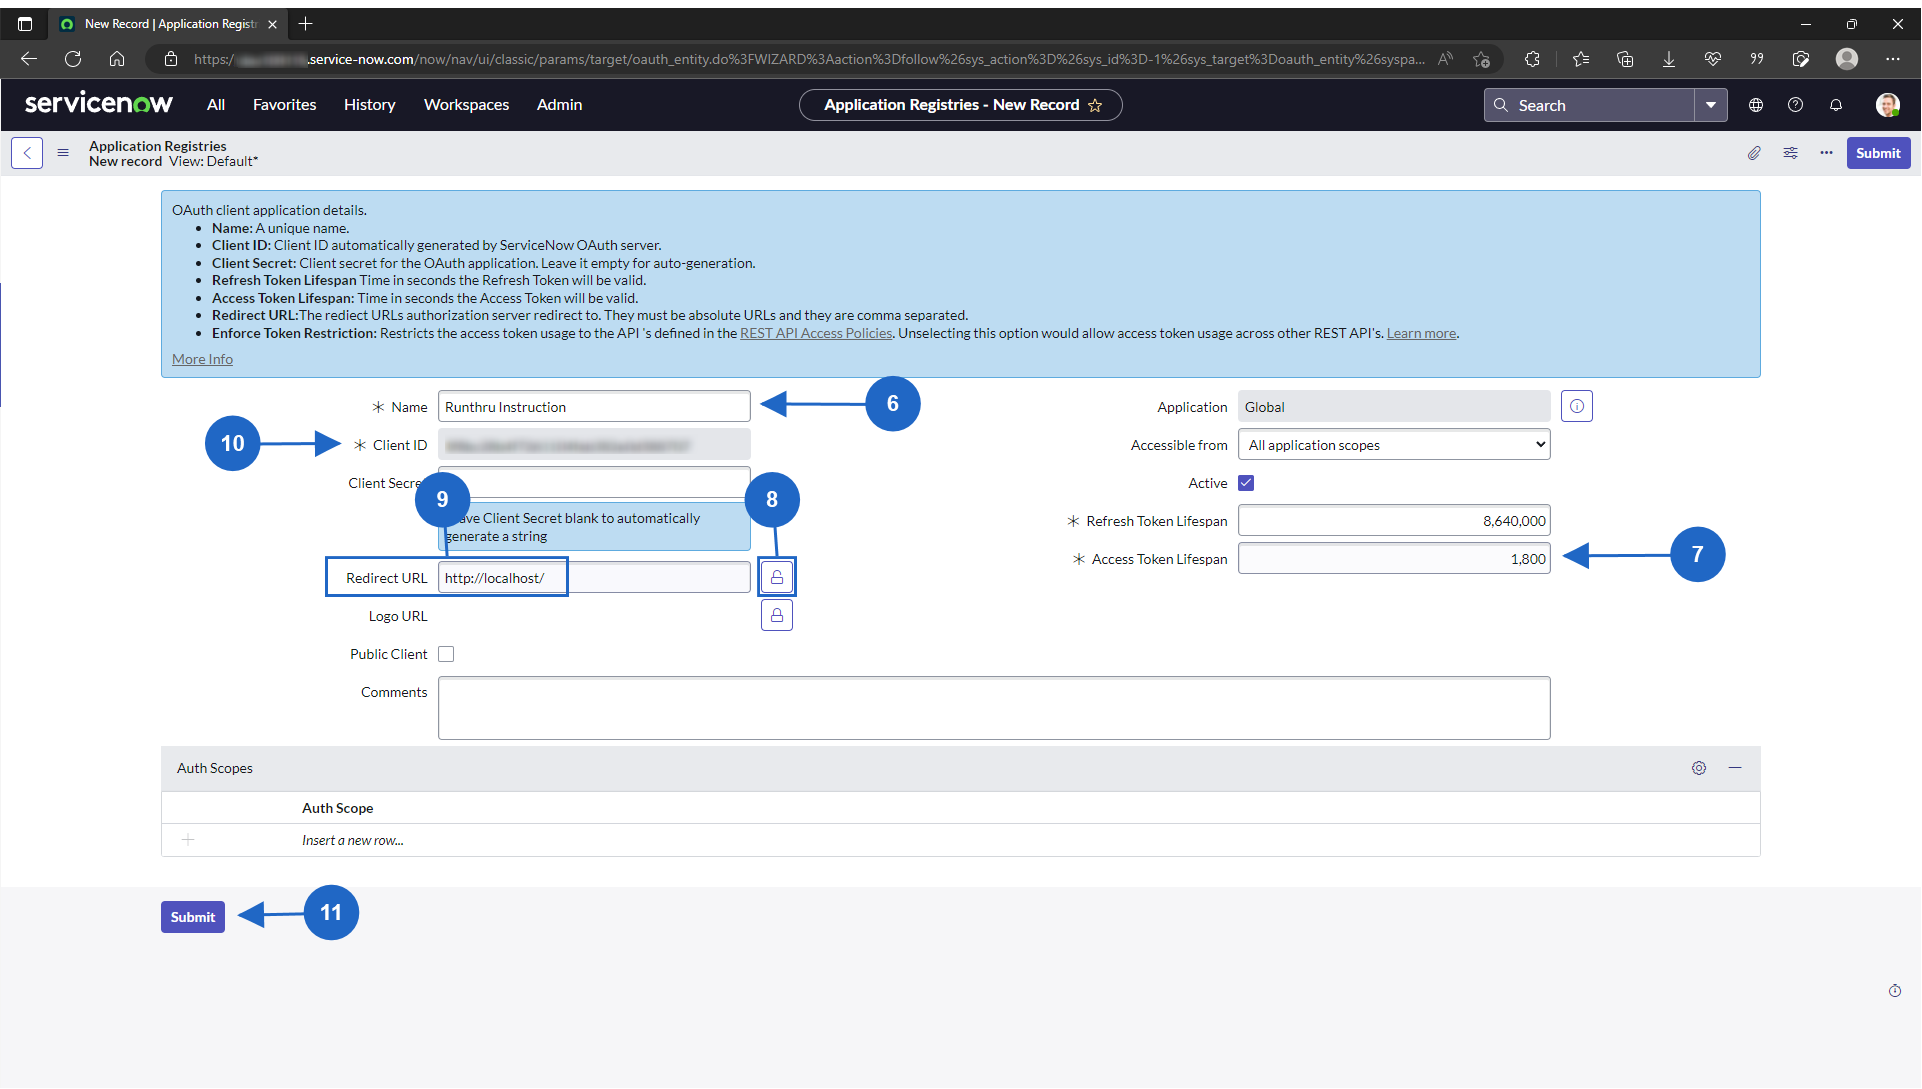

Give it a name you will remember is associated with Runthru Instruction. Your users will see this name when they setup the connection

We recommend increasing this number. This is how many seconds an issued access token will last for

Click the lock to unlock the Redirect URL. A text field will appear to the left of it


Enter "http://localhost/" in the Redirect URL


Copy the Client ID. Your users will need to enter this in Runthru Instruction

Click submit
You are done!
You can now give the OAuth Client ID to your Runthru Instruction users to allow them to publish to ServiceNow with their accounts
Connecting Runthru Instruction to ServiceNow with OAuth
You will need your ServiceNow instance URL and OAuth Client ID
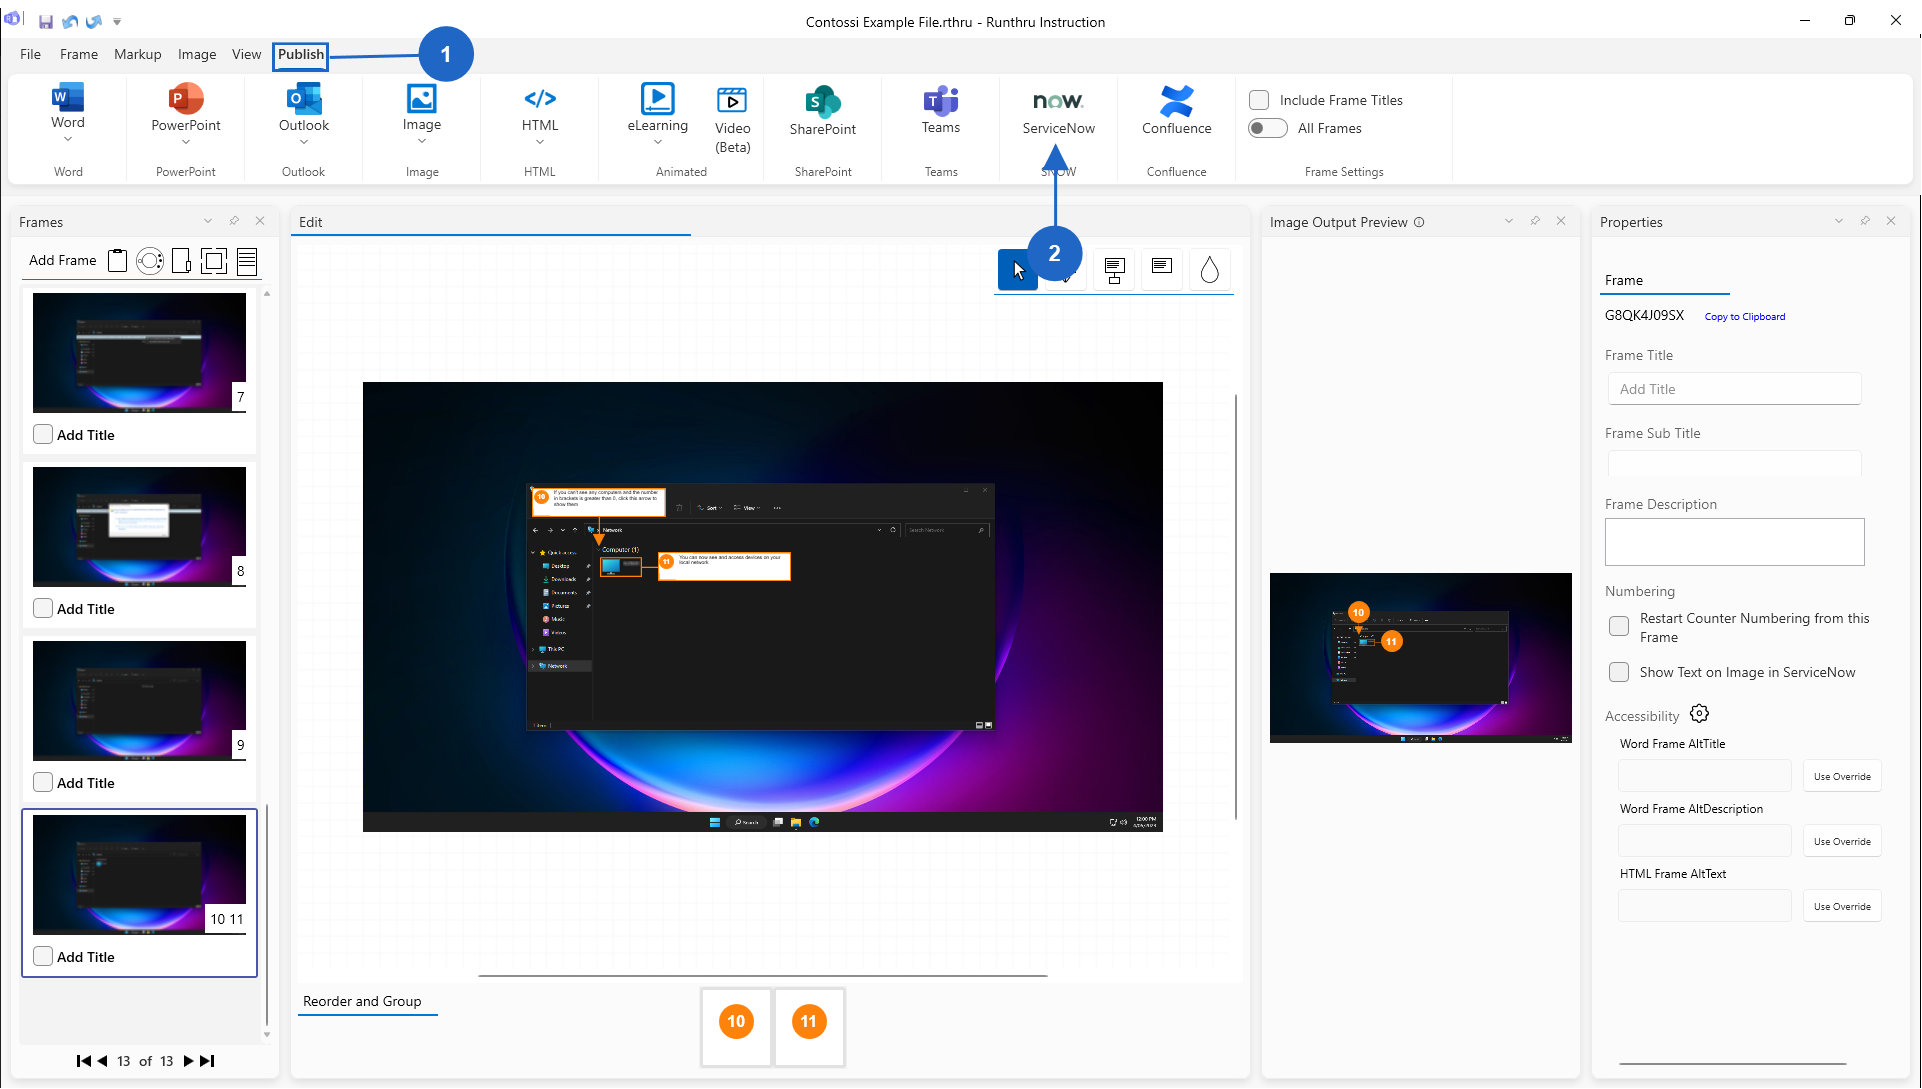
Go to the Publish tab

Click on ServiceNow
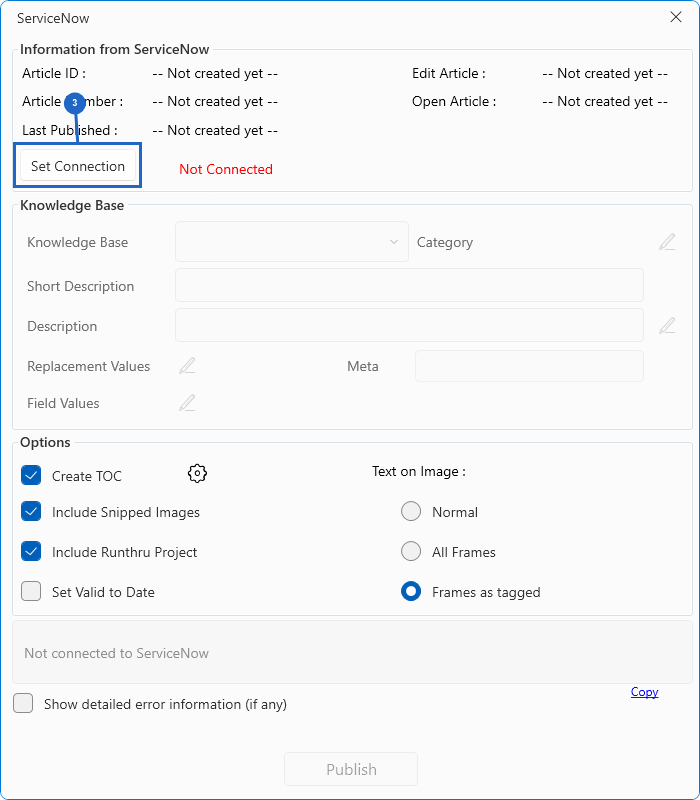
Click on Set Connection
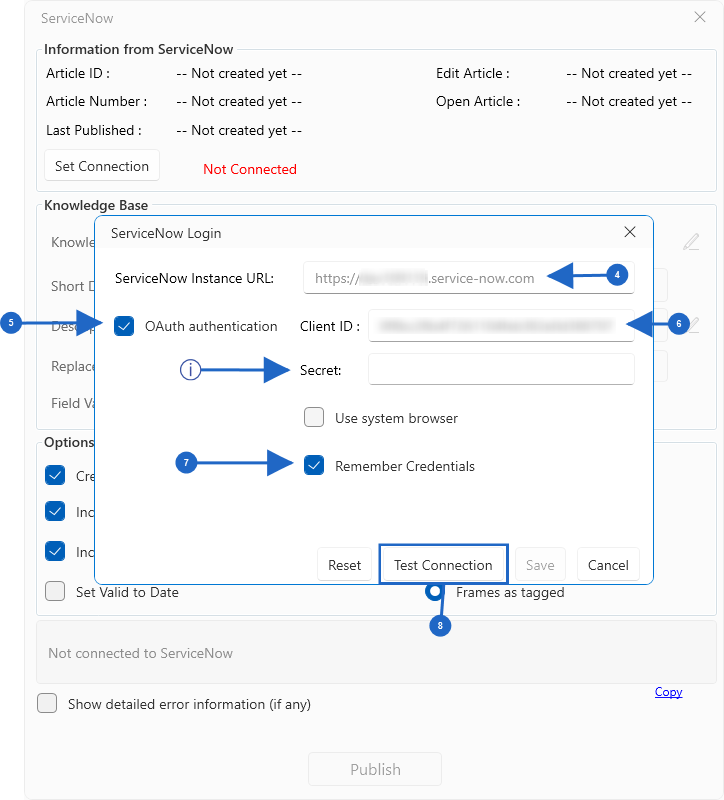
Enter your ServiceNow Instance URL
Check OAuth authentication
Enter your Client ID

The secret field is only required when using the system browser. You should leave it blank
Check Remember Credentials
Click Test Connection
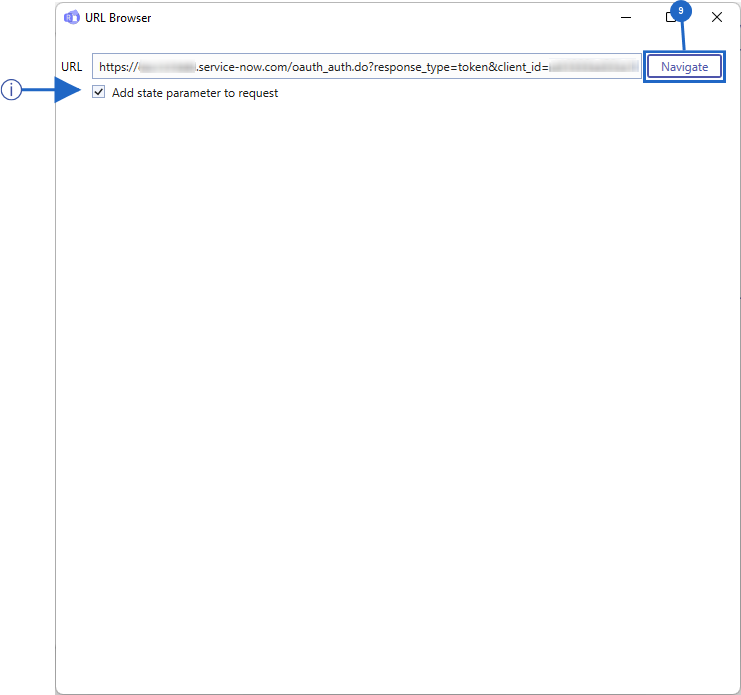
Click Navigate

If you get an error after clicking Navigate saying that you are missing the state parameter in the request, please make sure this is checked.
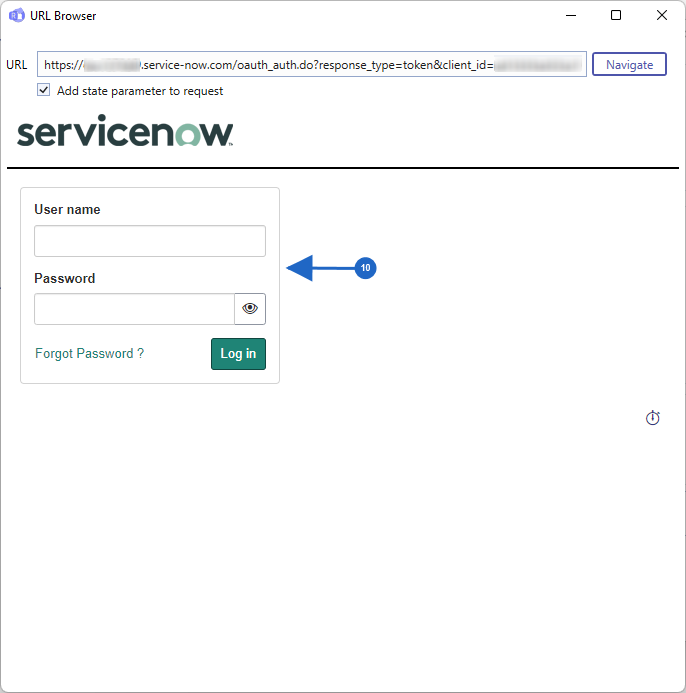
Sign into ServiceNow as you would normally
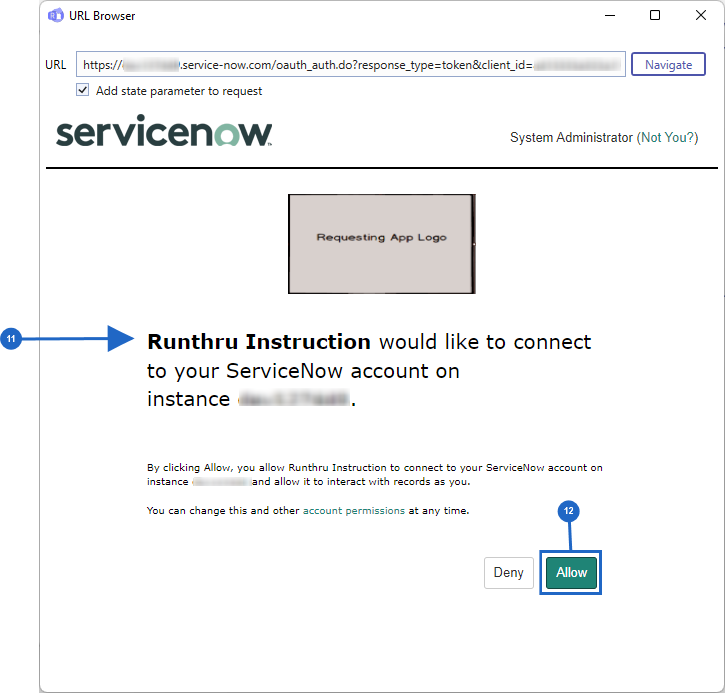
This will be the name your admin setup in ServiceNow earlier

Click Allow

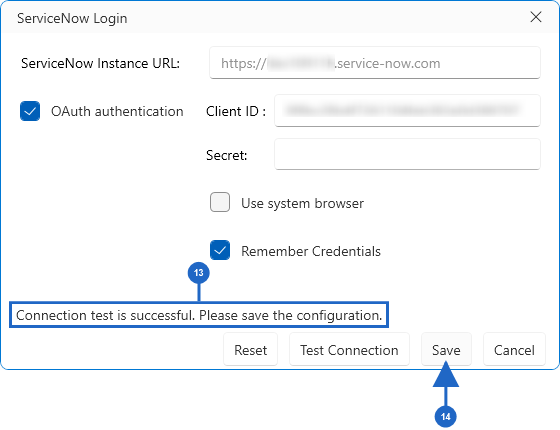

You should see a confirmation message appear here


If the test passed, click save
You are done!
You can now publish to ServiceNow from Runthru Instruction