

Go to the File menu

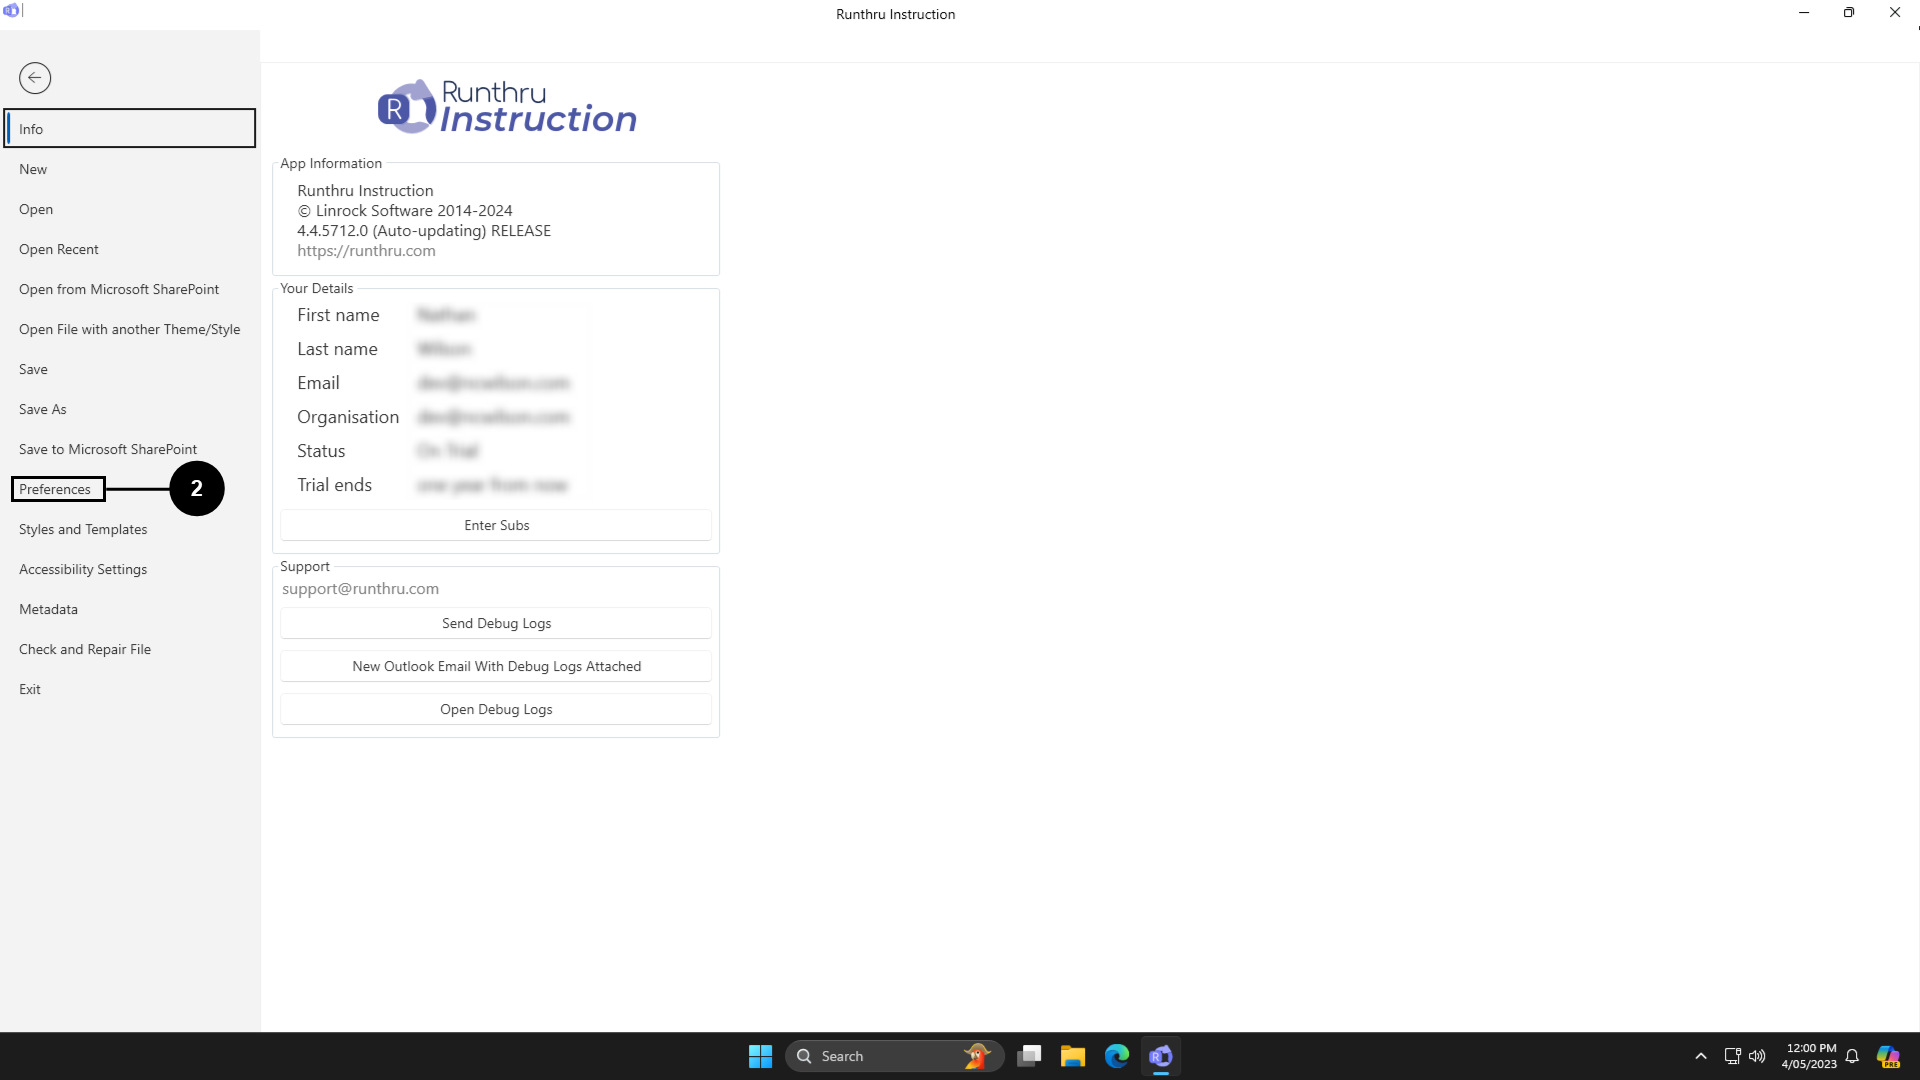

Click Preferences

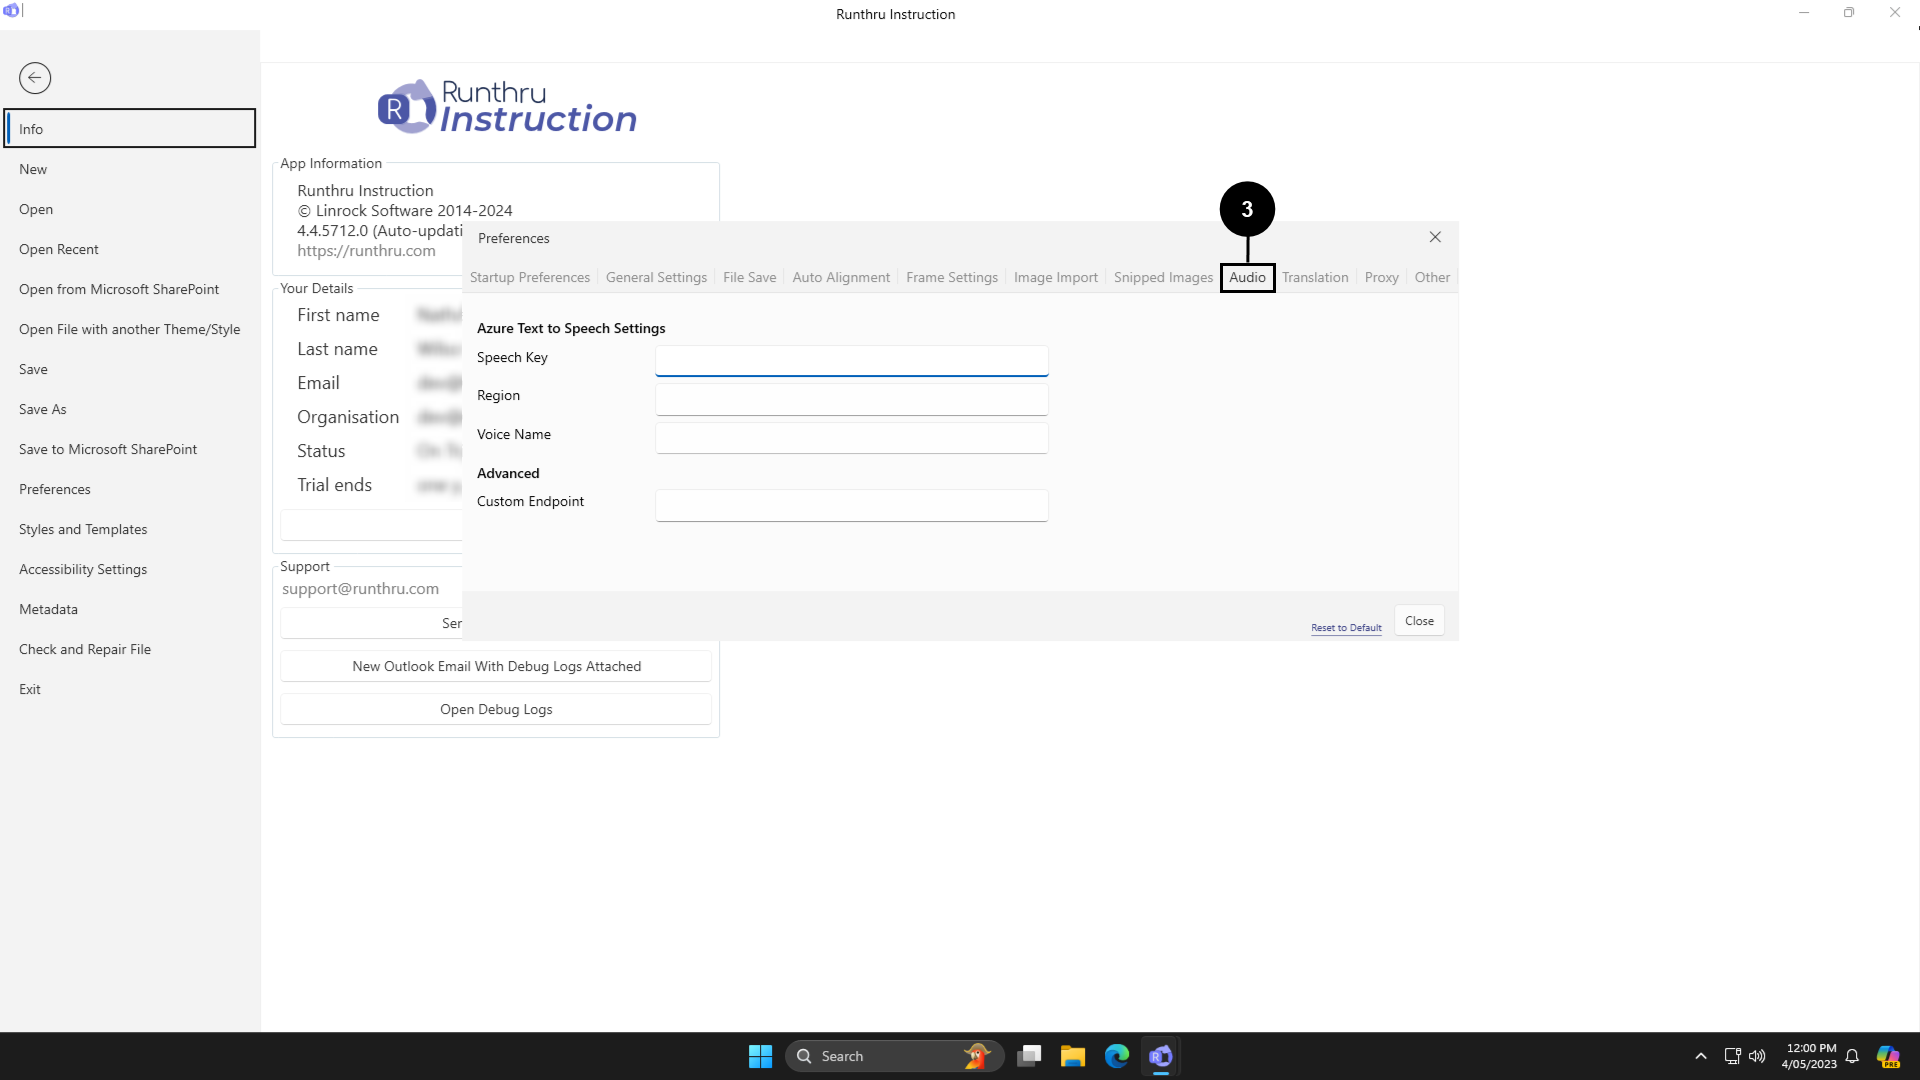

Go to the Audio tab

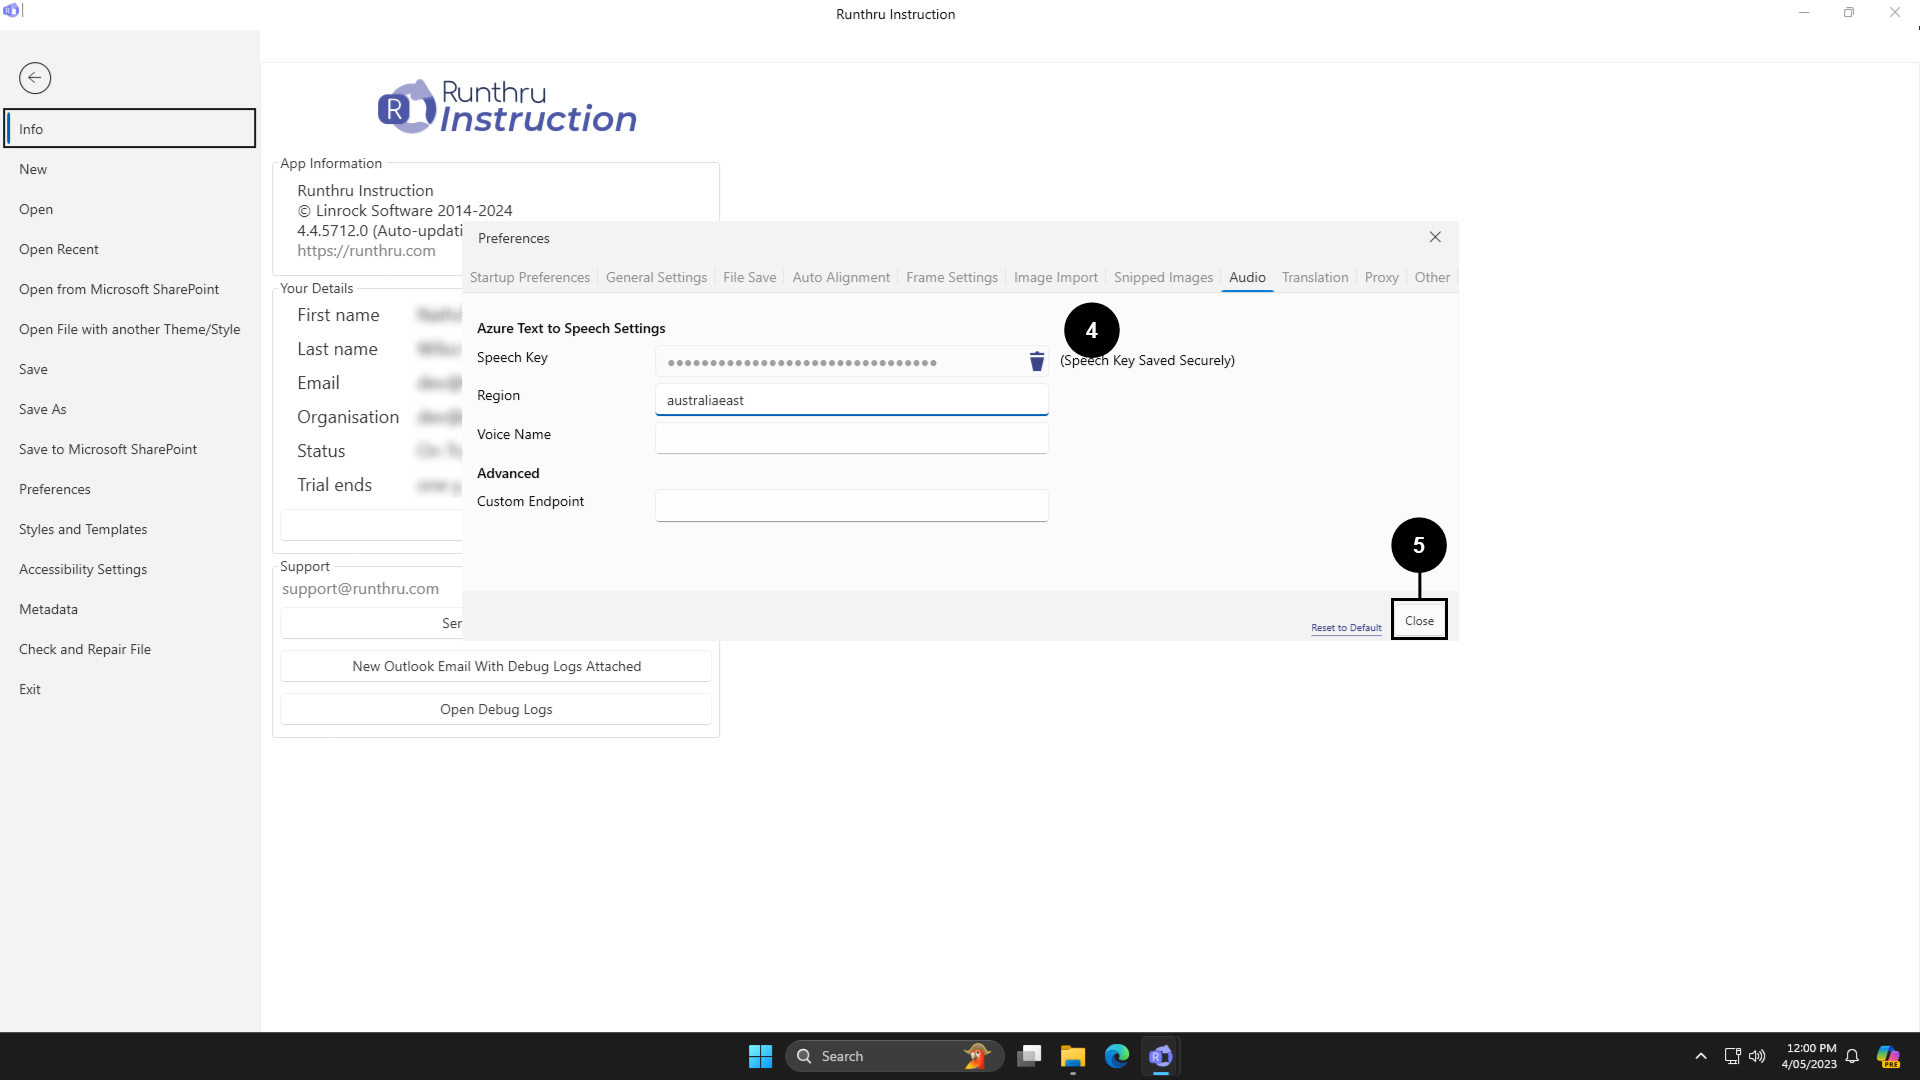

Fill in your Speech Key and either the Region or your Custom endpoint for your Azure Cognitive Services Speech Service

You can now close the preferences window and use audio generation


The Voice Name setting is optional and can be set later through the Audio recording window.
To preview and choose voices, please visit https://speech.microsoft.com/portal/voicegallery


You will now see a new button is available in the Audio Recording Window. Clicking this will generate audio for you based on the text in the step


The audio generation button will also be available in the scene editor for the video output
